The Users Current Presence
The Change state is used to set the users current presence.
Press F5 or click State button on the toolbar and the Change State dialog will appear.
You can also hold the mouse over the Totalview client icon on the process bar and you will see a window like this:
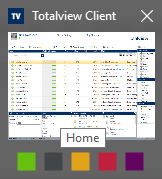
You can click one of the colors to change state. Yellow -> Out, Blue -> Busy, Green -> In etc.
The presence information
When clicking the State button the user will be presented with the following window:
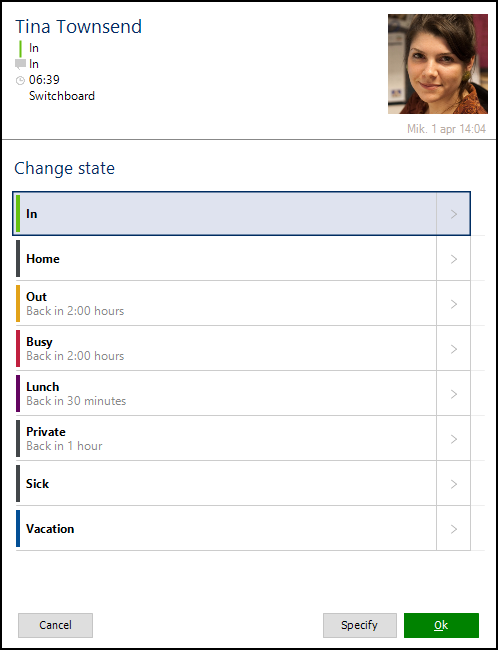
The user can use the up/down arrows on the keyboard to select between the states. The user can also type the number representing the State, number 1 being the first state in the list. Lastly the user can use the first letter in the state name to highlight a state.
The user can click Enter on the keyboard or the Save button to change current state. If the user wants to specify some more details, the user can click the Specify button or the right arrow key on the keyboard for further details.
Use Tab or Up/Down arrows on the keyboard to switch between the fields. Use Space button to open a drop-down box. When inside a date time field, use + / – to increase / decrease time.

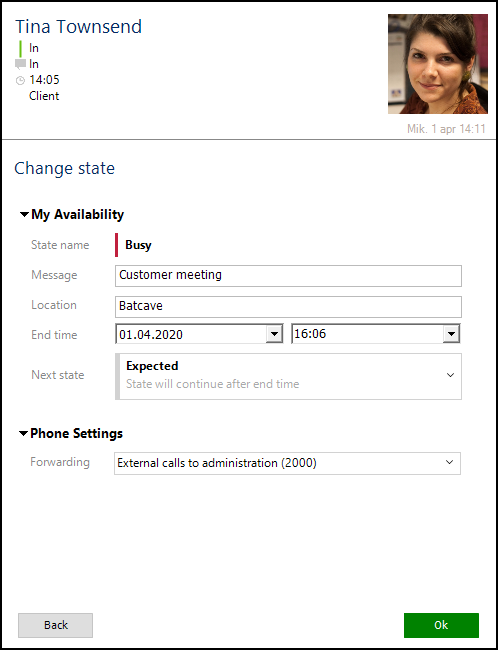
When setting the presence information the following values can be set:
My Availability
Message |
Descriptive presence information to present in the clients detailed information when user is selected. |
Location |
The user can specify the location when changing state. Location figures as a column in the Totalview Client overview meaning that users can use the Location as filter. |
Start date/time |
When running as normal client, current presence start time cannot be set. The start time is always set to current time. When running as Switchboard or Receptionist, the start time may be set to the past. |
End date/time |
Expected end time for the presence information. |
Next state |
The user can set a state after the current state. This state will start when the current state ends. The next template settings can be used if the next presence is known. The next presence will be activated when the current state ends. It is only possible to set Next state if the current presence has an ending time, and the End type is set to Actual. This is set up in the Administration -> Template |
Work specification
Recent |
With the Recent list, the user can choose among the last 5 work specification registrations that the user has made. If selected the work specification fields will automatically be filled out. |
If the customer uses the work specification, an example of elements being used could be Customer, Case, Activity, Sub activity.
Phone settings
Forwarding |
Forwarding settings for the user’s local phone. Forwarding settings are:
|
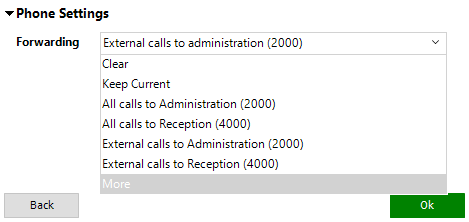
Clicking More in the list will give the user the option to forward and set DND.

DND (do not disturb) settings for the user’s local phone. DND settings are:
No changes are made regarding the DND
DND on. DND is activated on the default phone (Ctrl+D)
DND off. DND is de-activated on the default phone
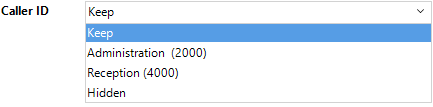
Caller ID |
Caller ID settings for the user’s local phone. Caller ID is only for specific PBX types. See here. |
|