Restrict Azure App Registration E-Mail Permission
GraphAPI Send.Mail permission without restriction is dangerous, because it allows anyone with the app registration credentials (Tenand ID, Client ID and Client Secret) to send e-mail, as any user in the company - for example the CEO.
To fix that security hole, a so called Mail Enabled Security Group should be created and used in an Application Access Policy, for the Azure App Registration.
Below follows a guide for how this can be achieved.
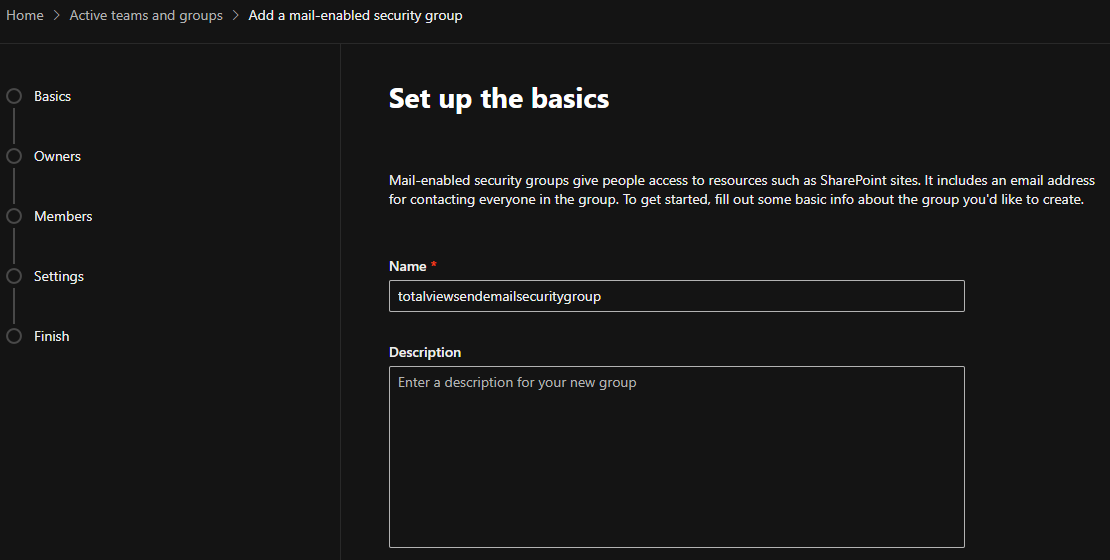
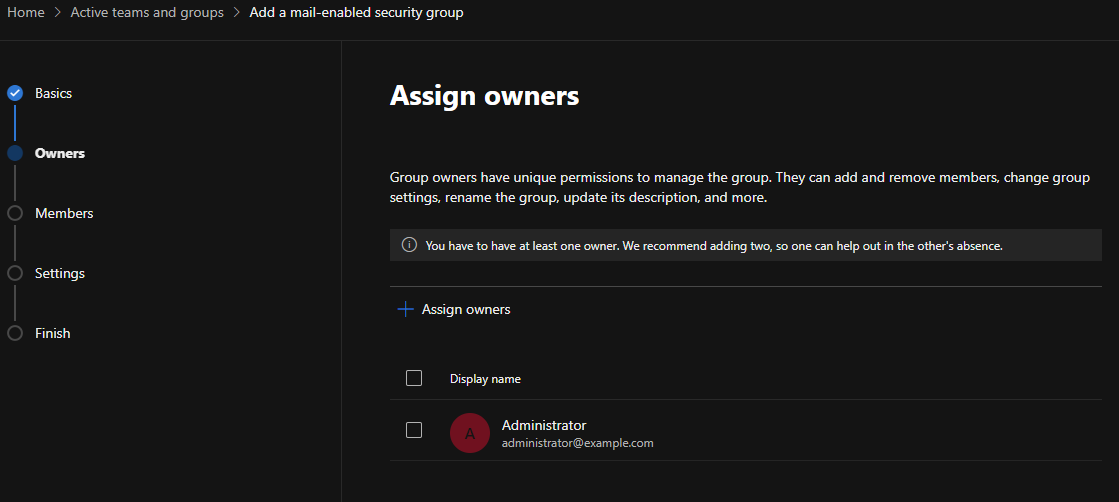
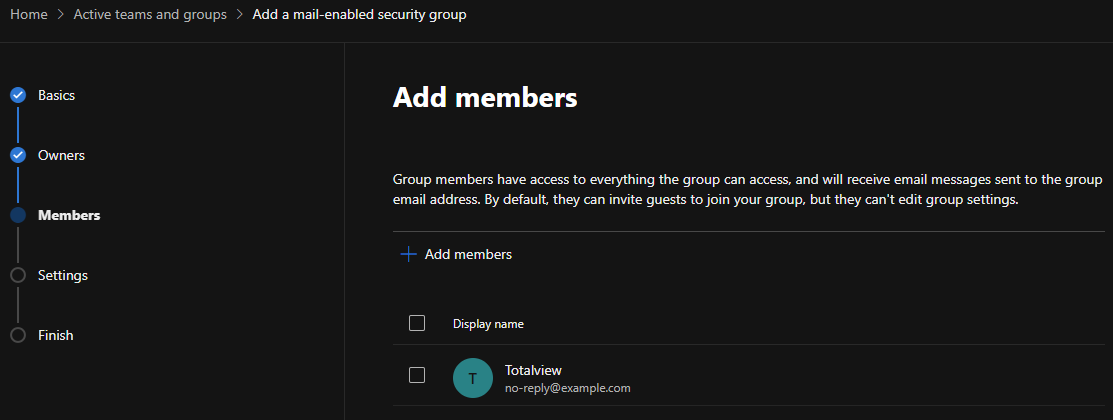
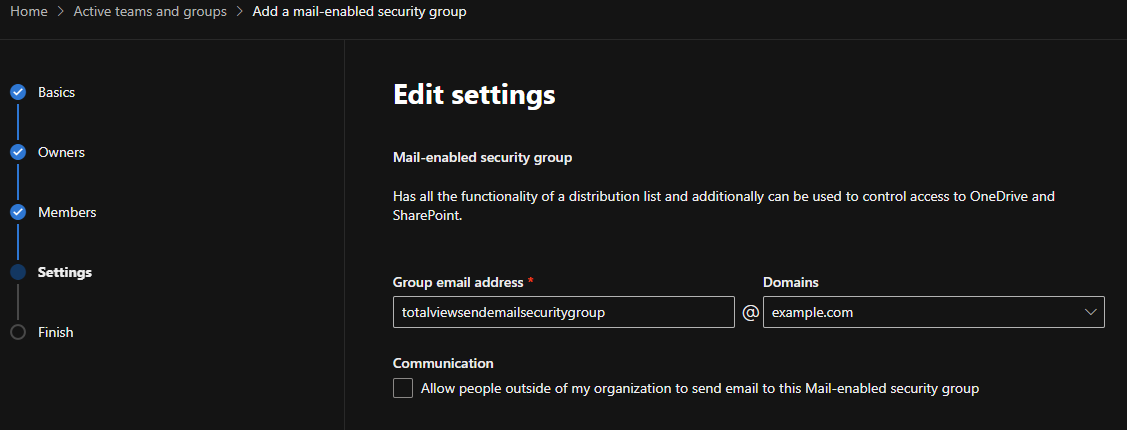
Create Mail Enabled Security Group
Go to Microsoft 365 Admin Center.
Create a mail enabled security group, under Teams & groups -> Active teams & groups.

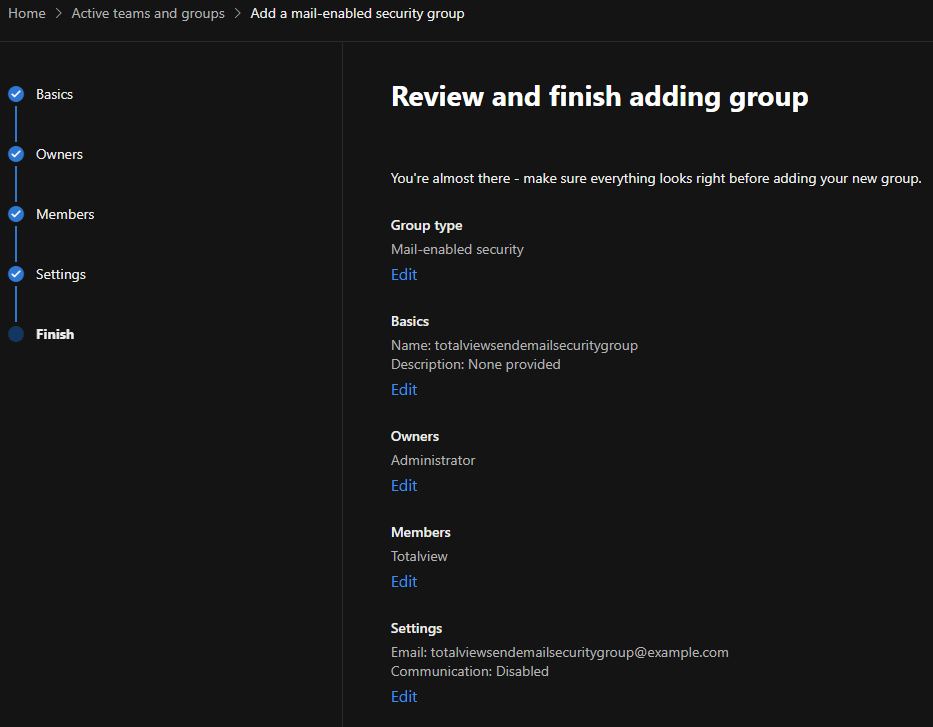
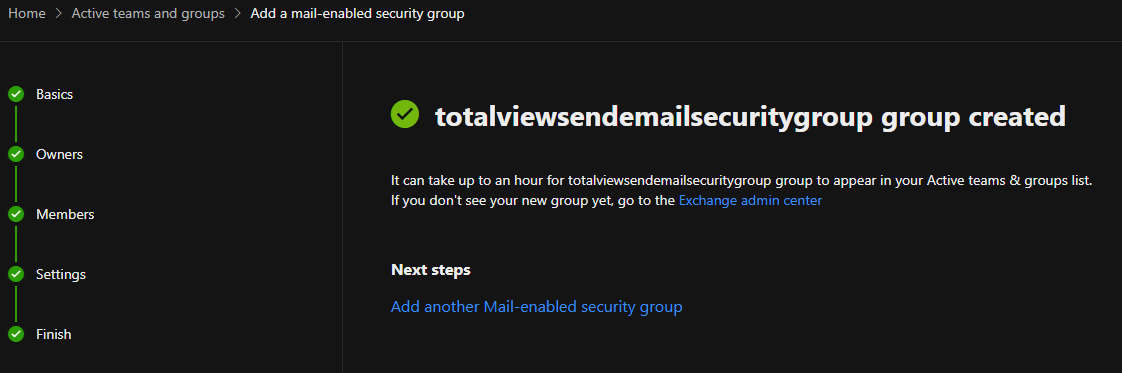
N.B. that it can take a few hours until the created group to show up under your Active teams & groups list.
Install Exchange Online Management PowerShell module
To test if you have ExchangeOnlineManagement PowerShell module, run the following command:
Get-InstalledModule -Name ExchangeOnlineManagement
If not installed, then run the following command to install:
Install-Module -Name ExchangeOnlineManagement
If already installed, we recommend to check for update, using the following command:
Update-Module -Name ExchangeOnlineManagement
Newest stable version number can be found on PowerShell Gallery.
Apply Application Access Policy to Azure App Registration
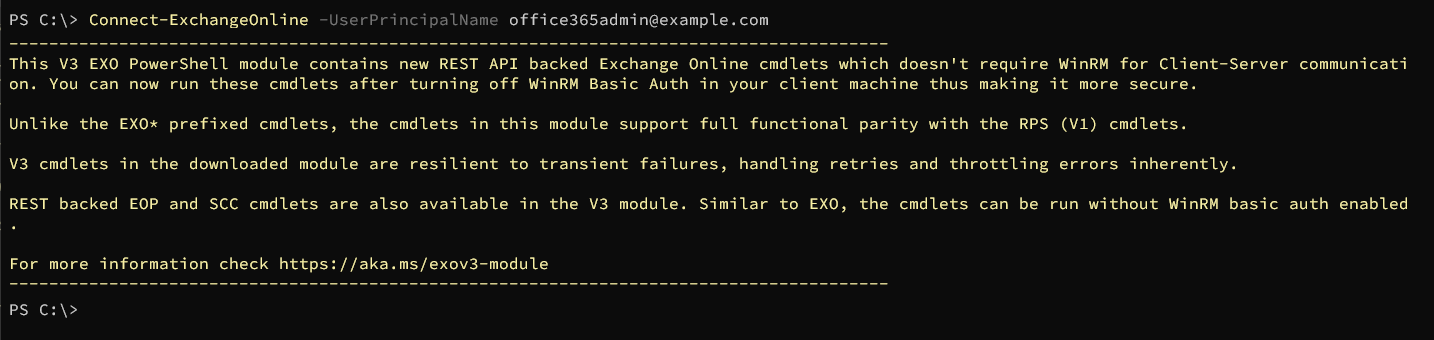
Open PowerShell to connect to Exchange Online. Replace <admin principal name> with the e-mail address used for logging in to Microsoft 365 Admin Portal in previous step.
Connect-ExchangeOnline -UserPrincipalName <admin principal name>
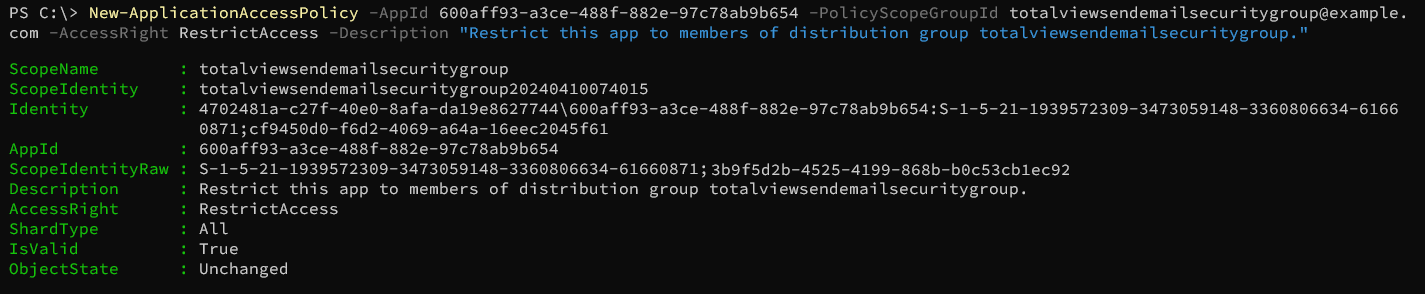
Create new application access policy, limiting the App Registration to only be able to send e-mails for users that are members of the totalviewtimesendemail e-mail security group. Replace <Azure App Registration Client/App ID> and <Mail enabled security group e-mail address> with the correct values:
New-ApplicationAccessPolicy -AppId <Azure App Registration Client/App ID> -PolicyScopeGroupId <Mail enabled security group e-mail address> -AccessRight RestrictAccess -Description "Restrict this azure app registration to only be able to send e-mails as members of mail enabled distribution group"
Azure App Registration Client/App ID value can be obained from the header of the Azure App Registration page for the app registration. Value is always a GUID.
Mail enabled security group e-mail address value is the same as the e-mail address for the mail enabled security group created in previous step.
Verification 1
To test if the created policy is taking effect, you can try running the following command, with different e-mail addresses in the domain:
Test-ApplicationAccessPolicy -Identity <test e-mail address> -AppId <Azure App Registration Client/App ID>


Verification 2
Open TotalviewExchange365.exe from <Totalview Installation Folder>\InstallFiles\Exchange365
Put in the Tenant ID, Client ID and Client Secret values and press “Test without Totalview”
Go to Send E-Mail tab and try sending an e-mail from an account that should not be permitted to send e-mails. It should fail.
Go to Send E-Mail tab and try sending an e-mail from an account that should be permitted to send e-mails. It should work.
If you experience that any of the last two steps are not working, try waiting two hours and retry. It can take a few hours for security restrictions to be enforced.