One Connect
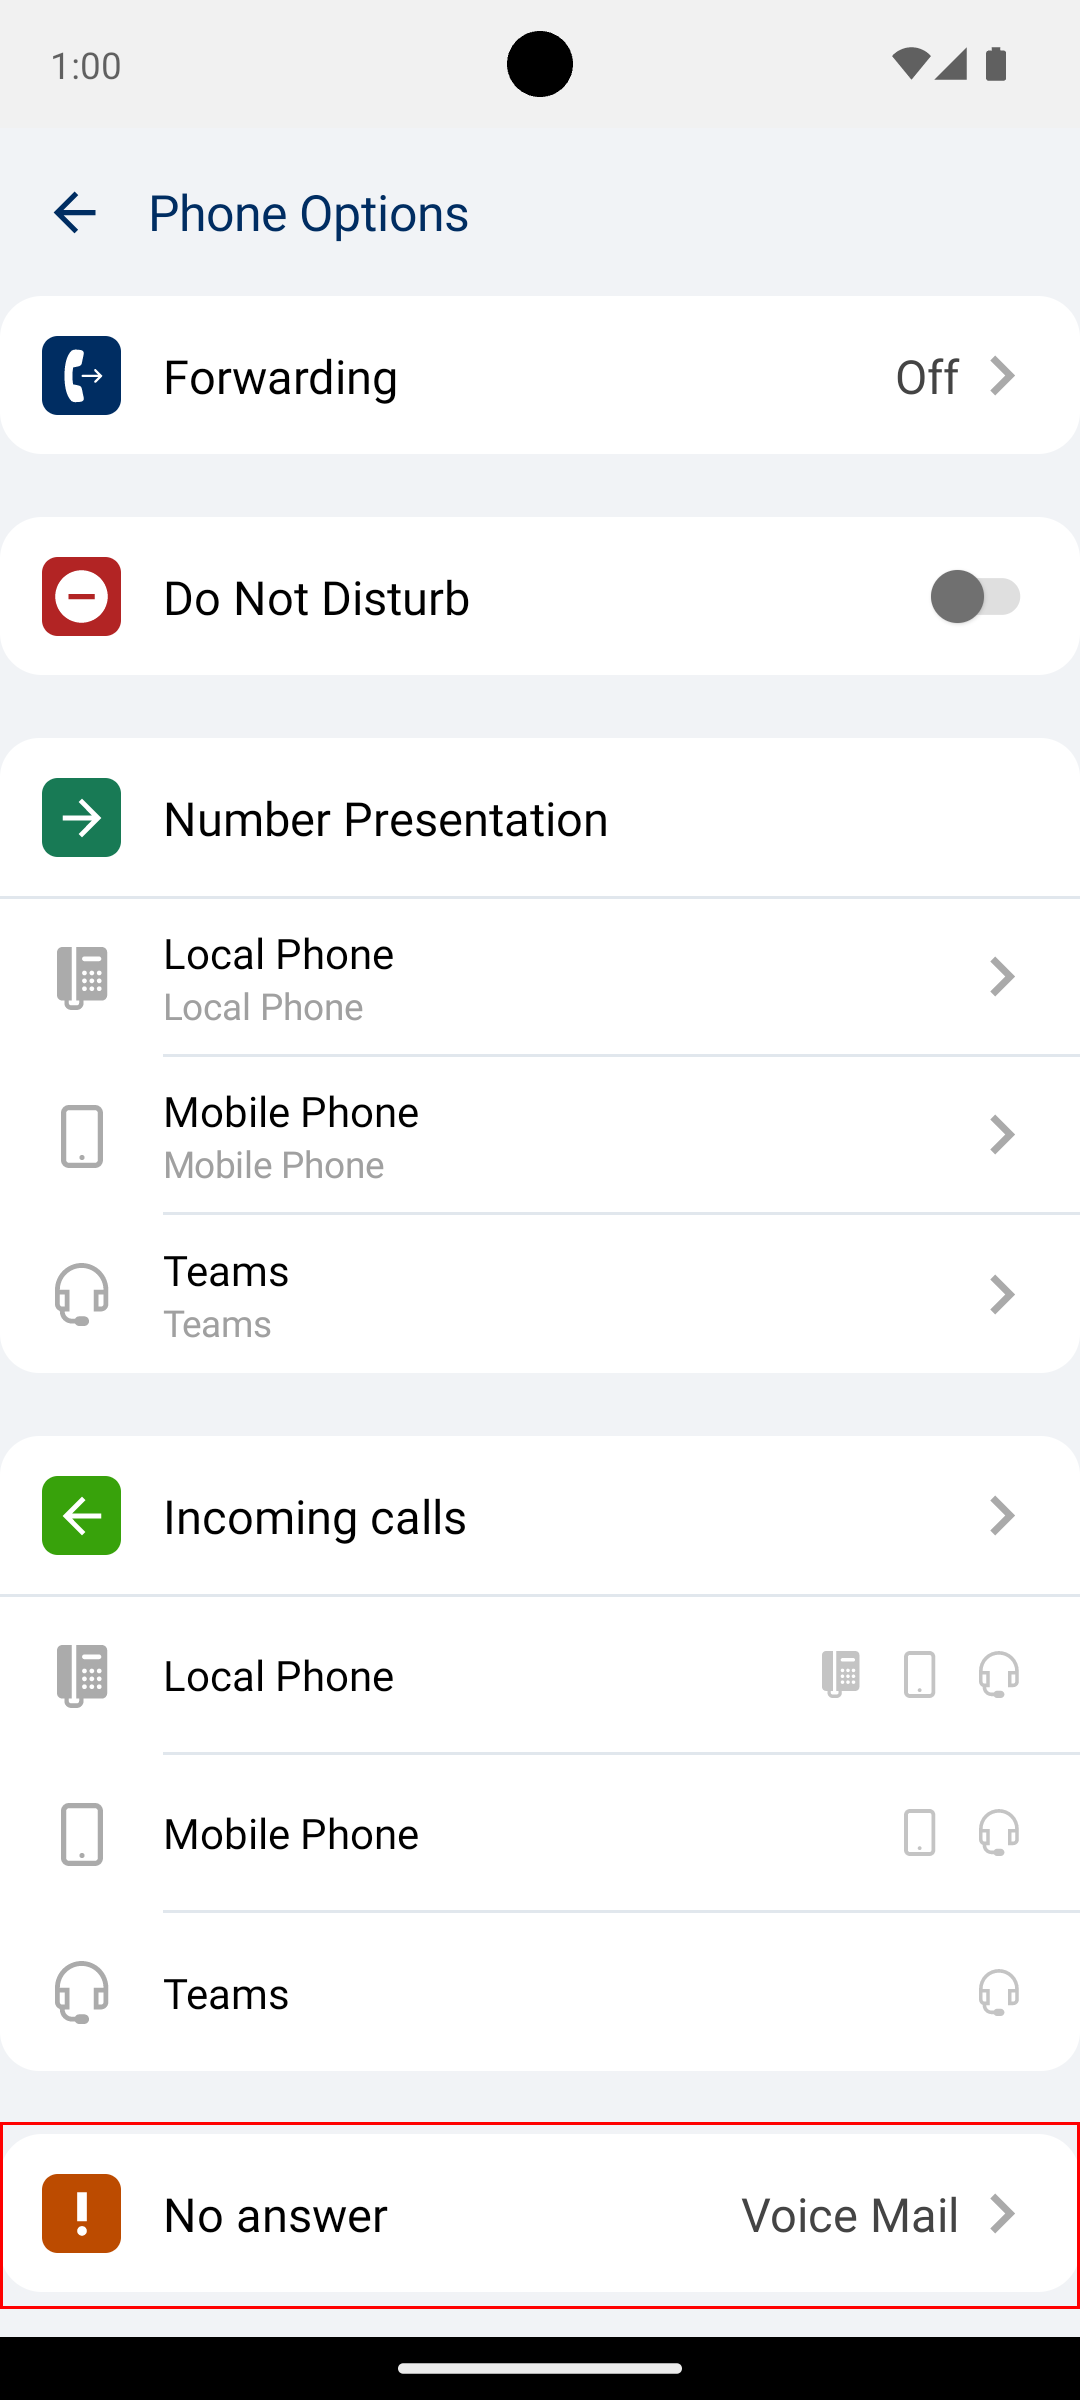
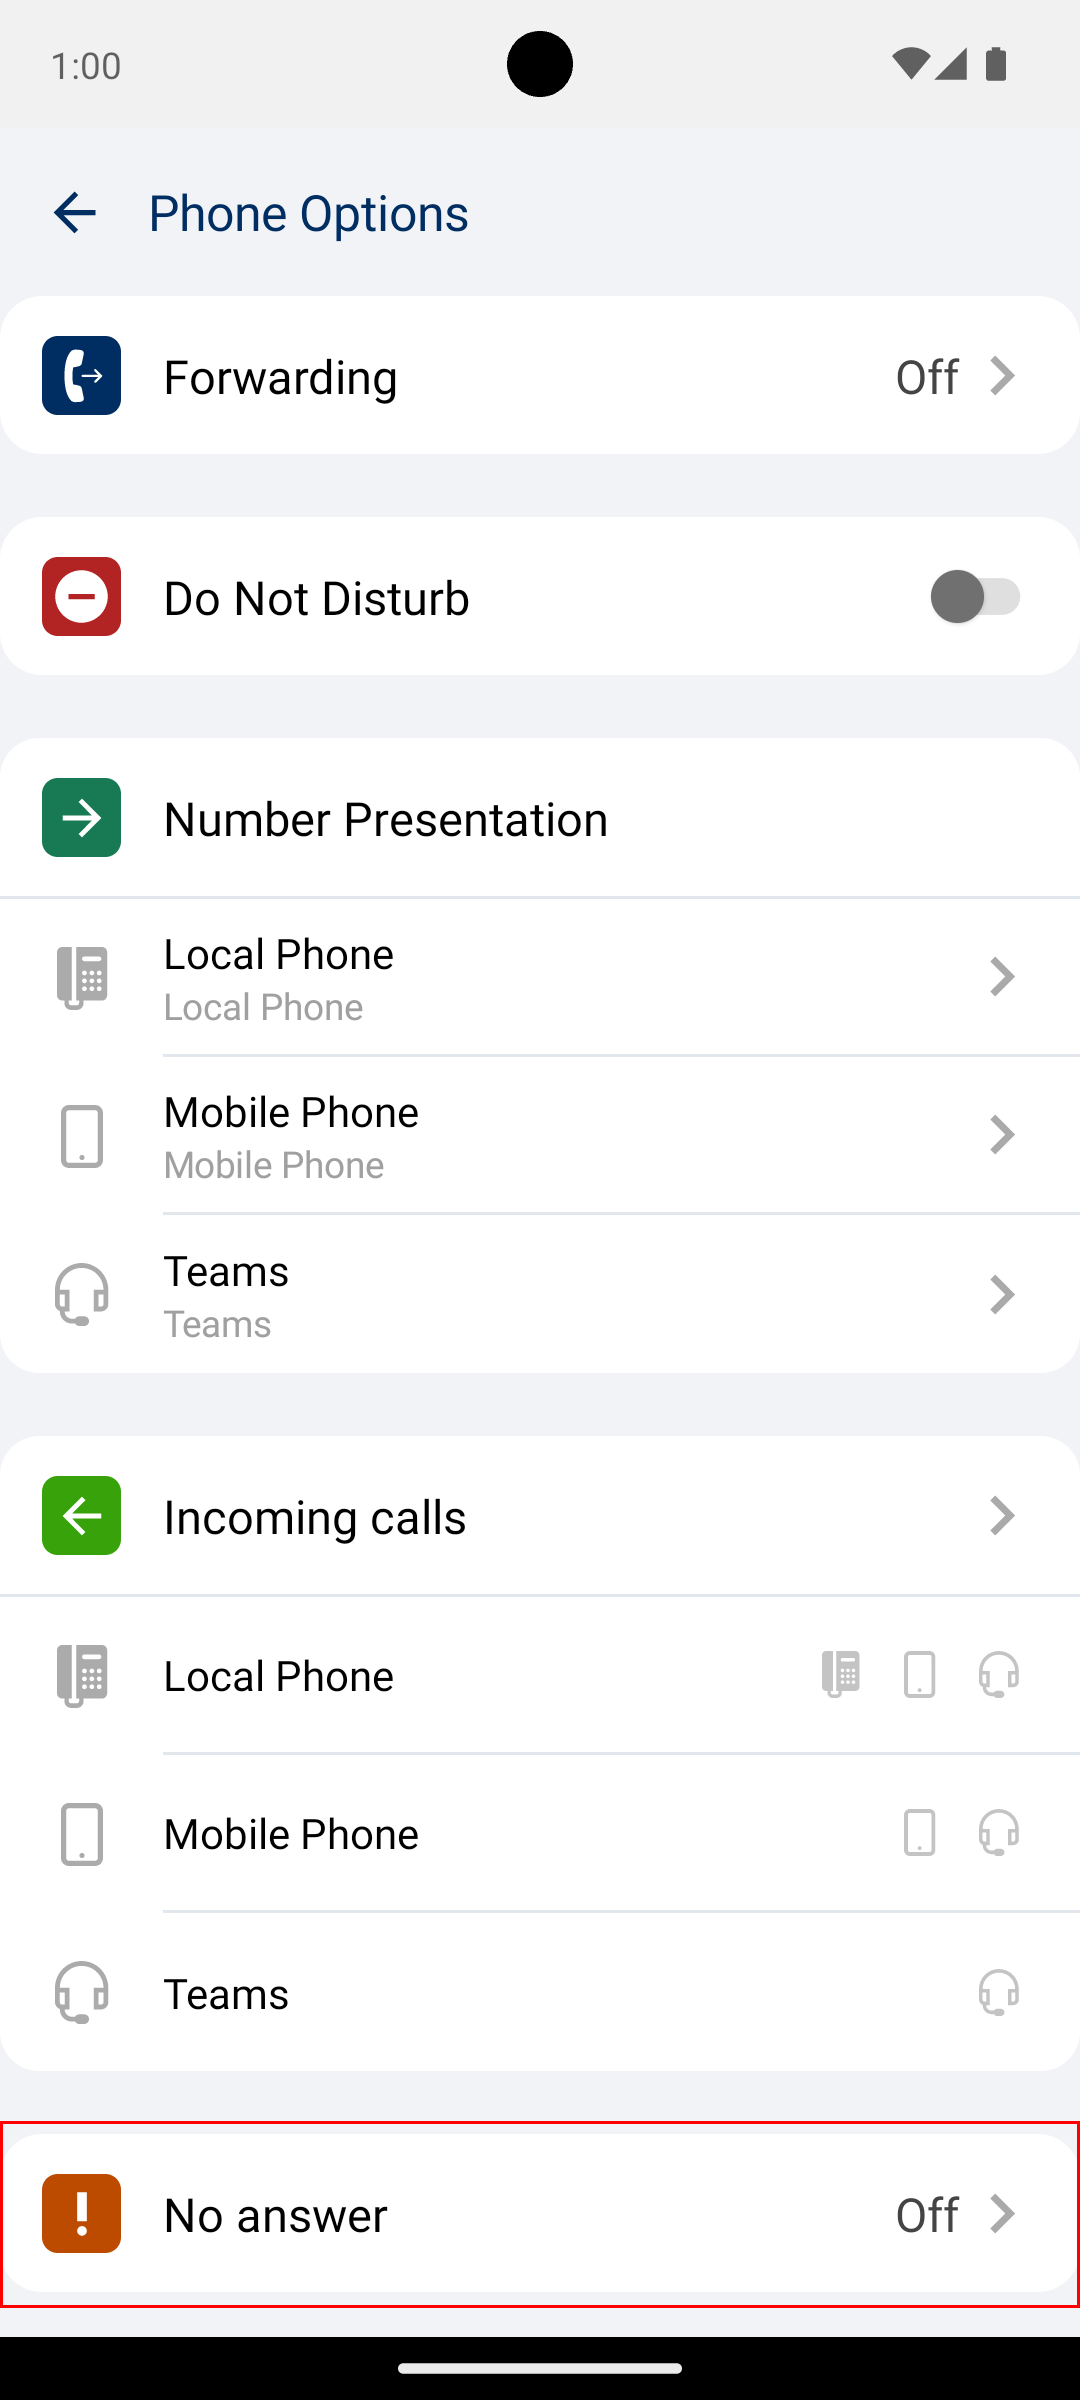
It is possible to make use of the following functions in the One Connect Phone Options.
The options in this menu can be modified from the PC client as well, so if that happens then it’s also possible to pull to refresh the main page to see if anything has been updated in the phone options.
Forwarding
The forwarding section includes the functions to forward all calls to certain numbers specified by your user configuration. It is also possible to forward calls to a custom number that you can specify or voice mail.
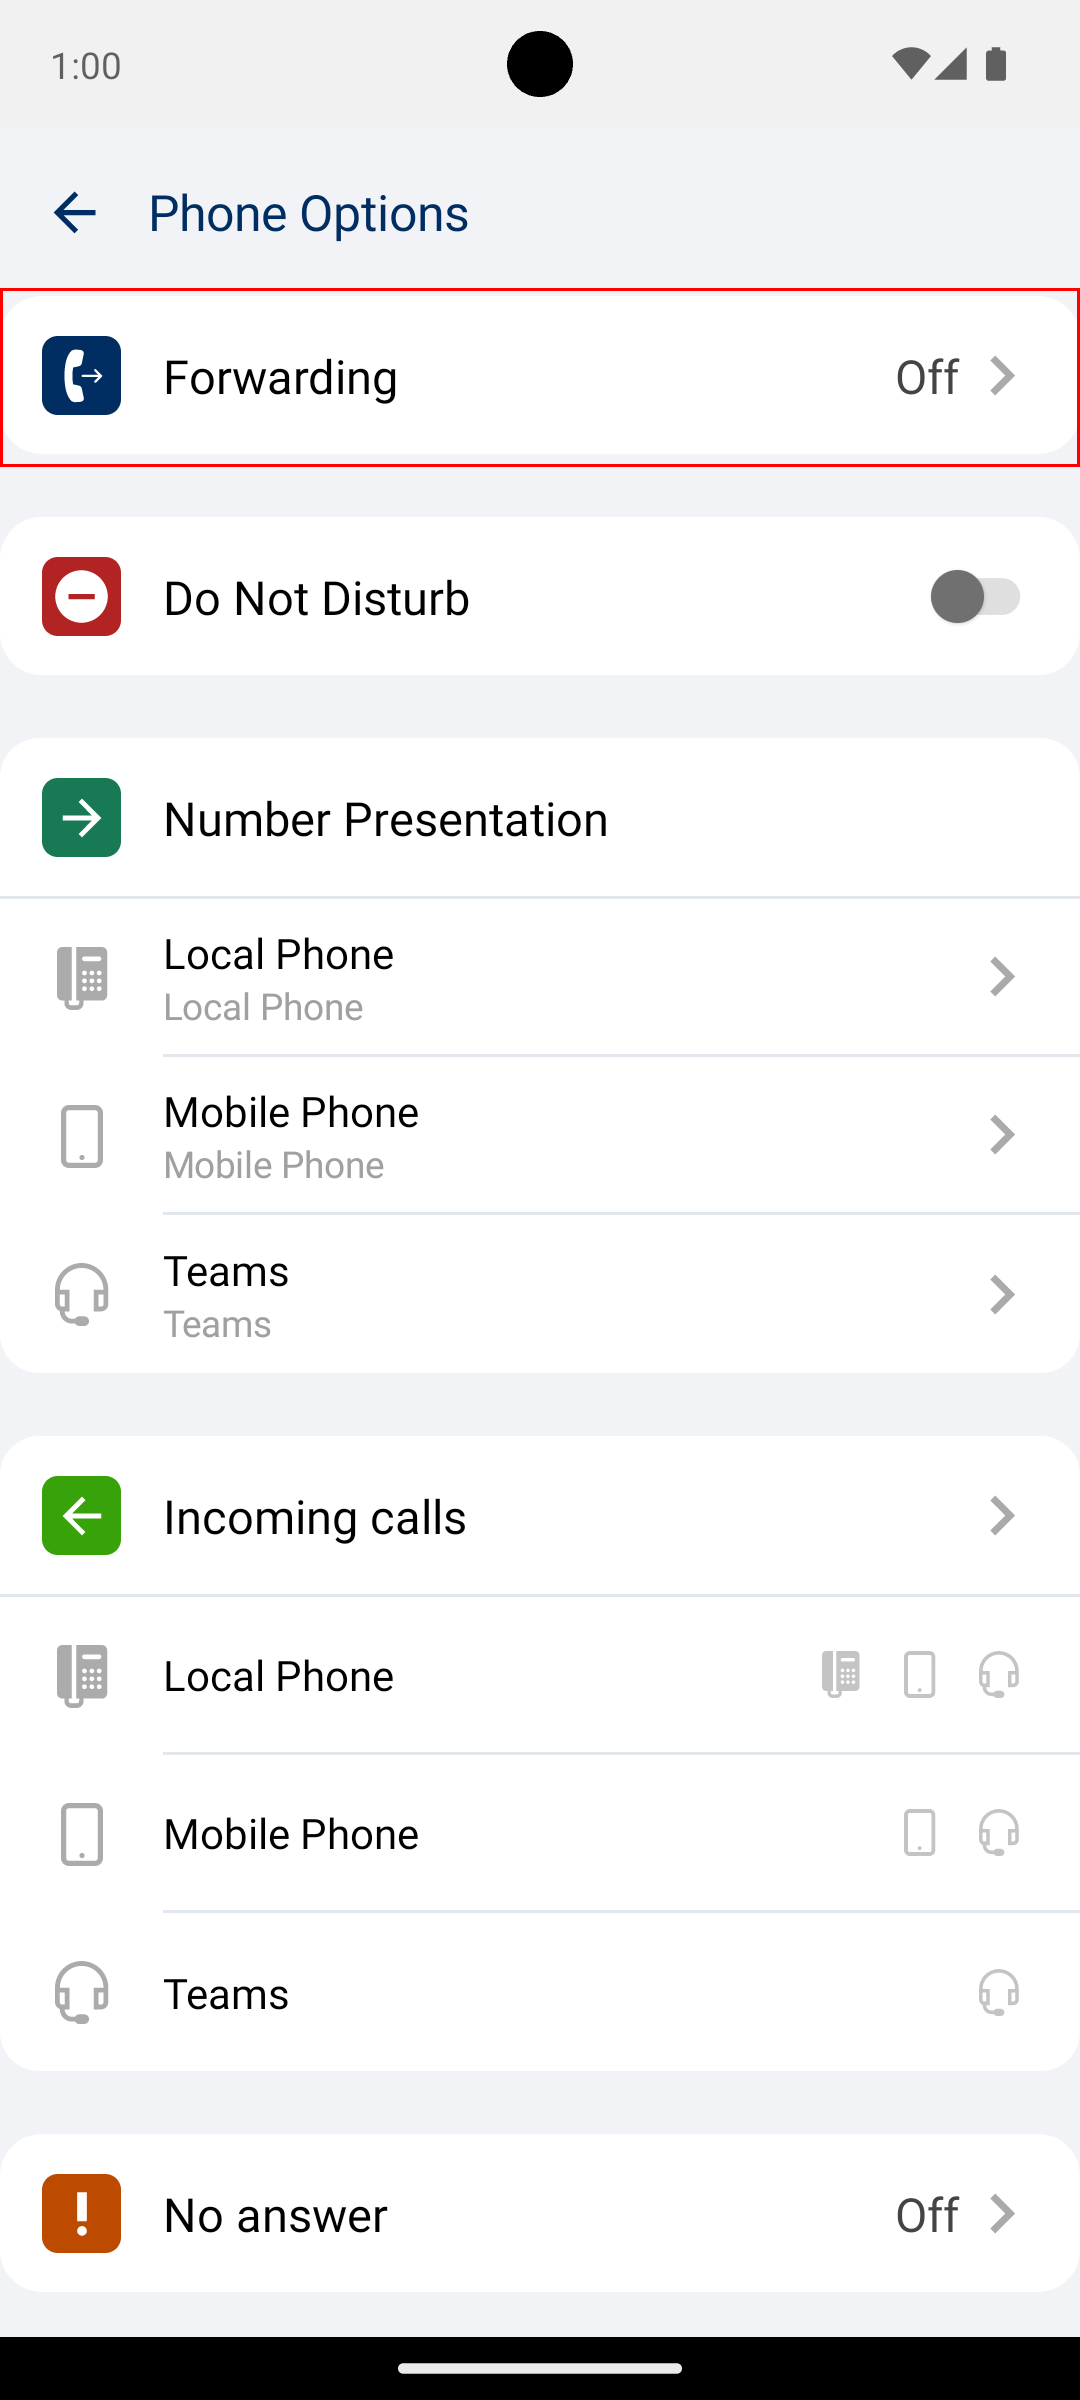

To start forwarding, all you need to do is toggle the forwarding button at the top right or click on a radio button to the right of any forwarding option. When forwarding has been selected, the previous screen will indicate which forwarding was selected which also will be shown on the contact header on viewing the Current State.

Forwarding can also be set when specifying your own state.
There are a couple of icons to make note of, when looking through the forwarding options. These forwarding options are set externally mostly, except the custom number, which can be set both on the app as well as on the PC client. The other forwarding options could be your work number, mobile, local number or other numbers specific to your user.
|
The home icon indicates that this is a home phone number. |
|
The mobile phone icon indicates that this is a mobile phone number. |
|
The work icon indicates that this is a workplace phone number. |
|
The phone icon indicates that this is any phone number. |
|
The custom number icon indicates that this section is possible to customize and change the forwarded number. |
|
The voicemail icon indicates that this is to forward calls to voicemail. |
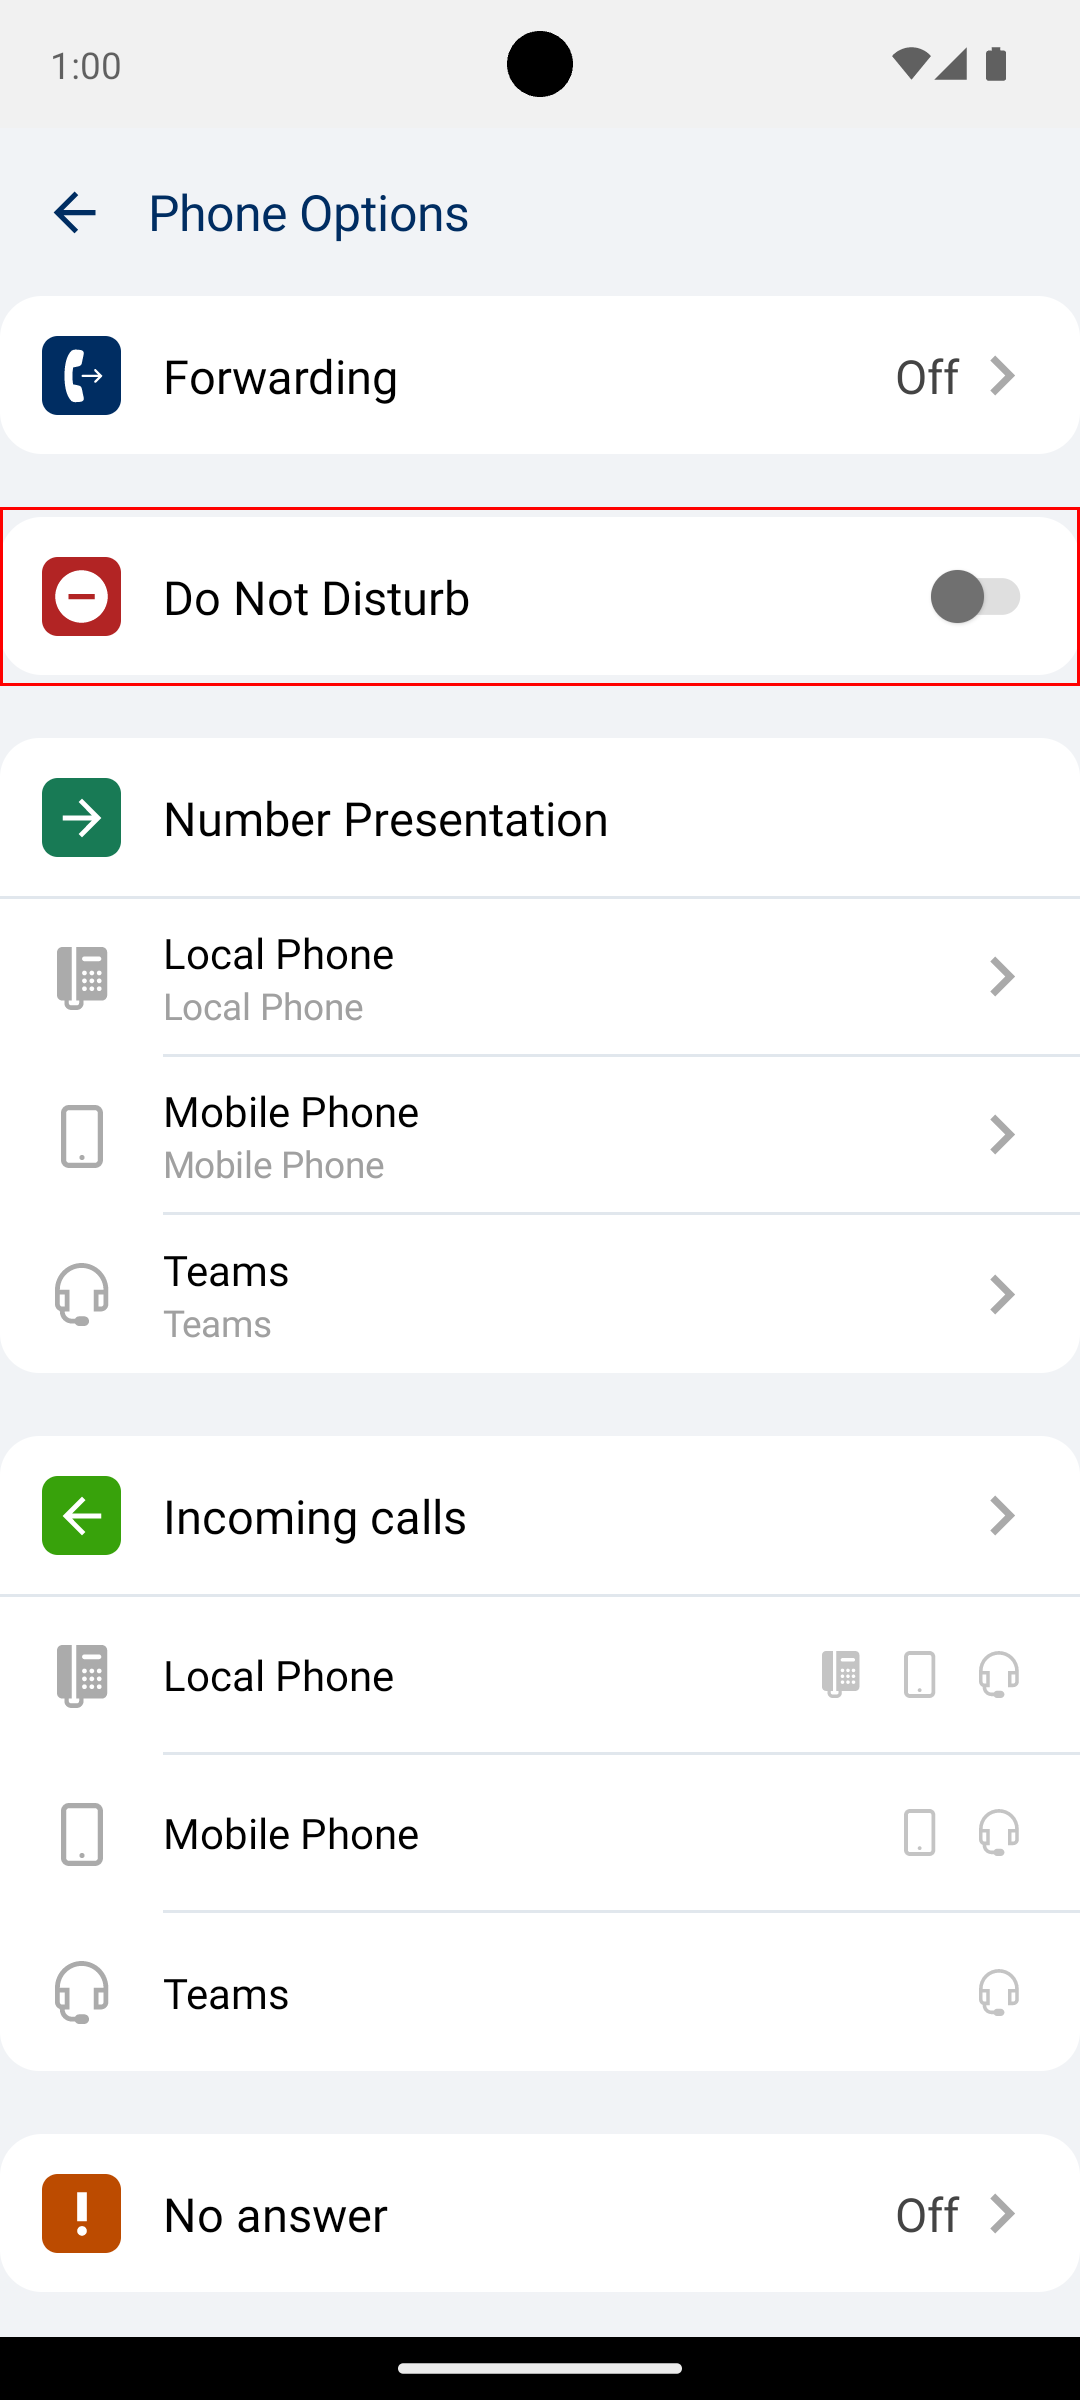
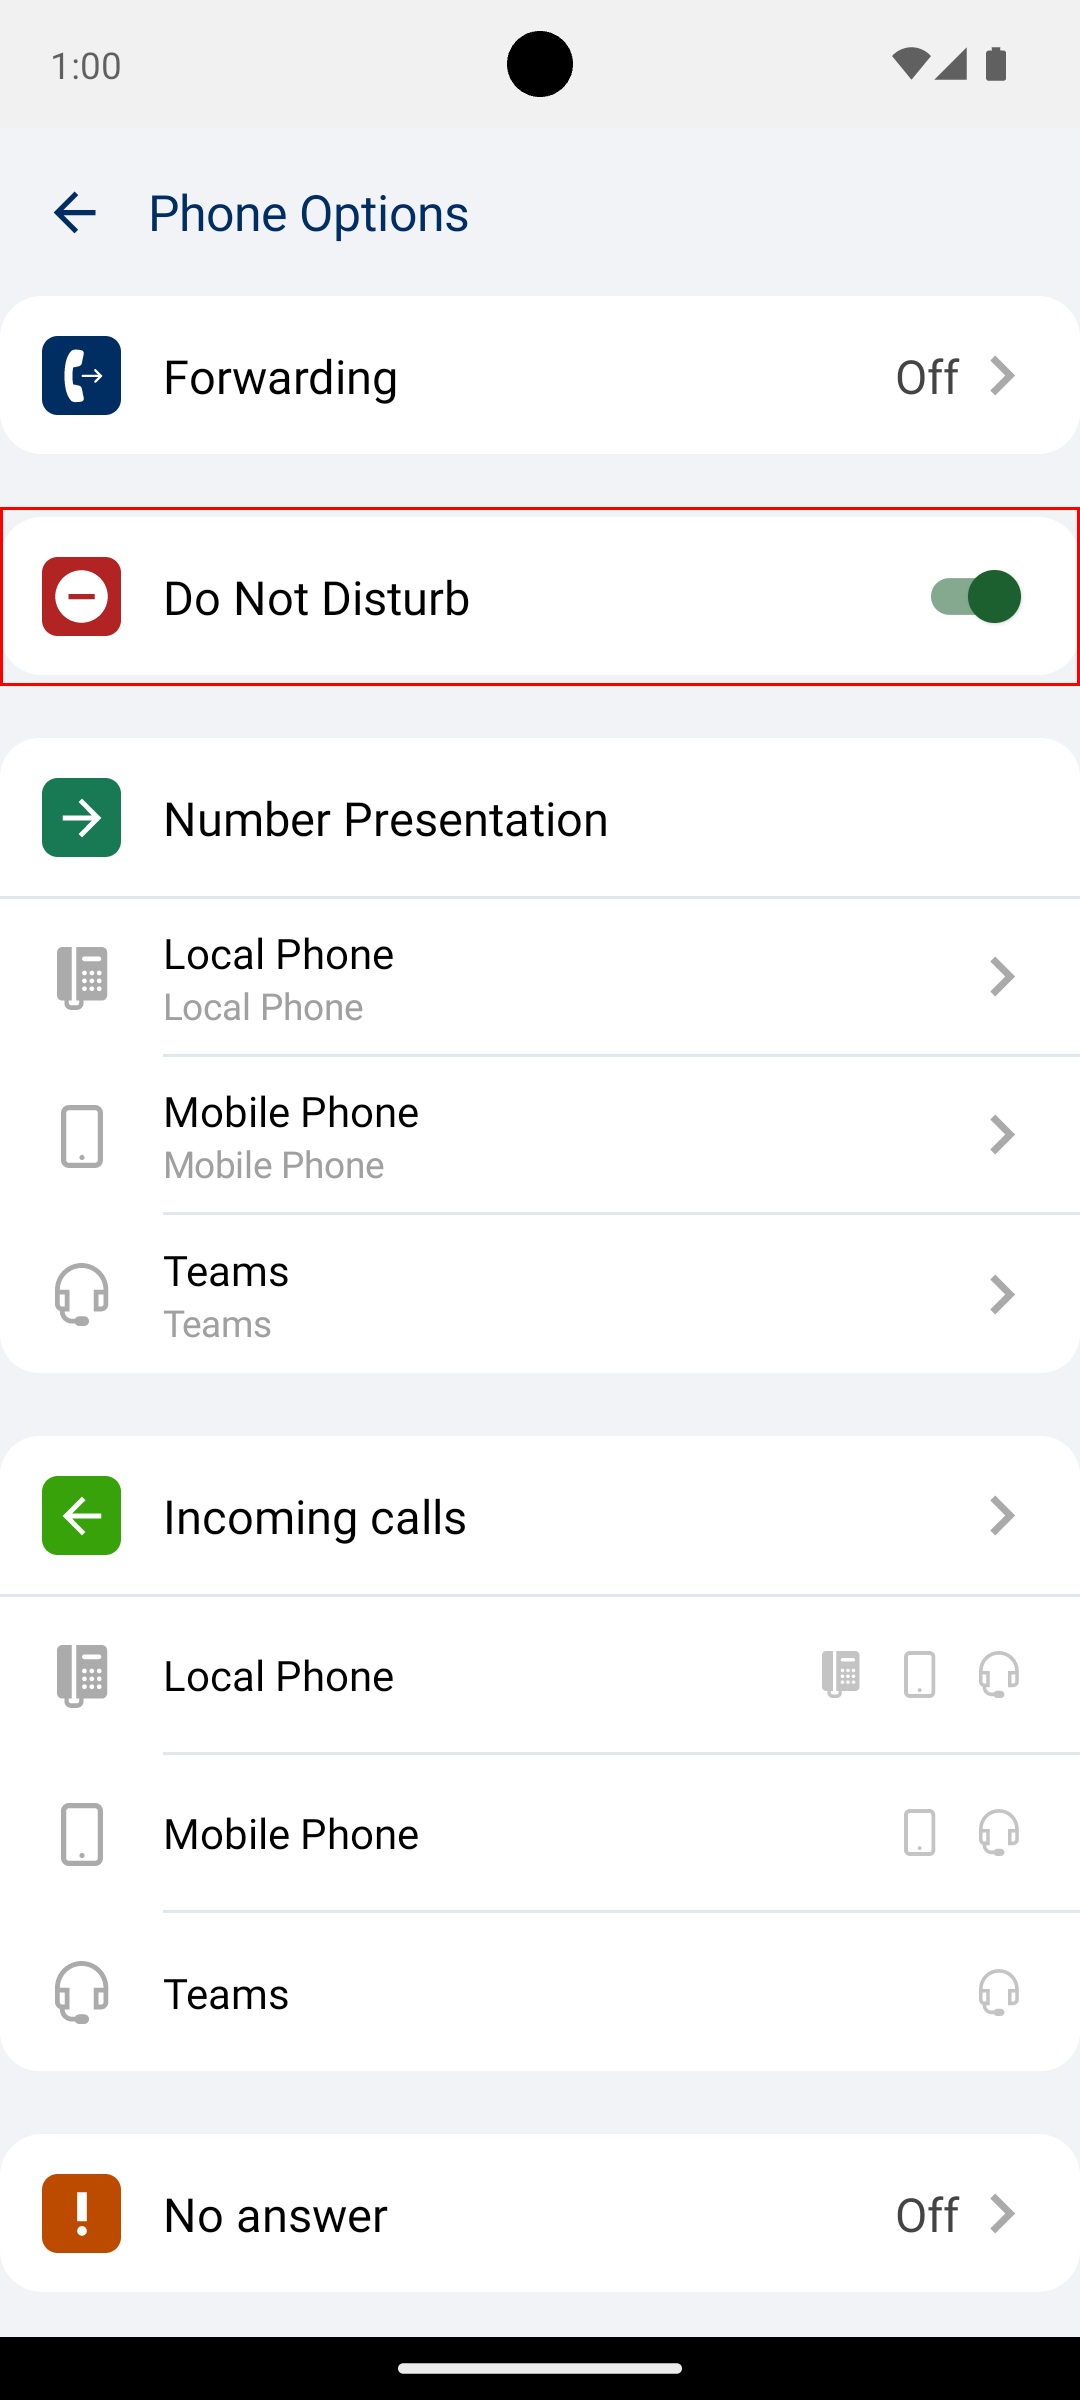
Do Not Disturb
Do not disturb can be toggled on or off to prevent incoming calls reaching your devices. Do not disturb can also be seen if active on the contact header when viewing the Current State.
Call Profile
The call profile is used to specify what device will ring, what presentation is shown when calling and if not answering the device, if that call should be forwarded elsewhere after a timeout.
The call profile works similar to how the PC client call profile settings handles the call profile.
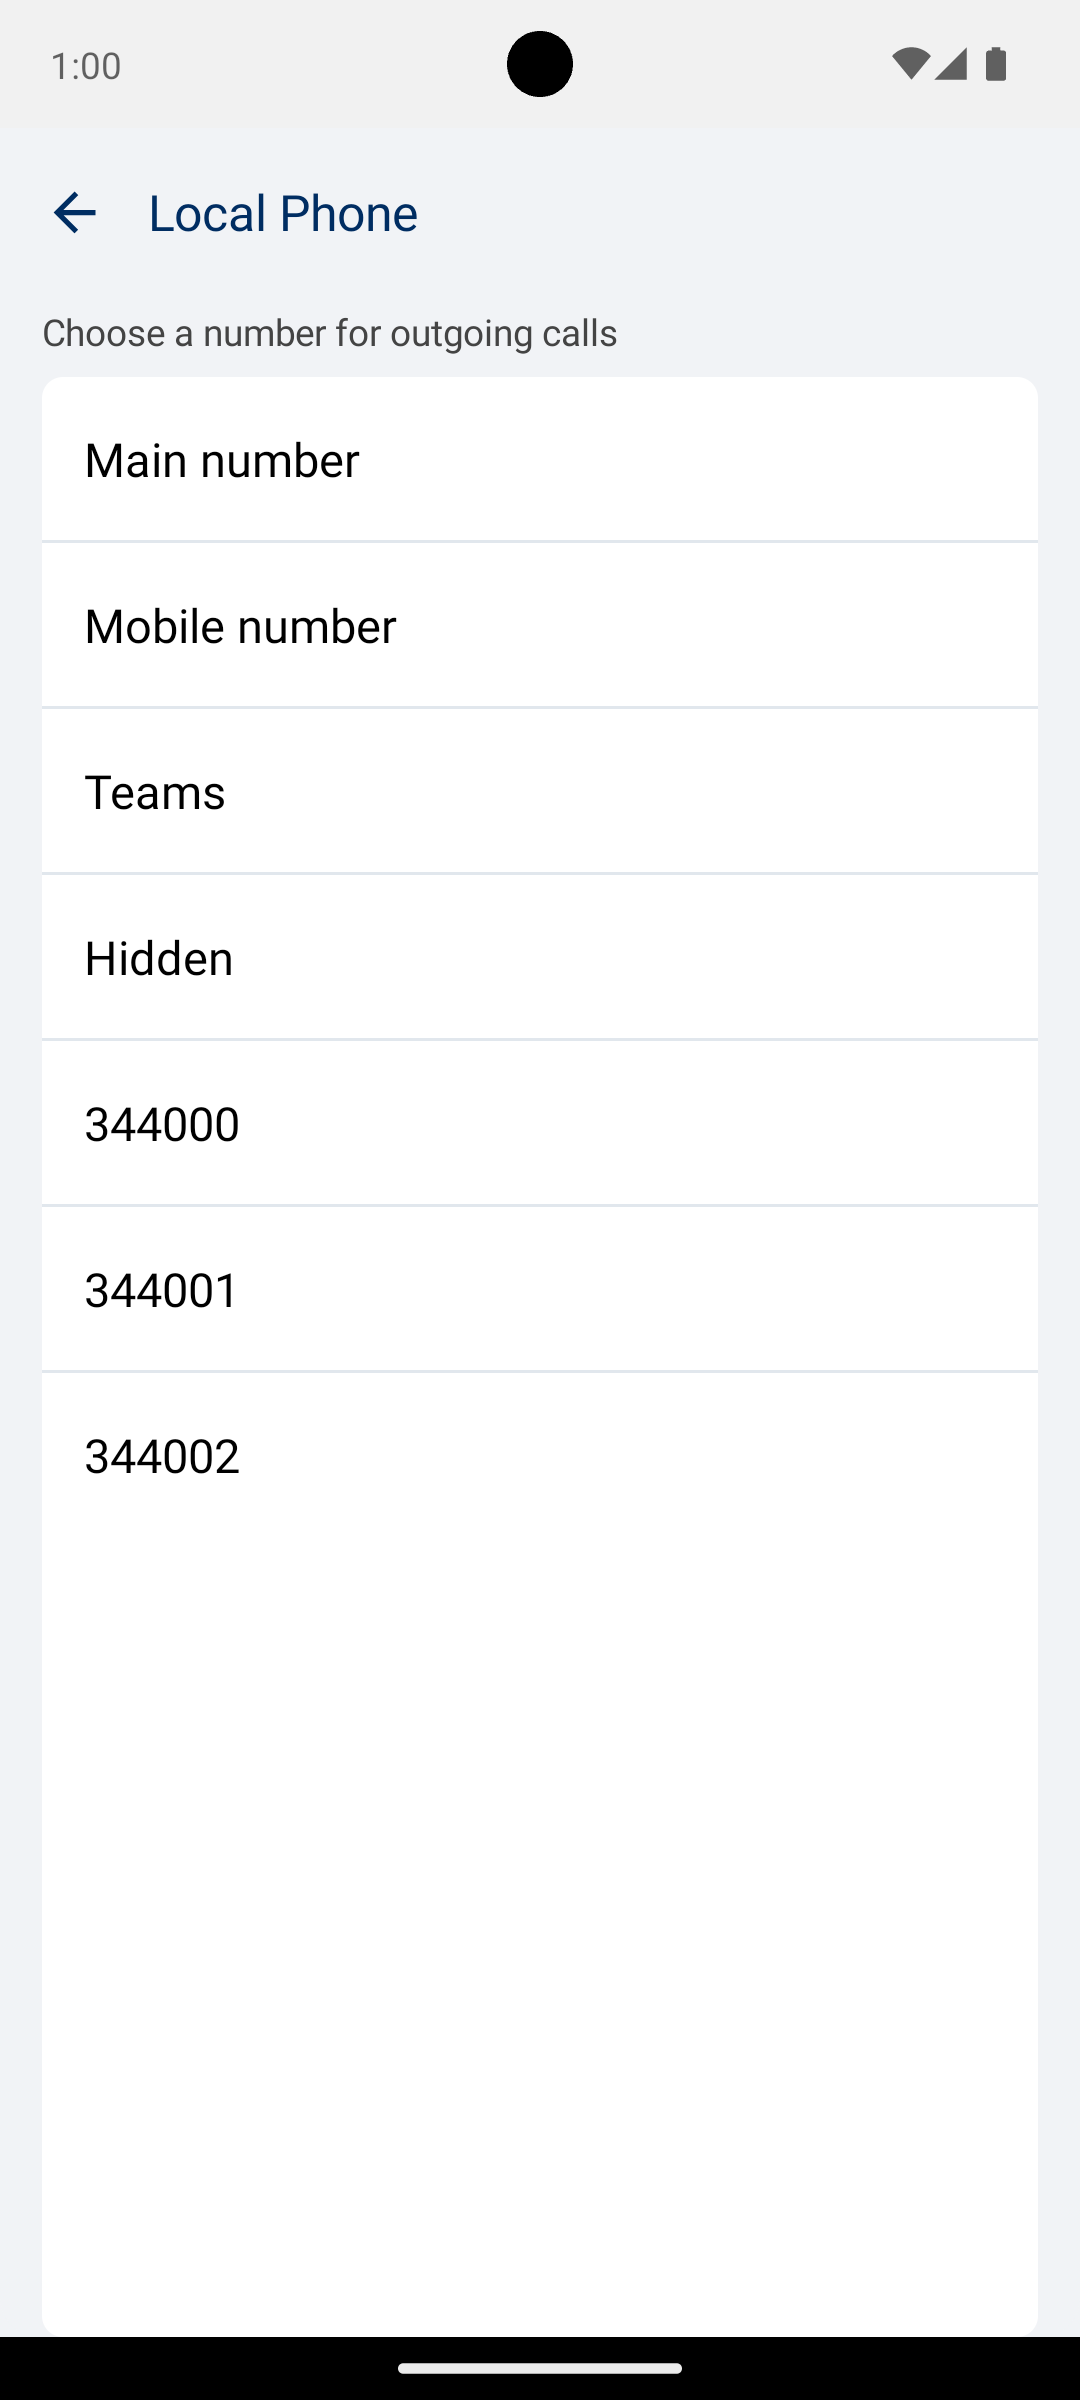
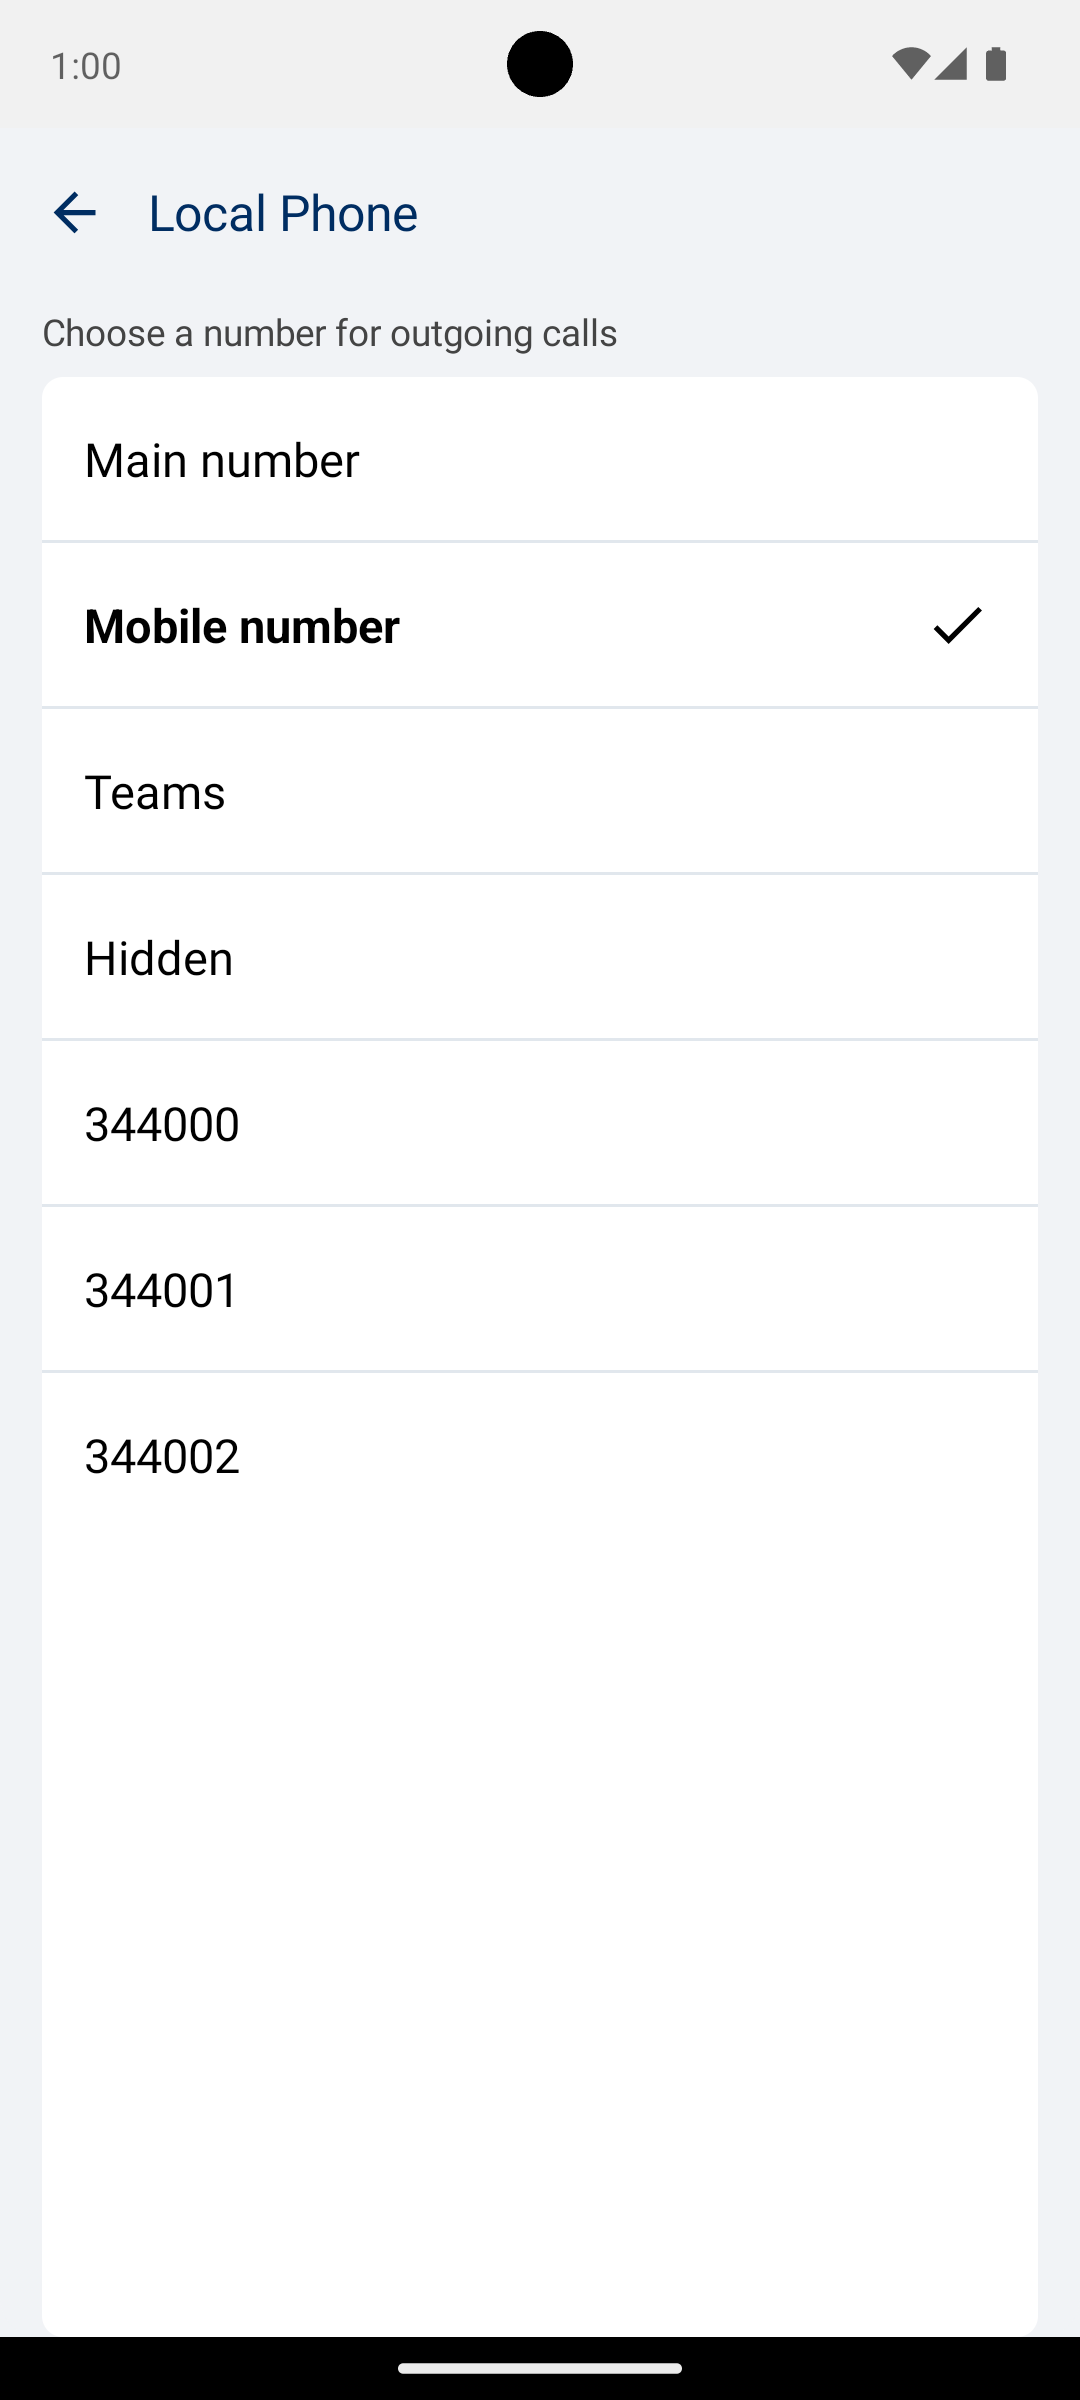
Number Presentation
In the number presentation section, you have the ability to select which number should be presented outwards when calling from your local, mobile or teams devices.
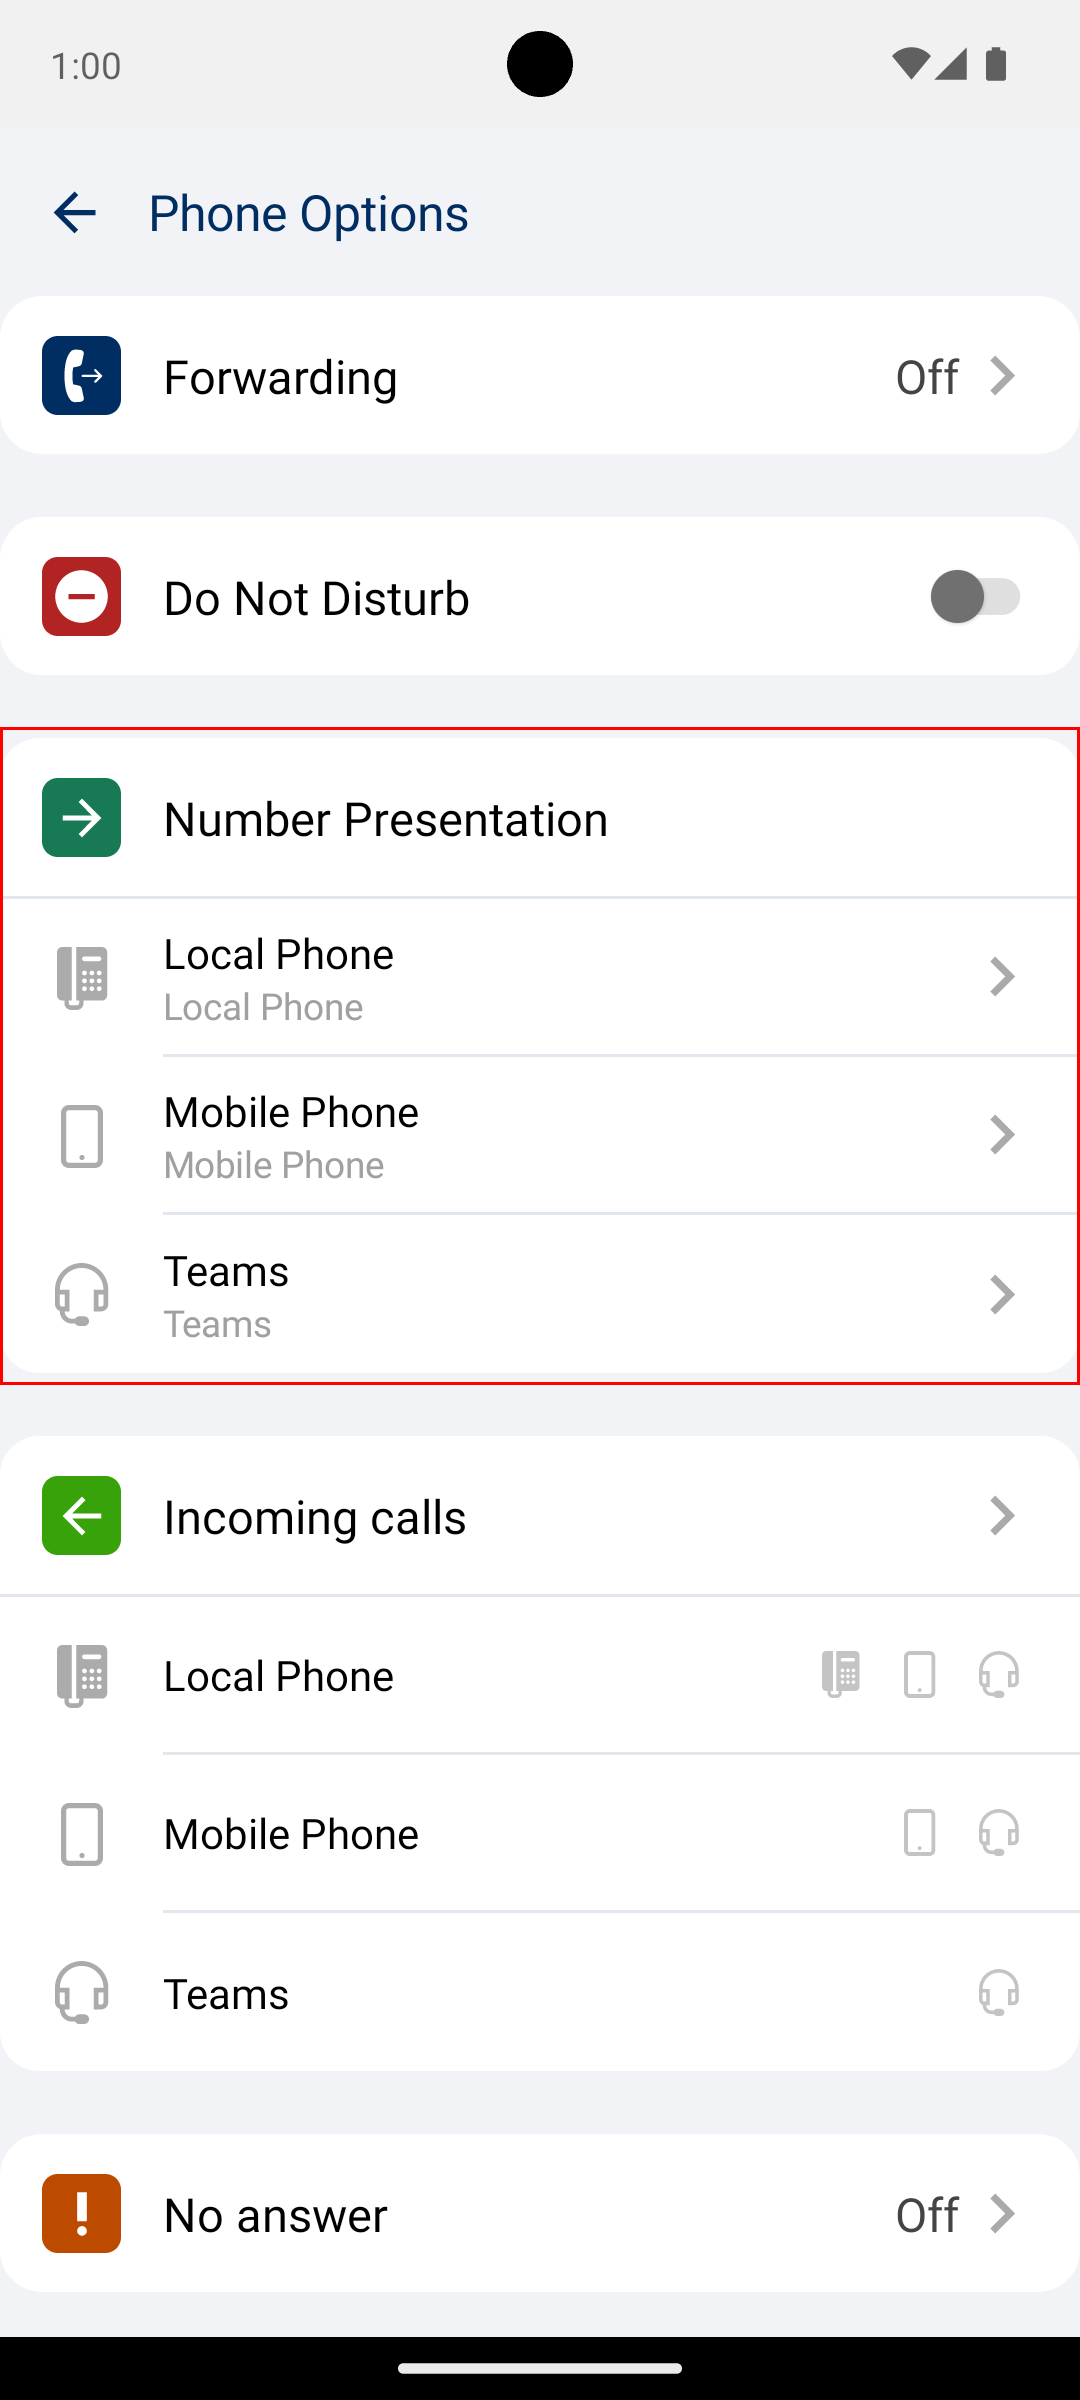
When choosing a number presentation, you have the ability to select from the following options:
None |
When nothing is selected, the three options default to their respective defaults. |
Main Number |
The Main number. |
Mobile Number |
The Mobile number. |
Local Number |
The Local number. May only be selected from the mobile phone. |
Teams |
The Teams number. |
Hidden |
Hidden. If chosen, the number will be hidden when calling. |
Choice |
When choosing a specific number and not one of the options above, then it’s a Choice option. |
Opening the number presentation menu, you will navigate to a page that has a list of options. If choosing for example the local phone, then local phone will be written at the top and whatever option you choose will be selected for the local phone. When you have selected an option, the page will automatically navigate back and show the updated settings on the main phone options screen.
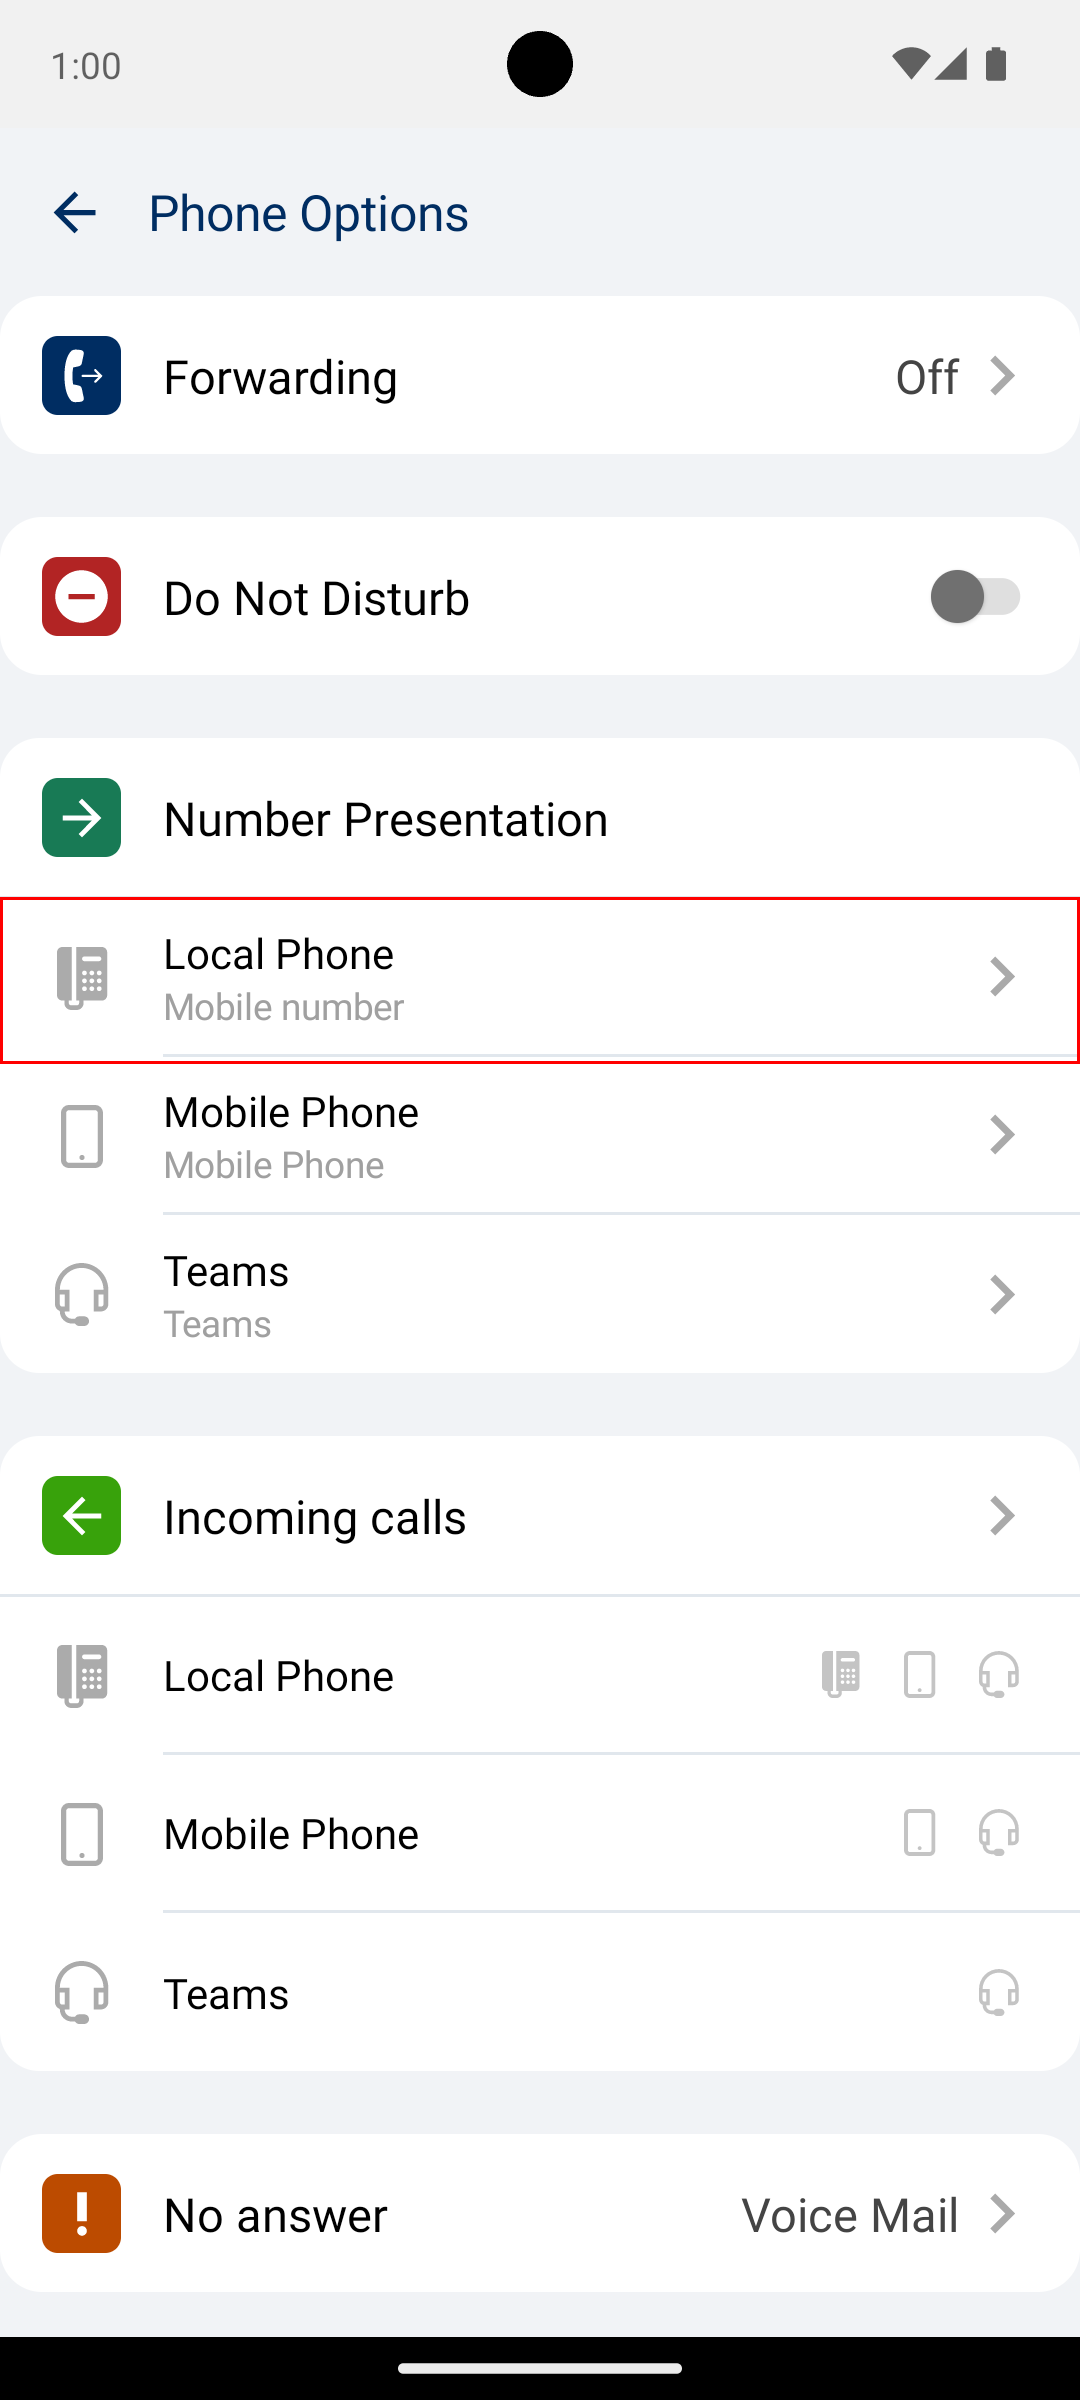
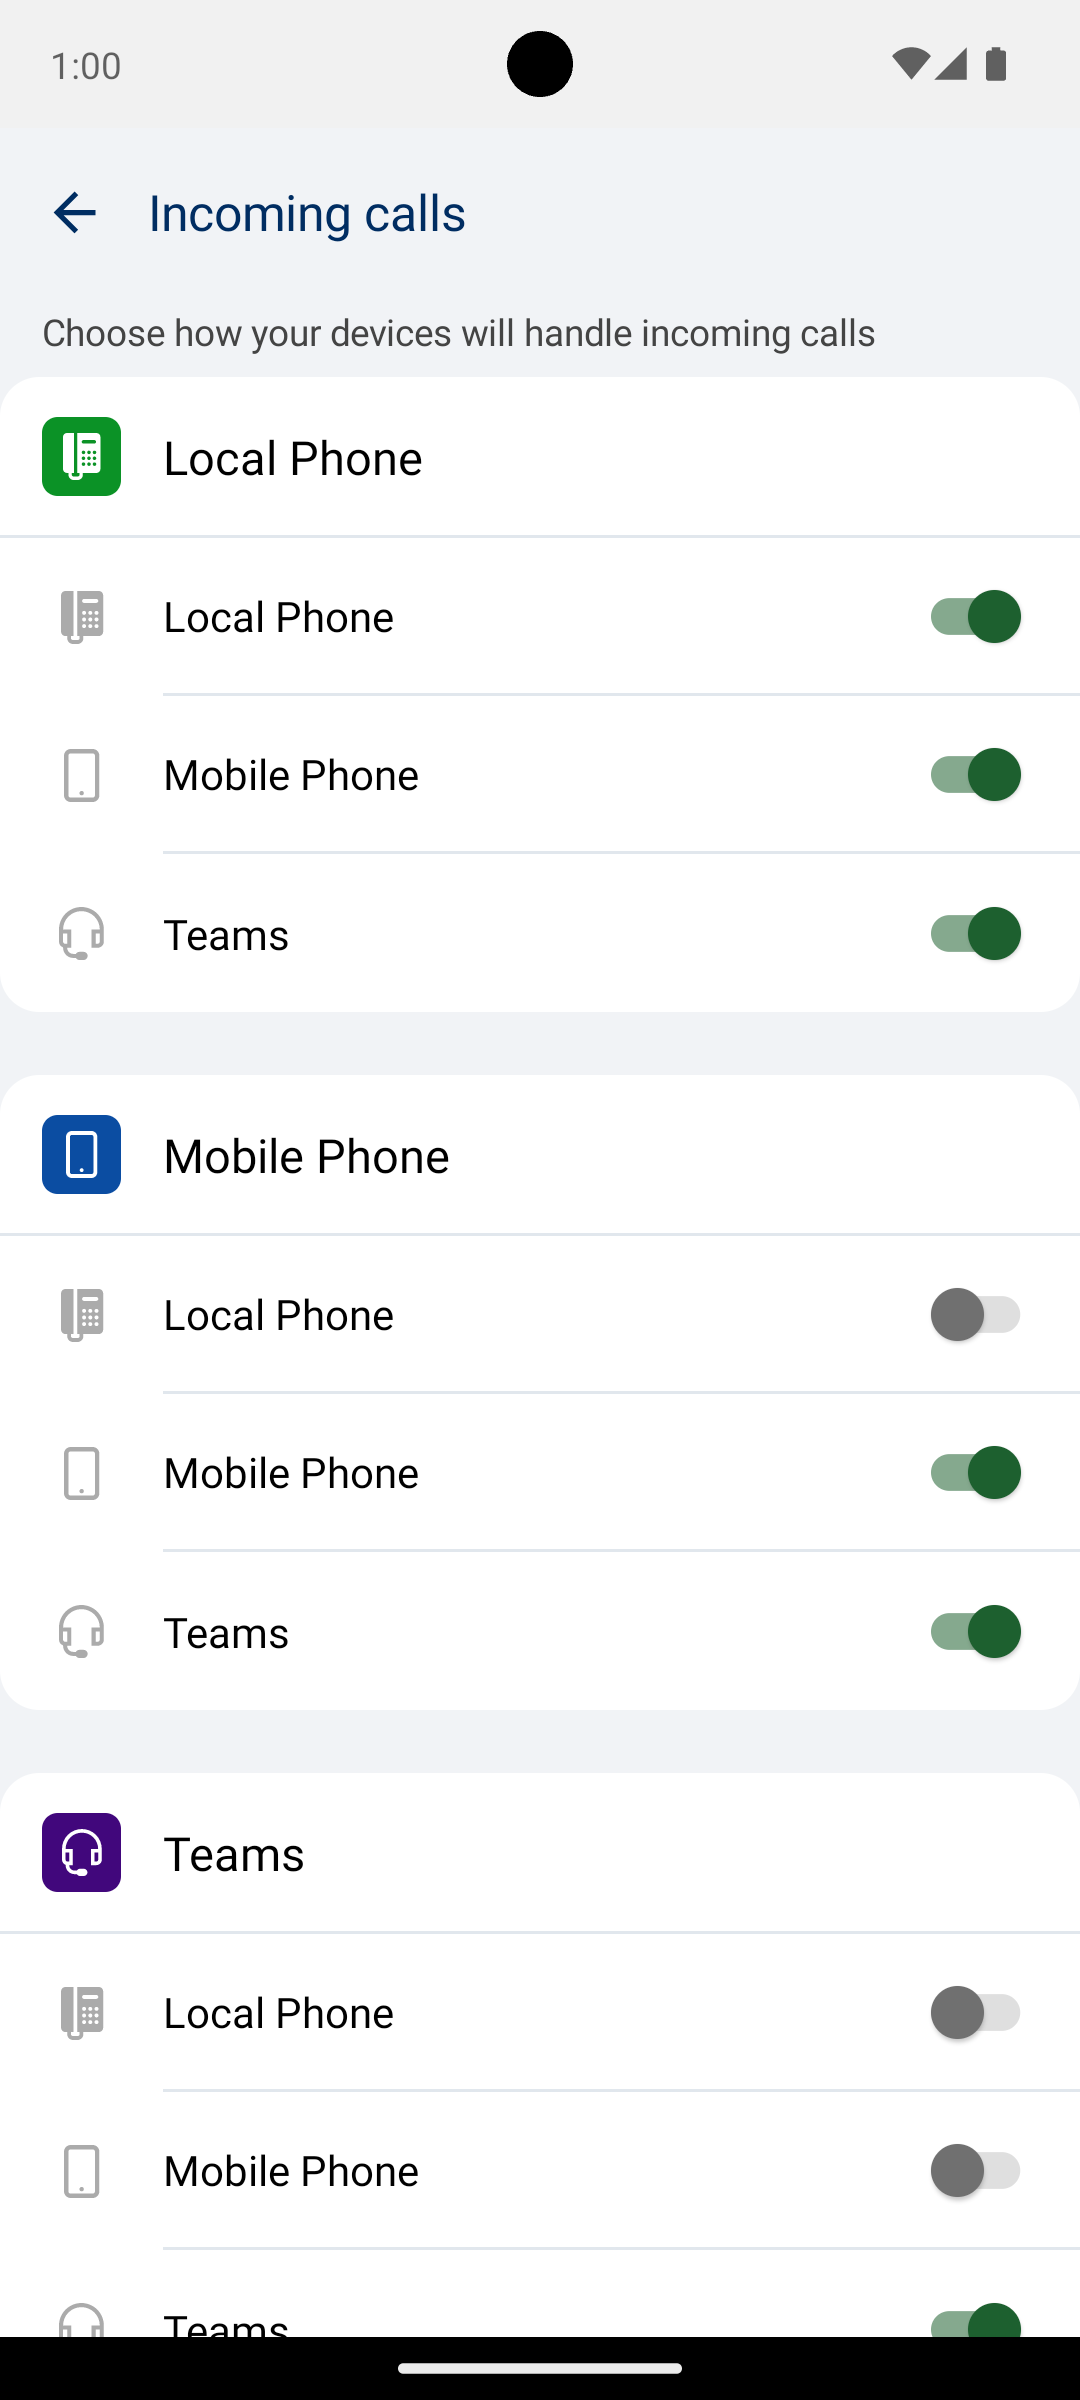
Incoming Calls
In the incoming call section, you have the ability to select which devices should be ringing when someone is calling one of your devices. This setting works as a matrix, as in, you can choose if calls on your local phone can be ringing on your local devices, same goes for the two other options; mobile and teams.
The matrix below is an example of how it could look in practice, when everything is turned on for local, half for mobile and only 1 for teams and is reflected in the screenshot from the app with different icons indicating what is turned on.
Local |
Mobile |
Teams |
|
Local |
X |
X |
X |
Mobile |
X |
X |
|
Teams |
X |
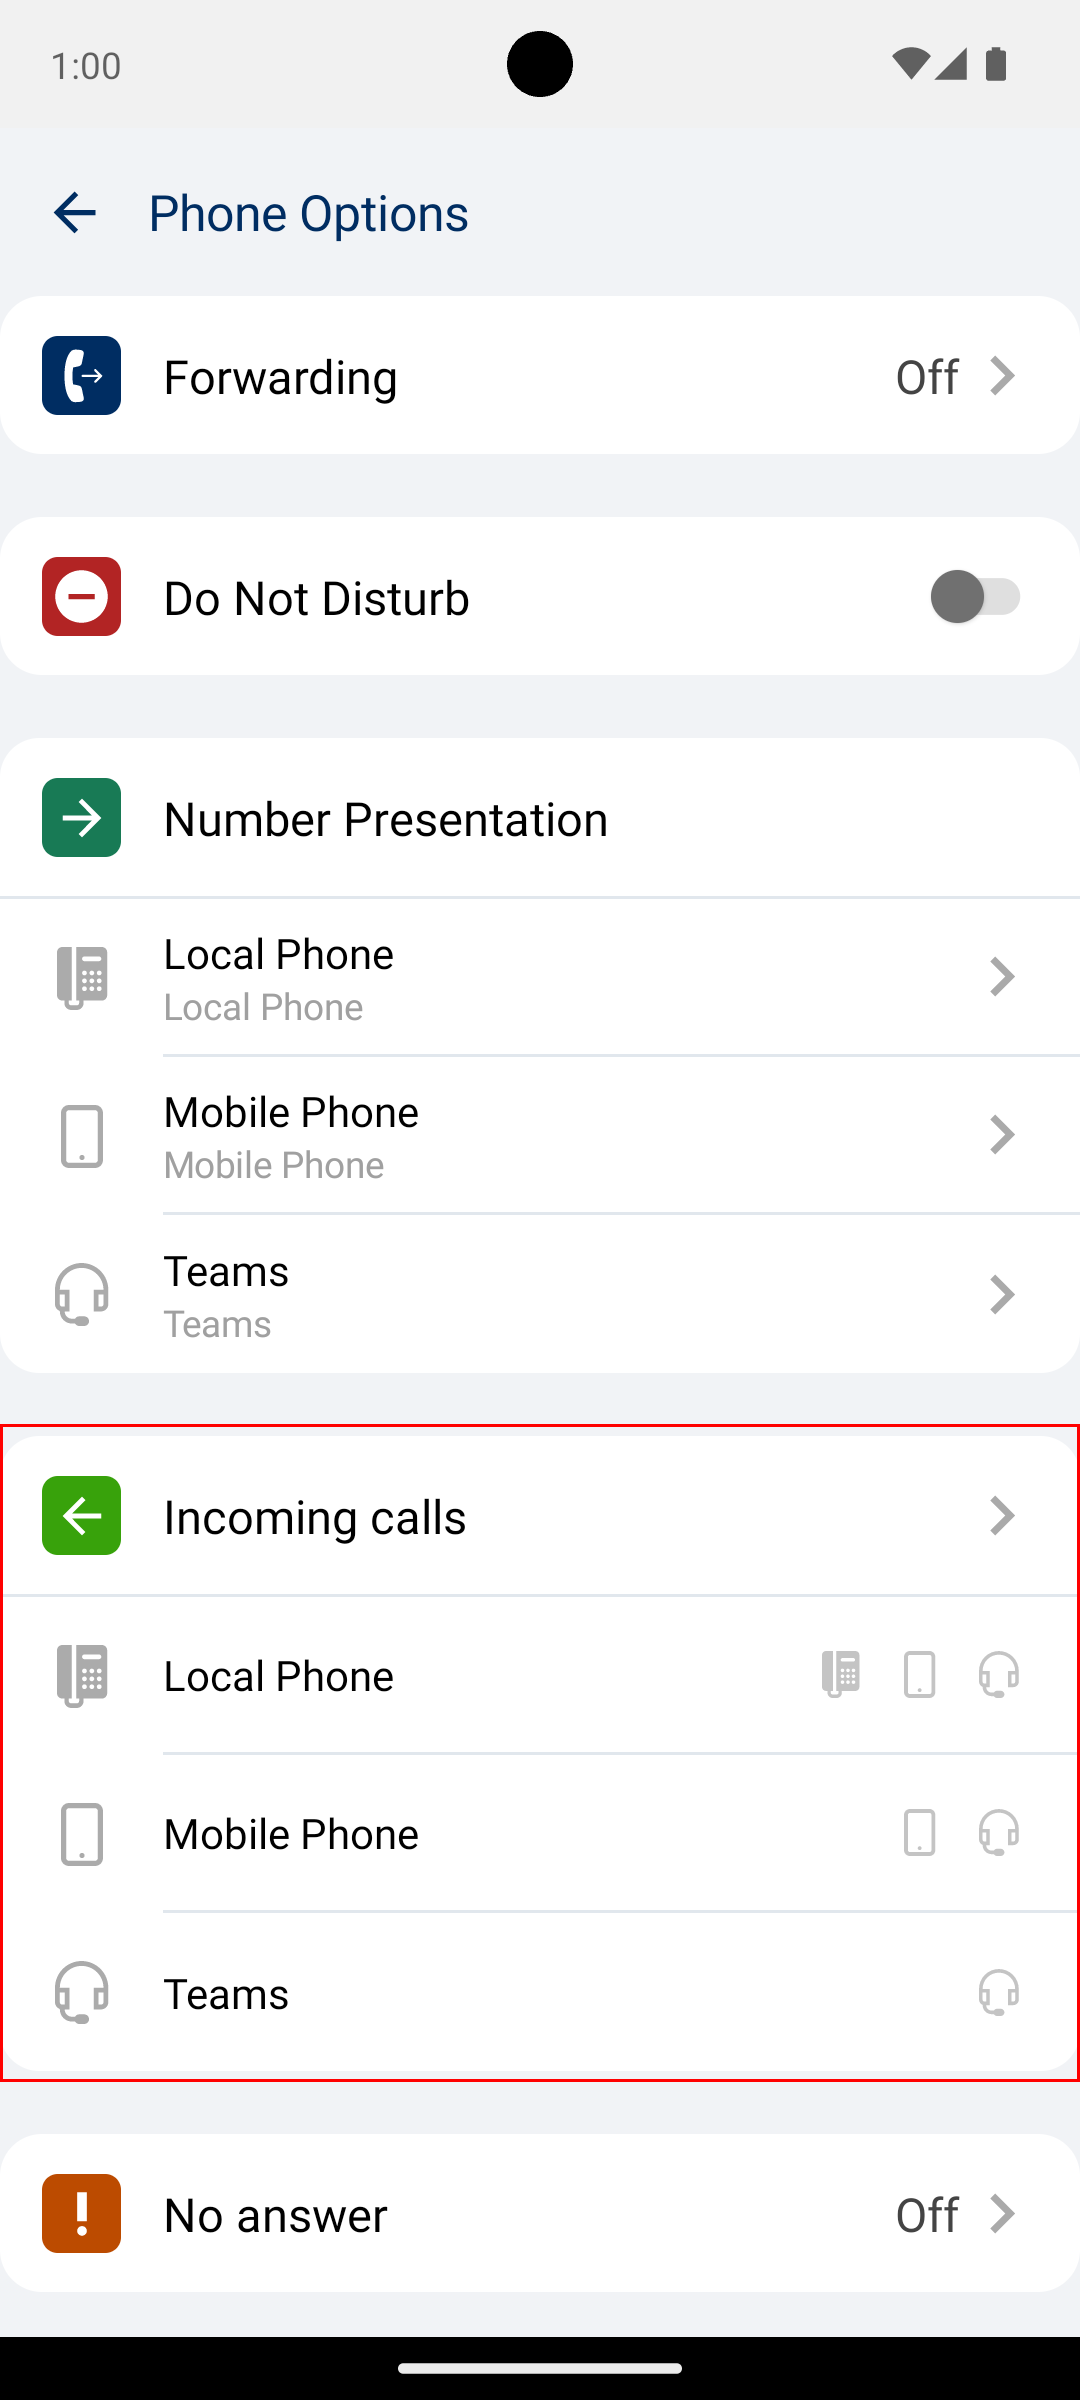
When opening the incoming calls page, you are presented with multiple toggles that can turn on or off incoming calls for each of your devices. This screen will also reflect the selected matrix shown in the screen before with the icons on the side of the incoming calls section.
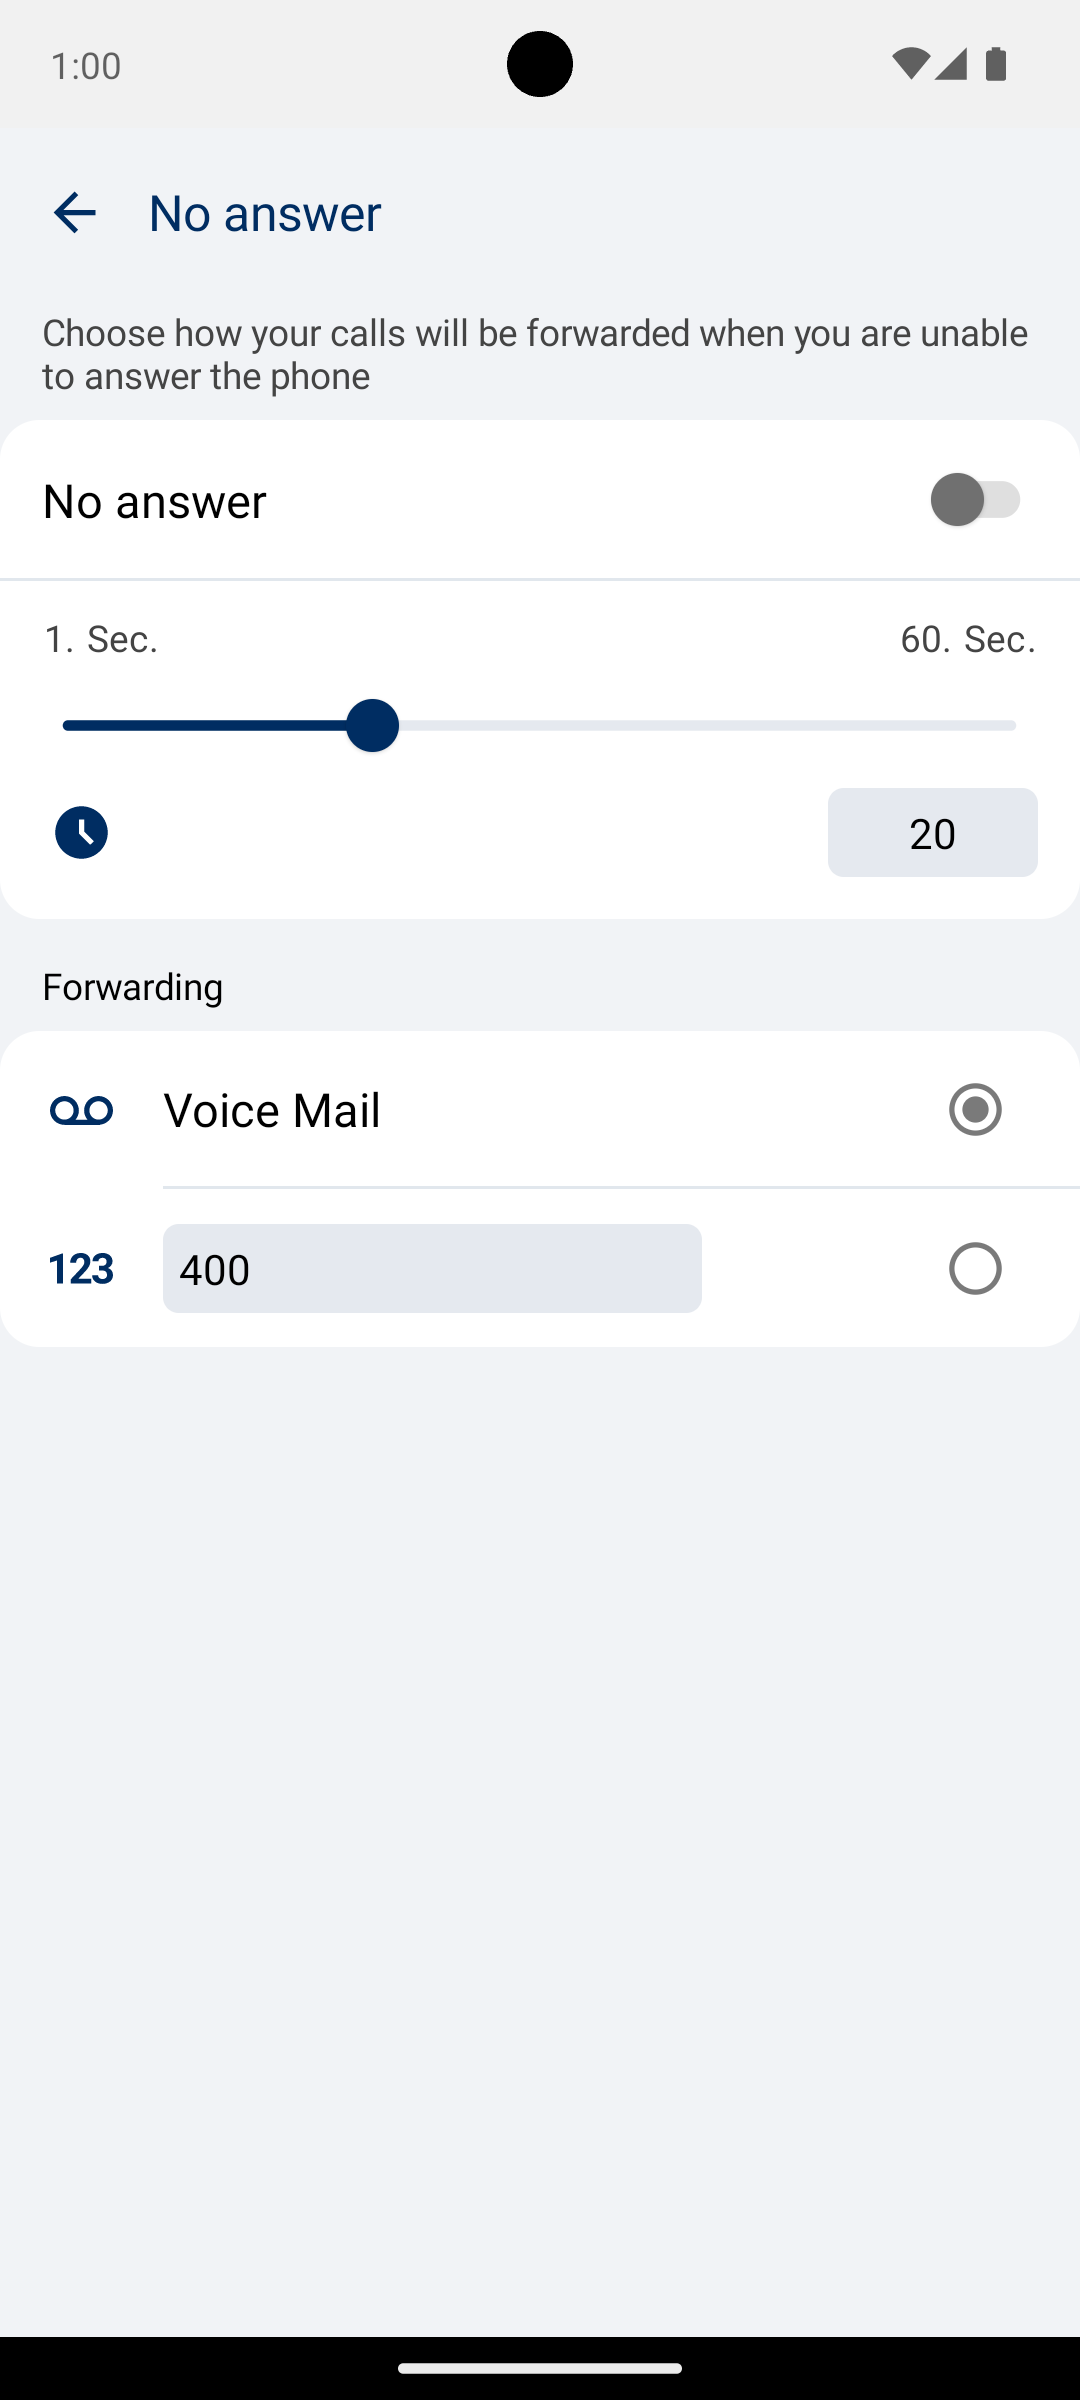
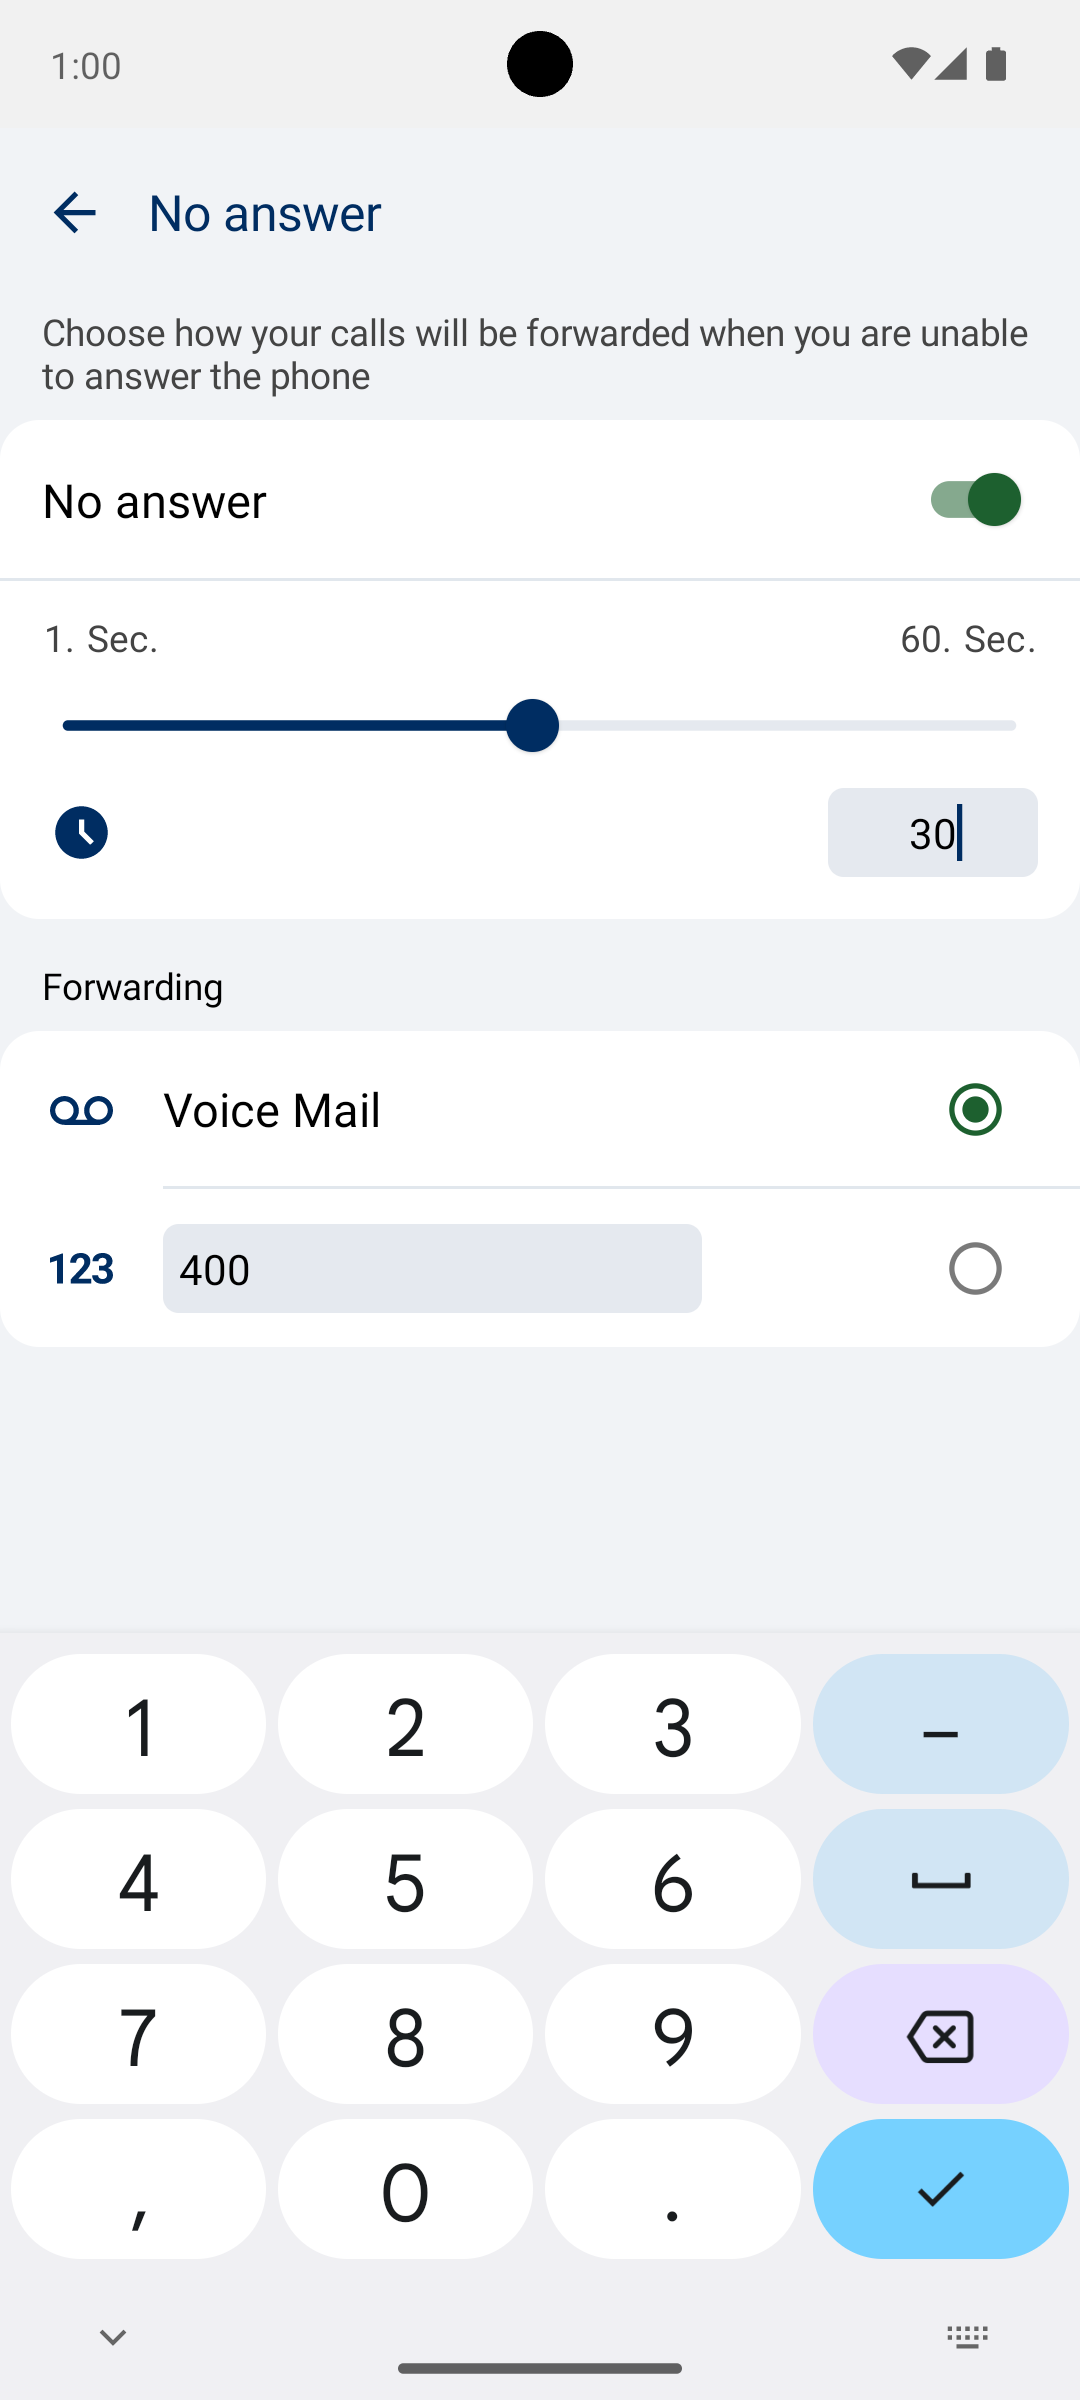
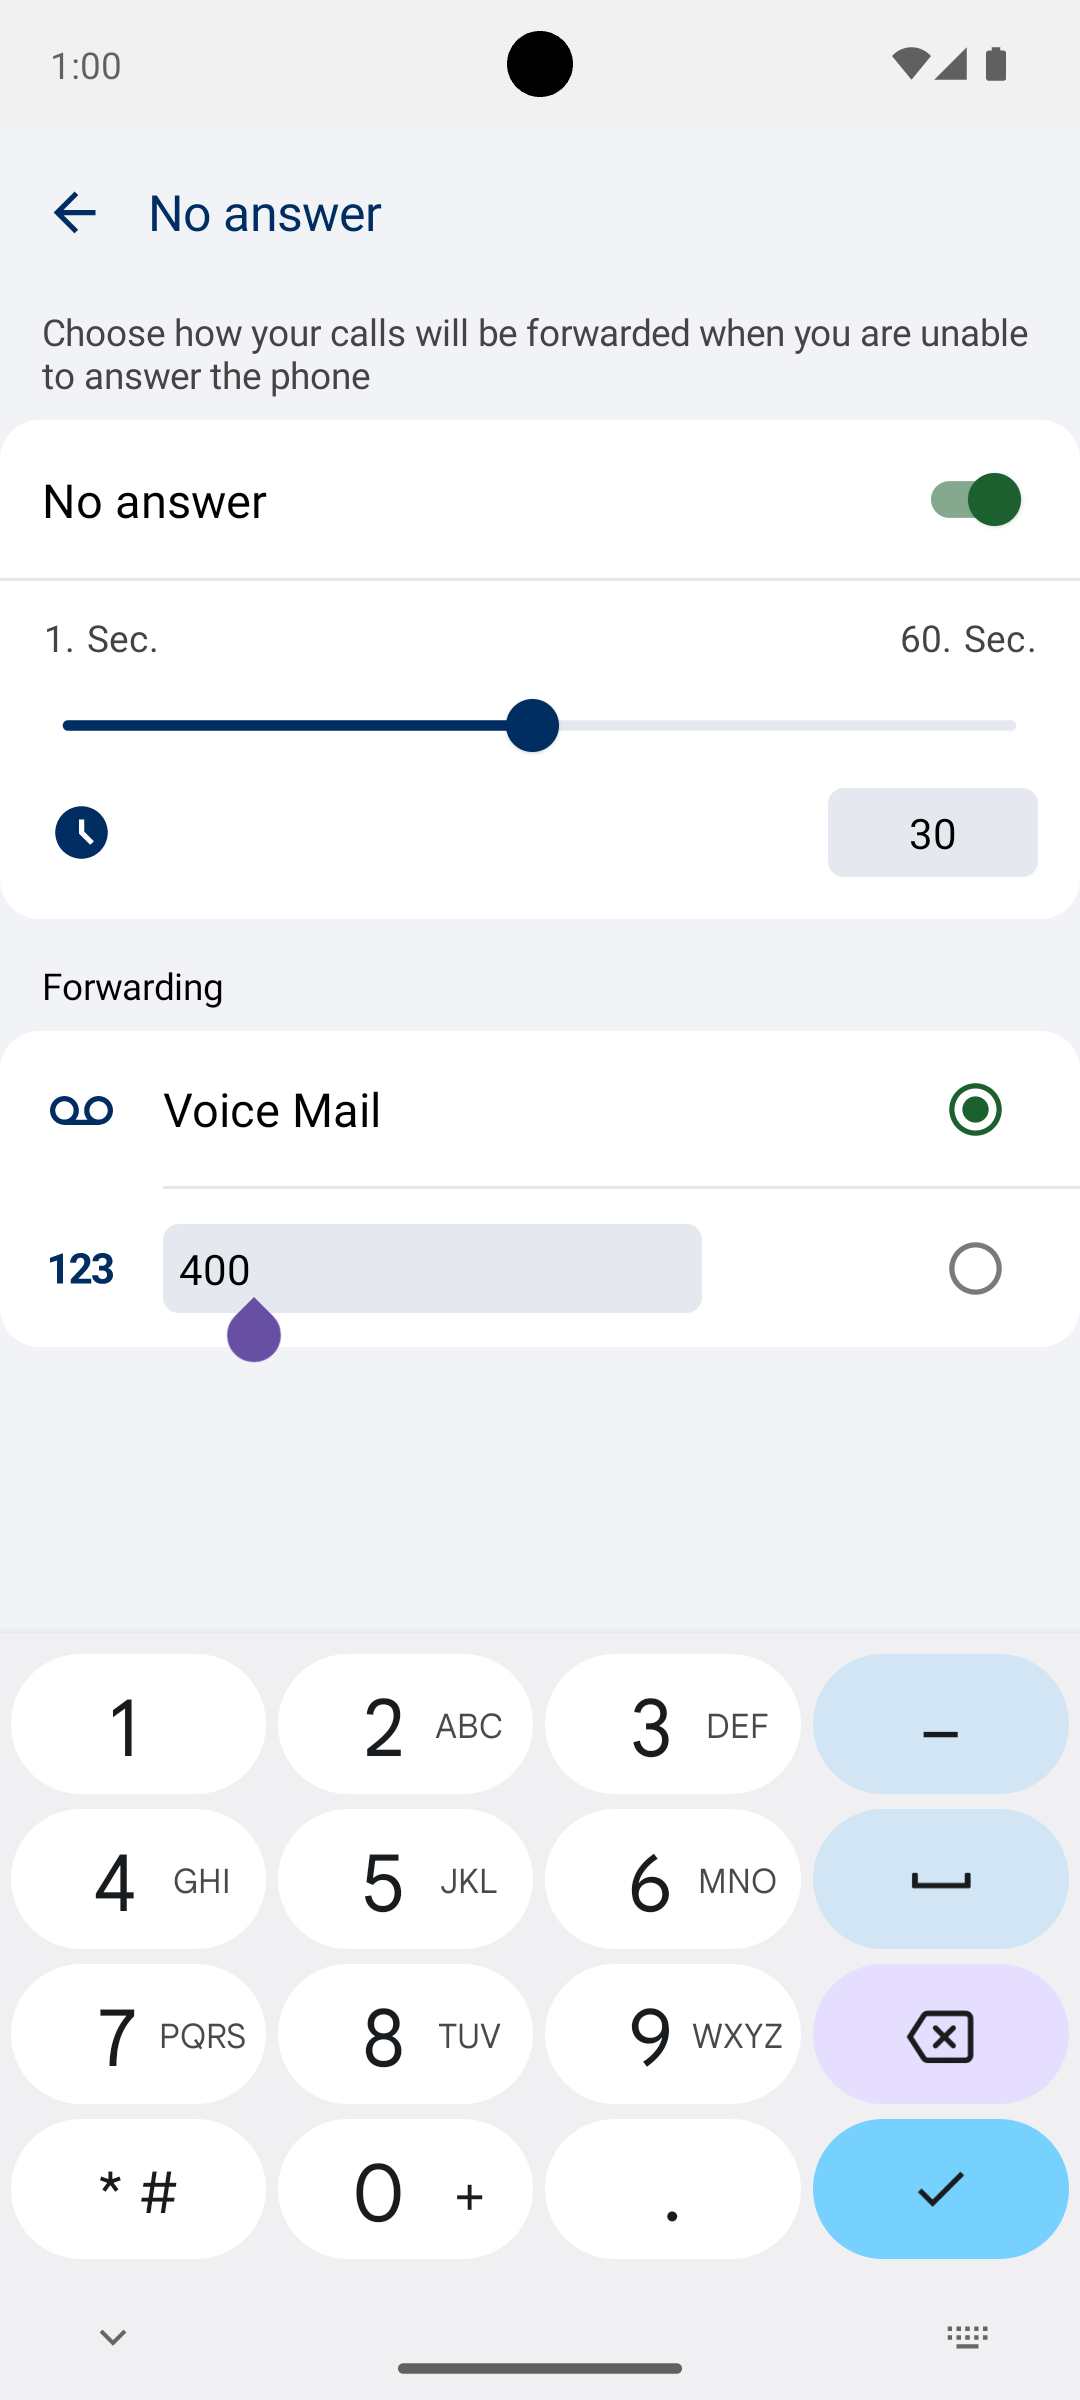
No Answer
The no answer section can be turned on if you want to forward calls after a certain amount of time when not answering the call.
It is possible to choose a timeout between 1 - 60 seconds as well as forward to voice mail or a custom number. The slider can be used to adjust the timeout span and if you want to be specific, the text field to the right can also be used.
Custom number can be typed in the text field in the forwarding section and can be toggled by using the radio button or just pressing enter on the keyboard when finished. When forwarding has been selected, the previous screen will be updated and will show what no answer forwarding was selected.