Time
The “Time” feature offers a comprehensive overview of work and states.
Users can monitor balances, working hours, and adjust registrations as needed.
This empowers users to maintain control, minimize registration errors, and achieve optimal work accuracy.
Set Up
In order to utilize time in the apps, the organization must use Totalview Time.
Depending on the user’s setup, the view and options in time will vary.
User rights that affect available options are as follows:
Whether the employee has the right to use the Totalview app
Whether the employee has the right to edit registrations
Whether the employee can edit and accept their own registrations and changes
Time Overview
The Time Overview consists of two main features: Time Account Balance and Weekly Work Overview.
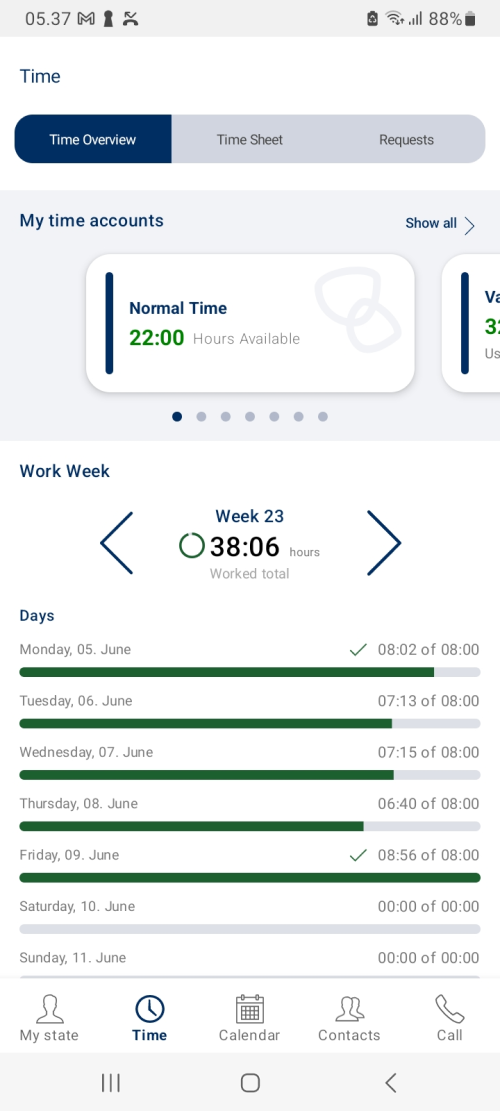
Time Account Balance
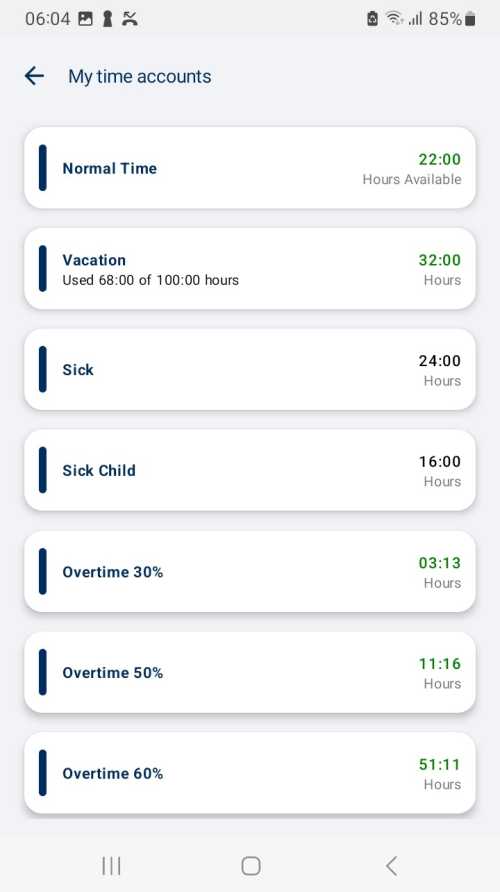
Time accounts are presented in cards that can be shuffled through.
For a more comprehensive overview, select “show all.”
Work Week
The work week header shows you the average work week in hours and minutes over the last 4 months plus an icon indicating the level. If the average is 44:00 or less the level icon is a green checkmark. If the average is between 44:01 and 48:00 the level icon is a yellow warning icon. If the average is 48:01 or higher the level icon is a read exclamation mark.
By pressing the arrows to the left and right, you see the past weeks.
The work week shows the working hours each day of the week.
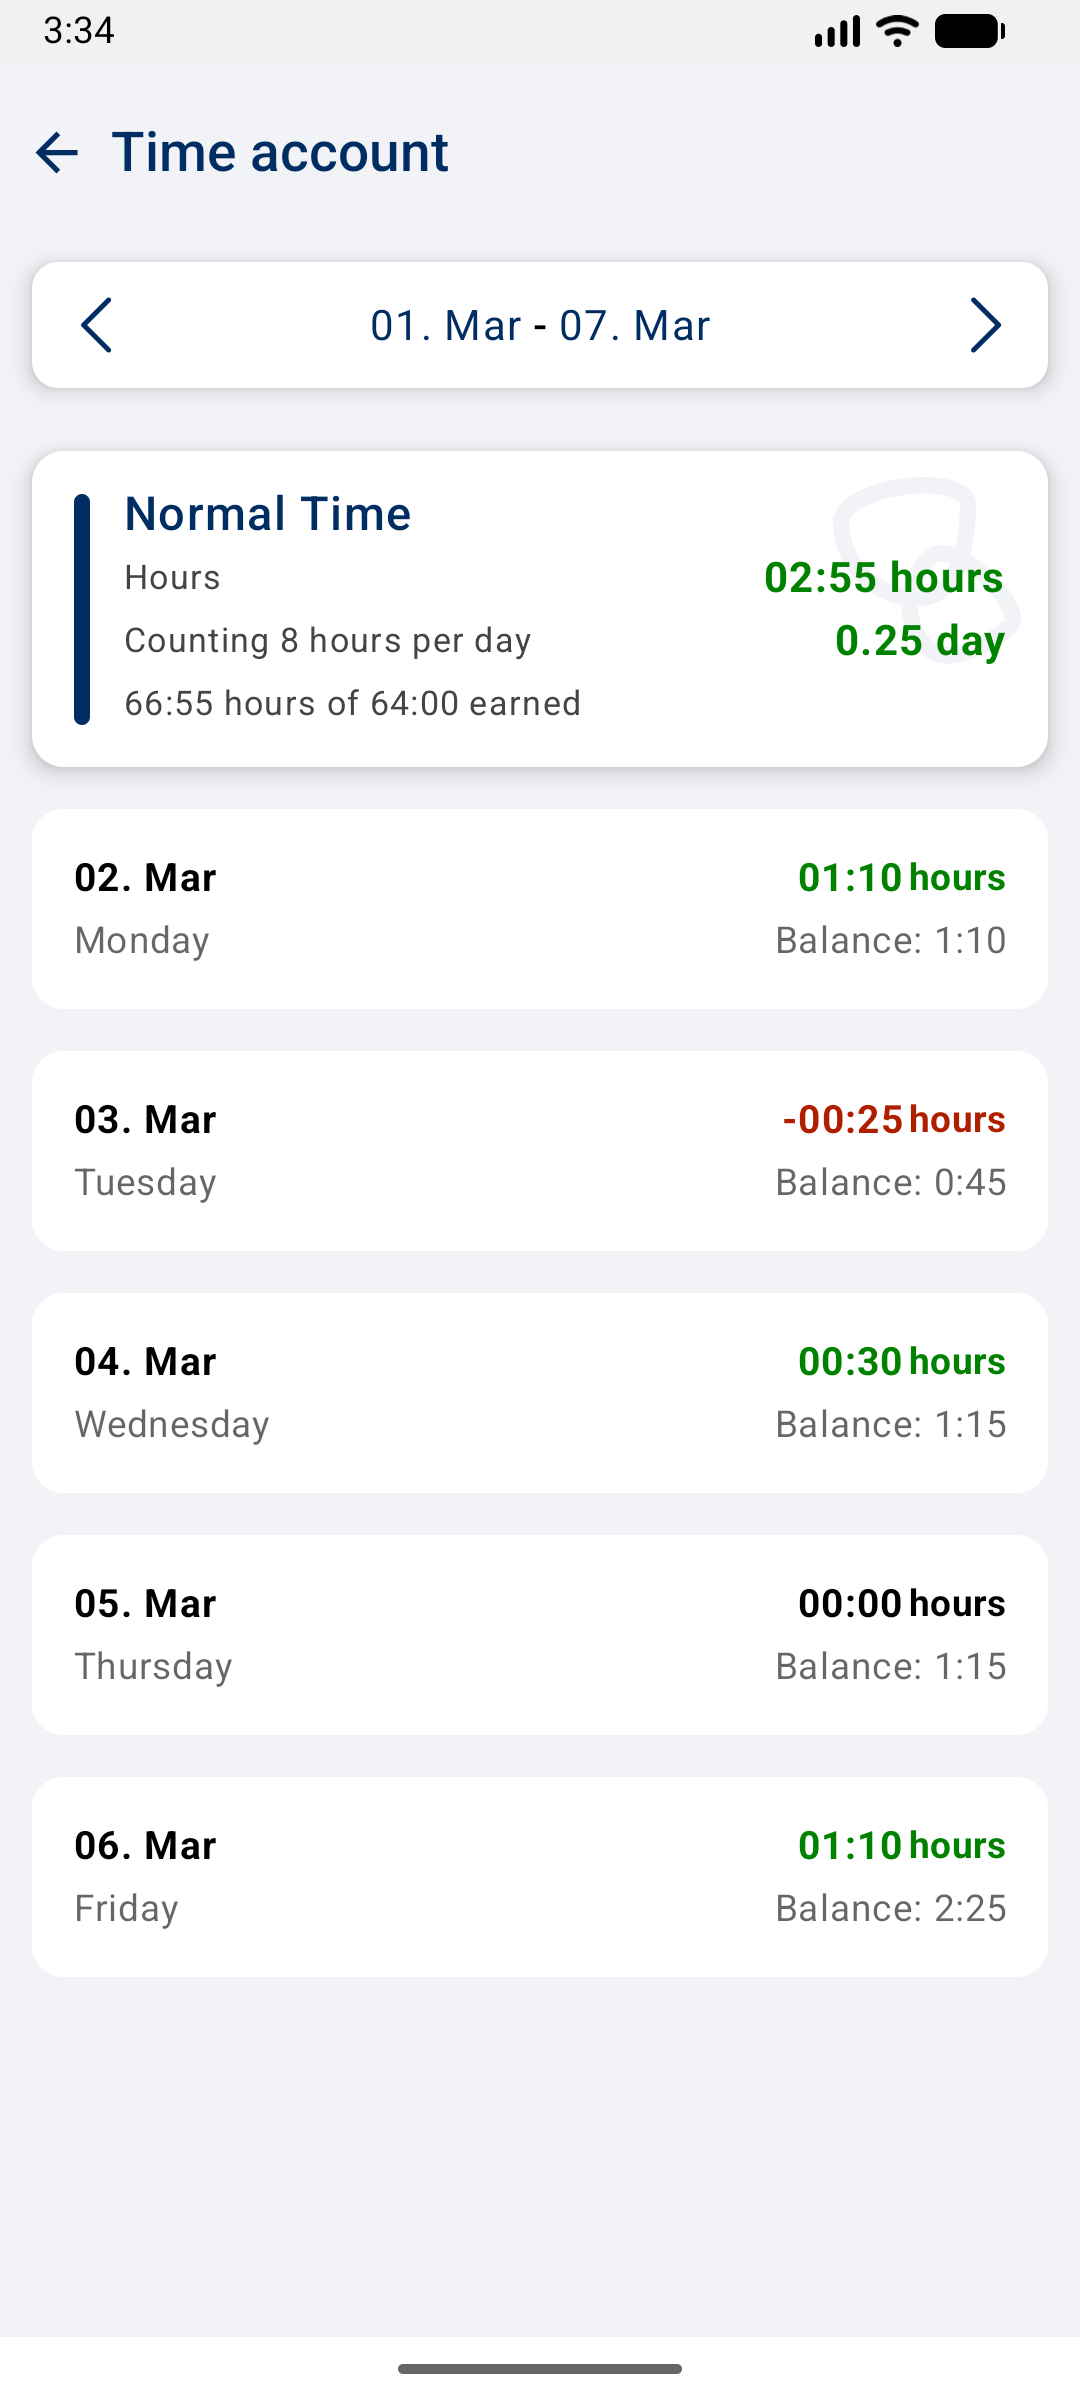
Time Account Details
To view detailed information for a specific time account, select the account in either Time Overview or Time Account Overview.
The Time Account Details section shows a breakdown of daily registrations, their contribution to the account, and any balances.
Time account calculations depend on your configuration, such as hourly rates or fixed salaries.
If Display Hours as Days is enabled in Time Registration Settings, hours are also shown as days for the selected period.
The time account total is displayed as hours per day, where one day is calculated by dividing the value defined in Time Registration Settings by the total hours.
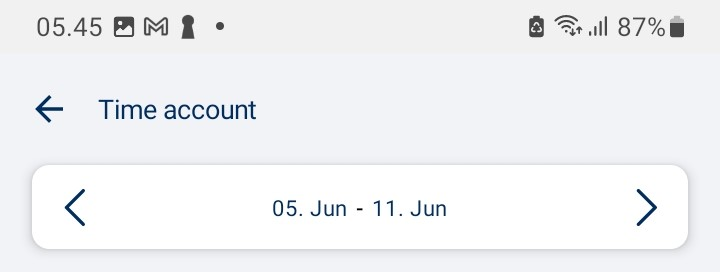
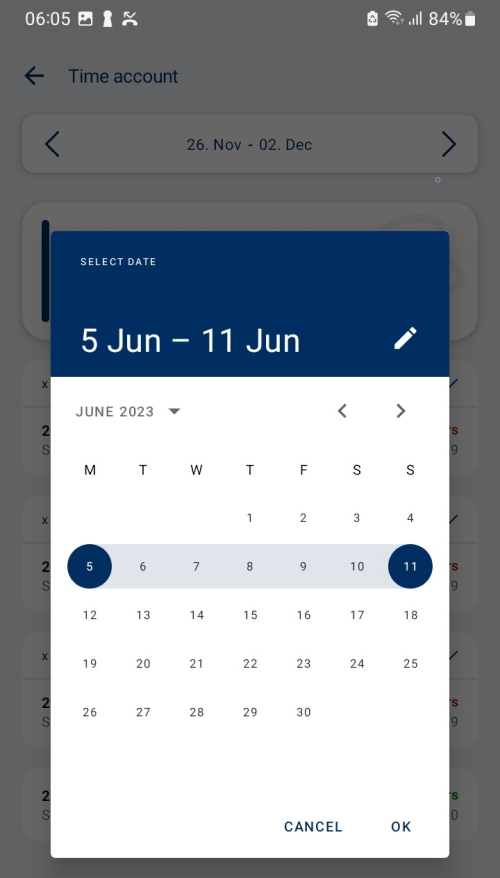
Selecting a Period
Within your time account, you can choose a specific period or use the arrows to navigate to the previous set period.
By default, the period is set to 7 days but can be easily changed by selecting a new period.
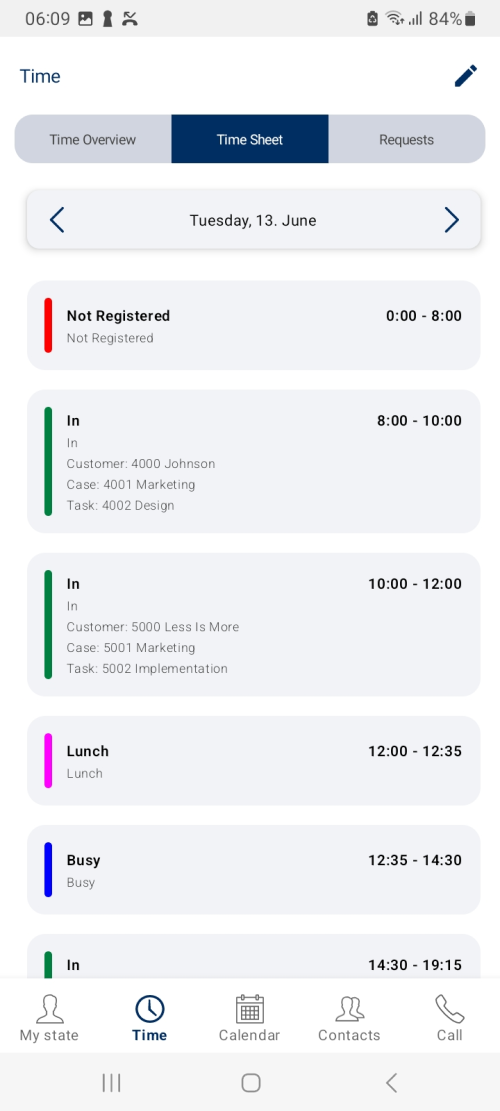
Time Sheet
In the Time Sheet you get an overview of each registration.
You can shuffle through the days by using the arrows in the date picker or open the date picker by pressing on the active aria on the date itself and select a day in the calendar.
Edit Registration
Users with the right to edit their registrations will have an additional button in the upper right corner of the Time Sheet.

When the button is pressed, the edit mode will be activated.
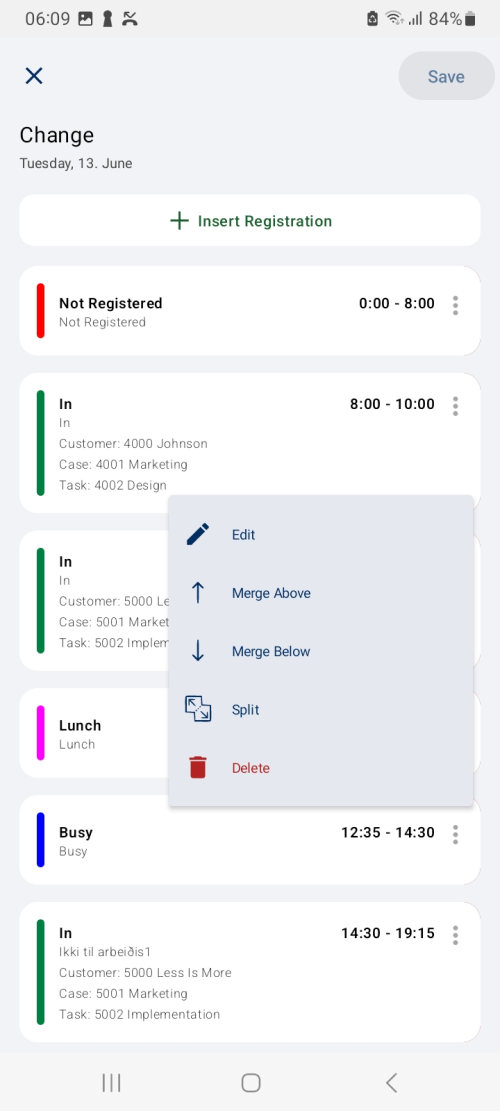
In the edit mode the user can:
Insert new registration
Open existing registrations for editing
Additionally, all registrations have a contextual menu with the following options:
Edit
Merge Above
Merge Below
Split
Delete
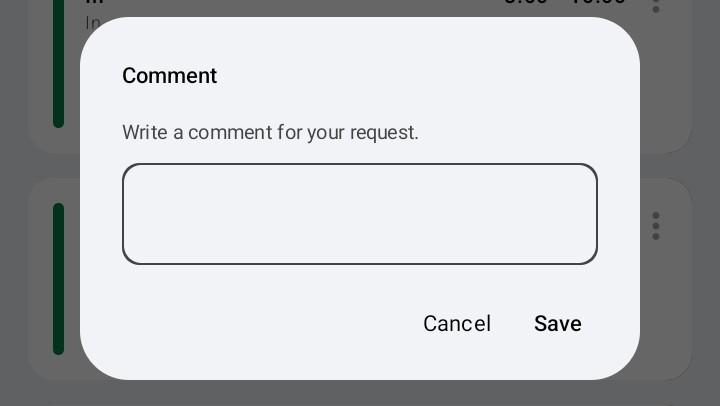
Save Changes
When all the changes for the registrations are finished press save.
Depending on the set up, users will get the option to comment on the request.
If the user has the right to make changes to their own registration, the change will appear immediately.
States In The Date Picker
In the time sheet you will find that the days will have some states, depending on the rights you have in Time.

No registration when day ended.

Request is pending. Your manager must accept user’s request for change.

When the day is locked, you cannot make any changes because the time registrations are already recorded in a third-party system such as Løttløn or Navision.

The user has sent a request, which has been accepted.
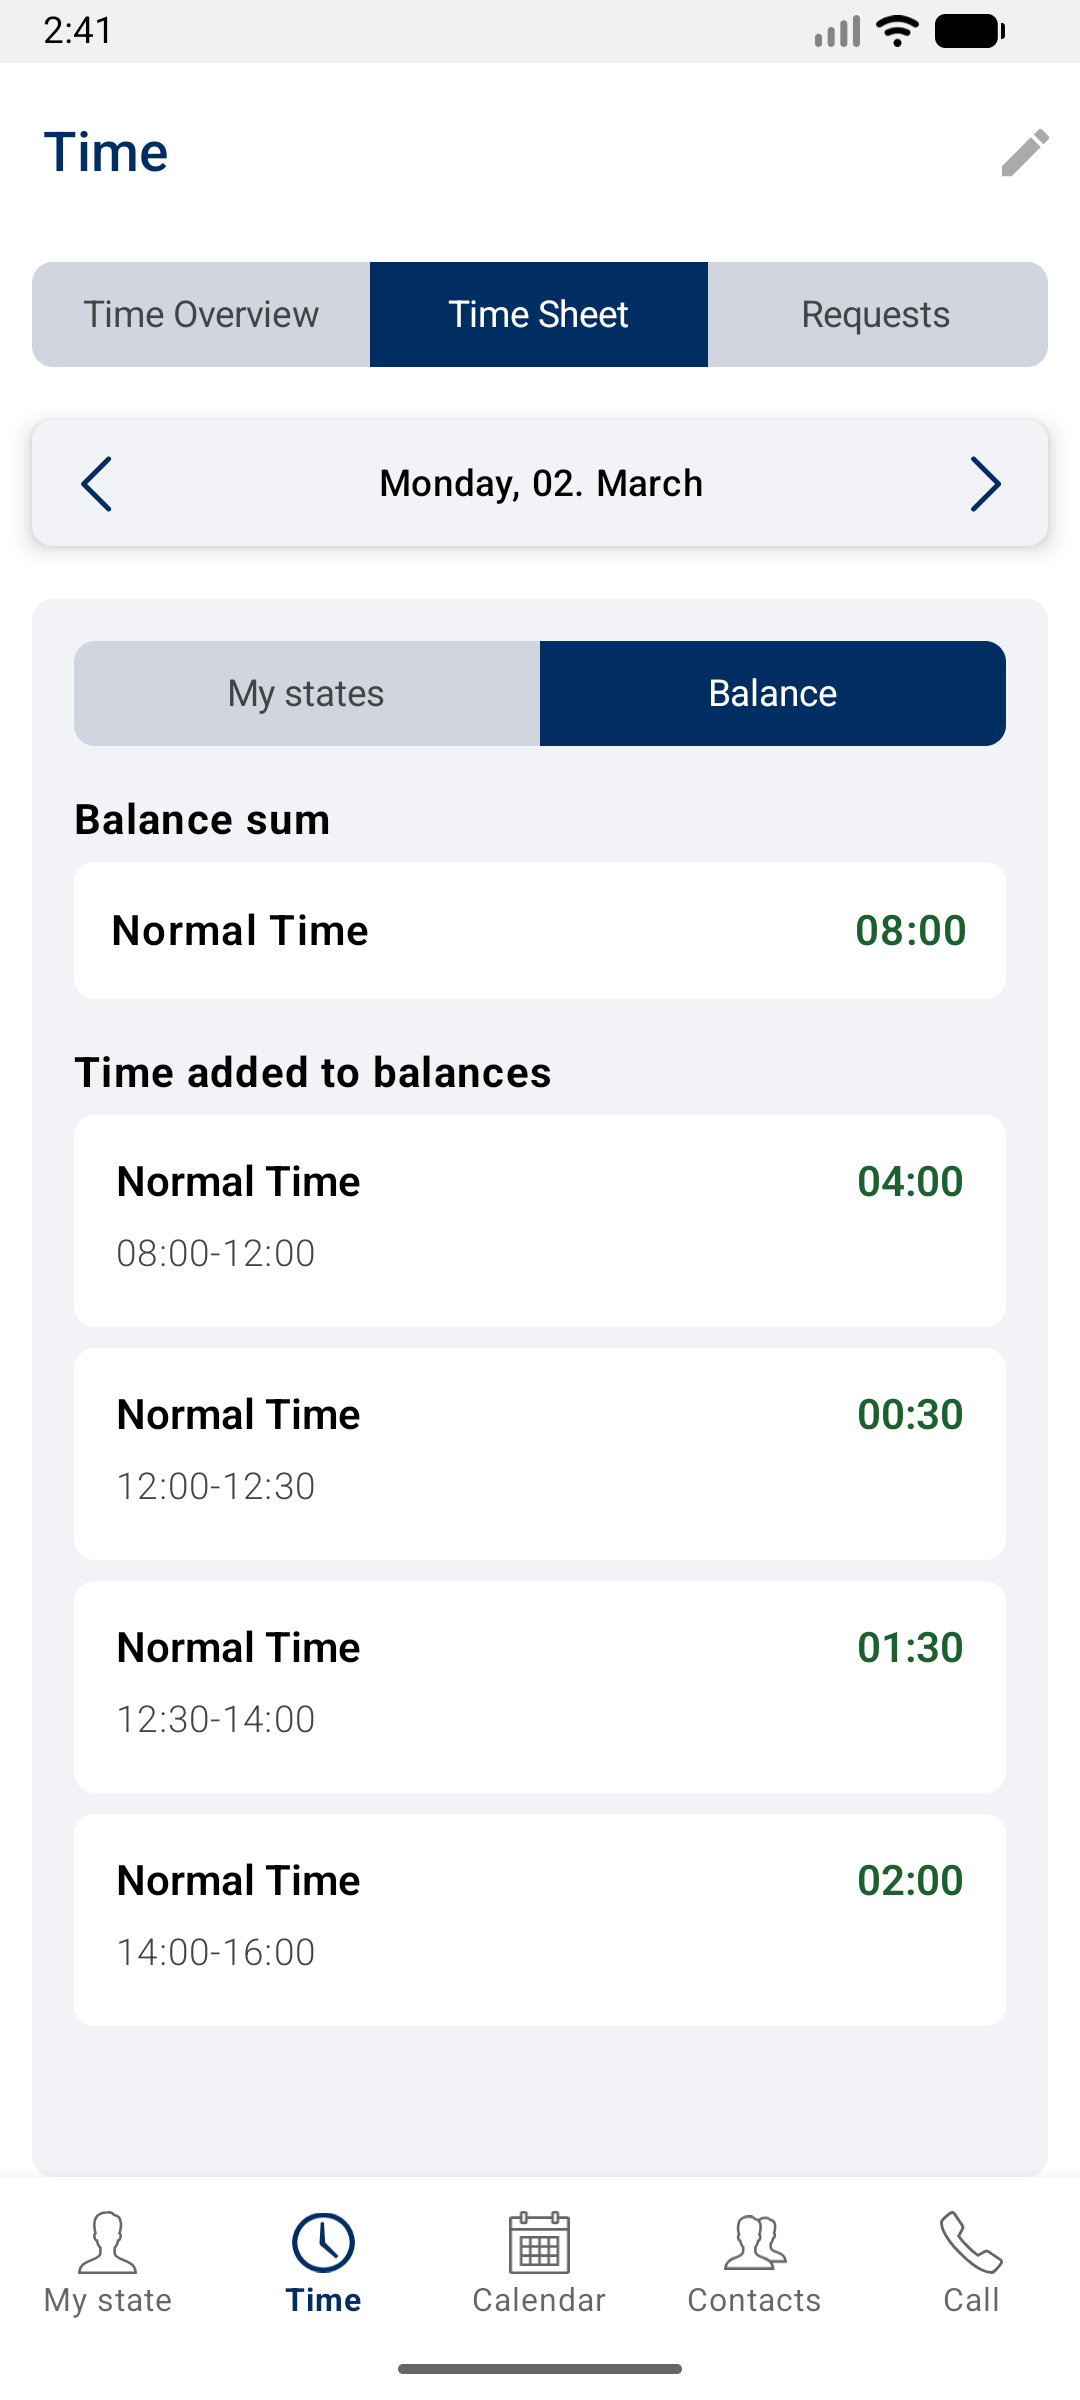
Balance
If Show balance changes is enabled in Time Registration Settings, balance entries for each registration can be viewed in the time sheet.
When enabled, a “Time added to balances” section is added to the Balance tab for each day in the Time Sheet.
This section shows how each registration contributes to the time account balance, providing an overview of how the balance is calculated and whether you are ahead or behind on your time account.
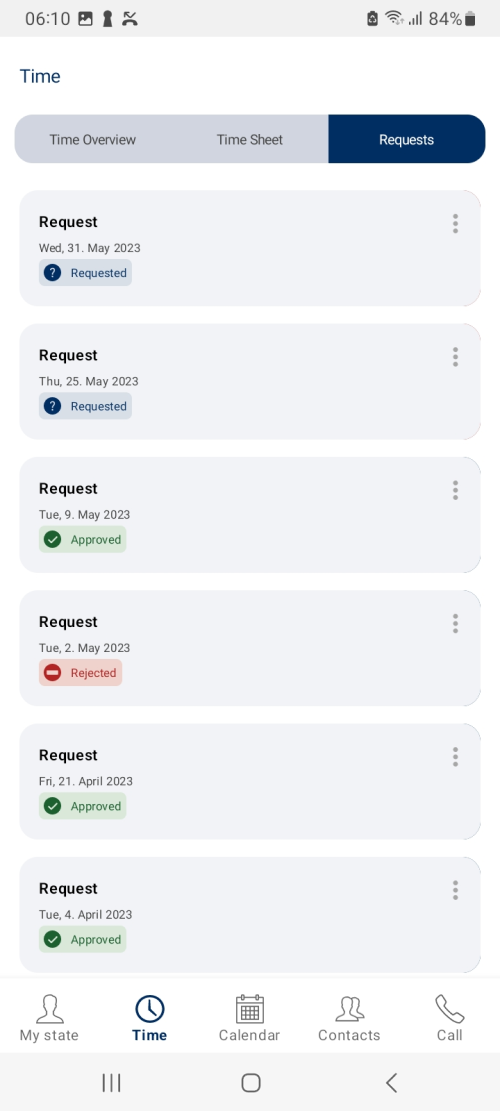
Request Overview
Users with the ability to change registrations will have the last and third section in the contextual menu named “Request.”
In this view, users can track the progress of their change requests.
The requests can have three different states: “Requested,” “Accepted,” or “Declined.”
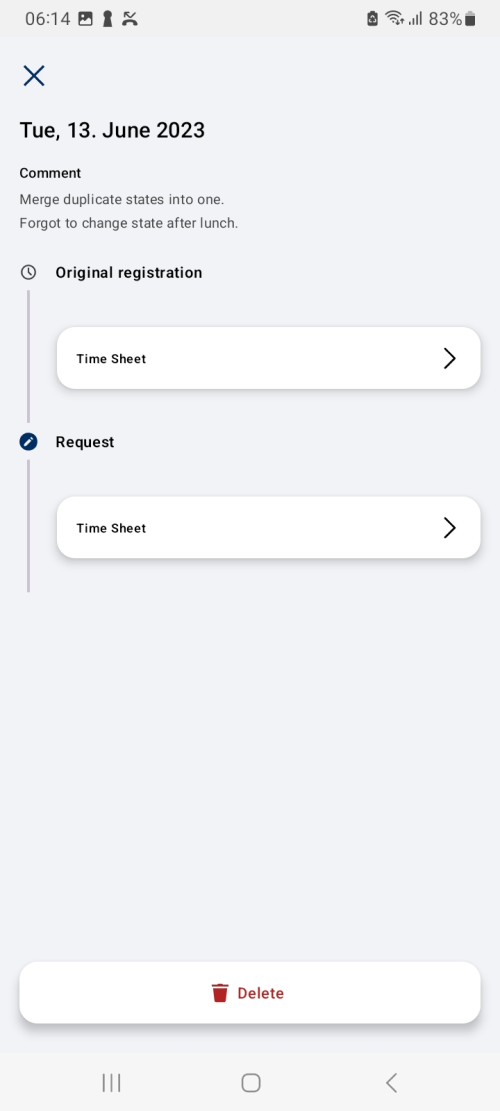
View The Request
By pressing the menu on the request or pressing the request directly, users will be presented with a timeline overview.
This timeline includes the original timesheet, the request details, the current state of the request, and any accompanying messages.
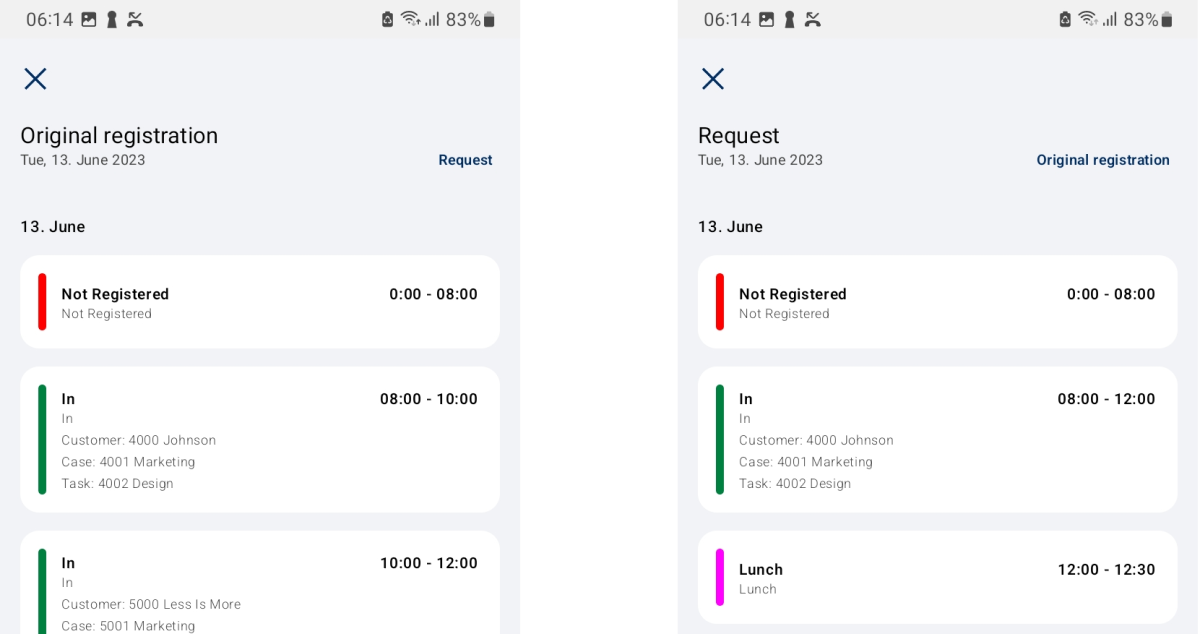
The user has the ability to access the original registration and review the associated change request in a comprehensive manner.
Moreover, the user can seamlessly switch between the two timesheets by pressing the blue “Request” or “Original Registration”, depending on the active view.
Delete Request
Unattended requests can be efficiently removed through one of two methods:
By accessing the menu within the Request in the Request overview and initiating the deletion process.
Alternatively, within the “Request” timesheet a delete bottom is located at the bottom of the Time Sheet.