Specifying Your State
Aside from viewing your current state information, the My State view also gives you the possibility to specify your state by clicking on the name of a state in the list. Depending on the type of state, you may have to enter additional details.
Generally, there are two types of states: Normal states and quick states. Normal states require you to attach additional information to your registration. You can identify them by the fact that there is no arrow next to them. Clicking on these states will always open an additional screen where you need to type in the extra information, such as message, location, expected end time, etc. :
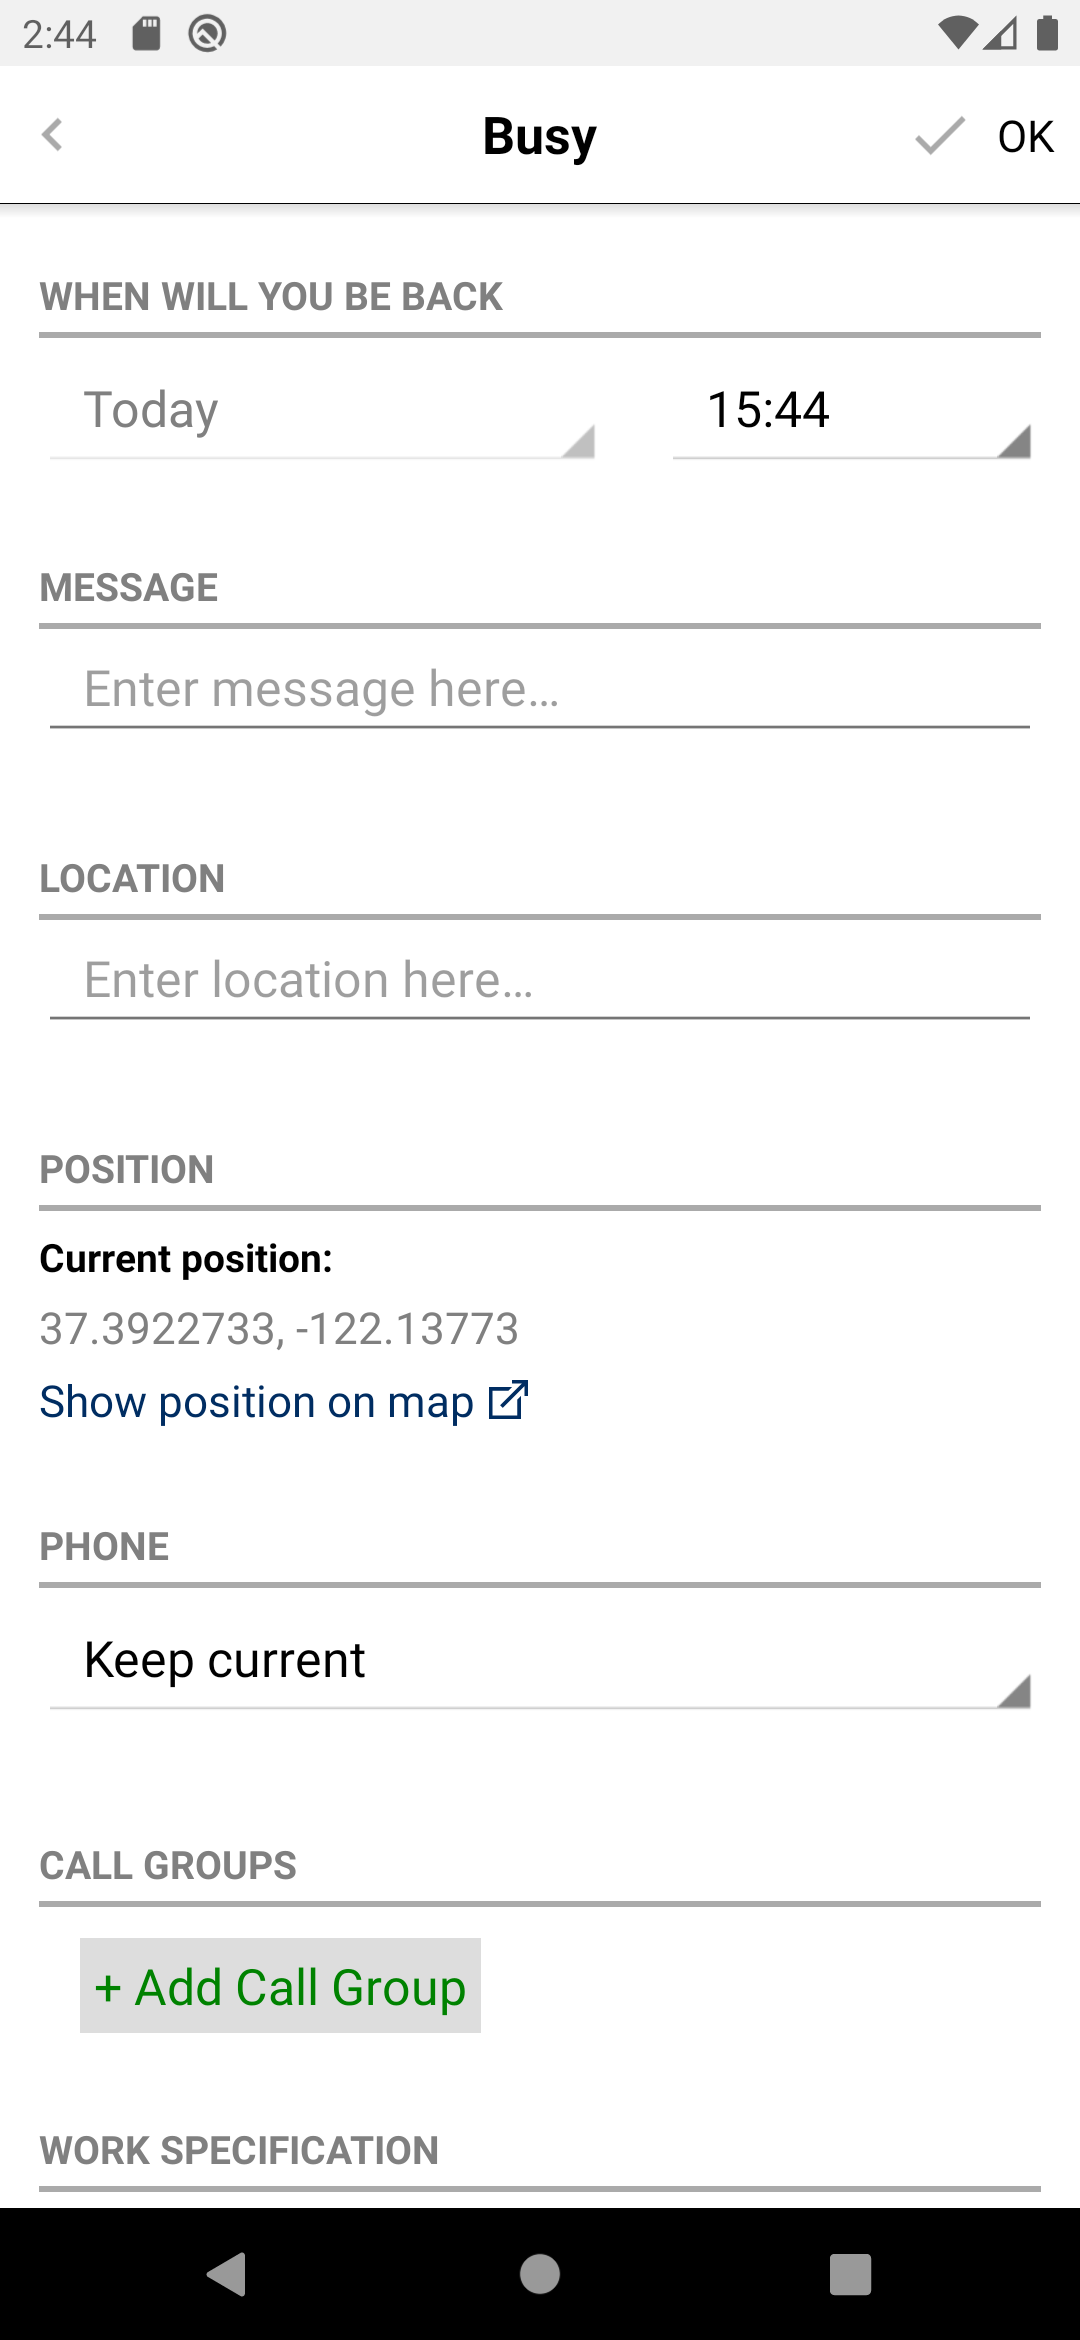
Expected end time
When creating a state registration with required end time, you will be asked to enter the expected end time in the field “When will you be back”. That way, colleagues can get an idea when they should be expecting to reach you again. Depending on the state settings in Totalview Admin, the state will continue or the next state will be executed when the end time is reached.
It is not possible to directly set a “Next State” in the smart client. However, when choosing a state with a template that contains an automatic next state, it will be executed anyway.
Message
You can use the “Message” field in order to specify the details of the state (e.g. “Dentist Appointment”, “Marketing Presentation”, etc.).
Location
The location field can be used to detail your whereabouts. Note that it is not required to set this field. If no location has been specified, the field will not be shown in the My State view.
Position
The position field is only enabled for states that require your exact position. Totalview will fetch your GPS coordinates and show them below in the position field. It is possible to open a external map application, to show your current position by tapping the link below the coordinates.
To be able to utilize states with the position requirement, the user will have to turn on the location service and accept the location permission.
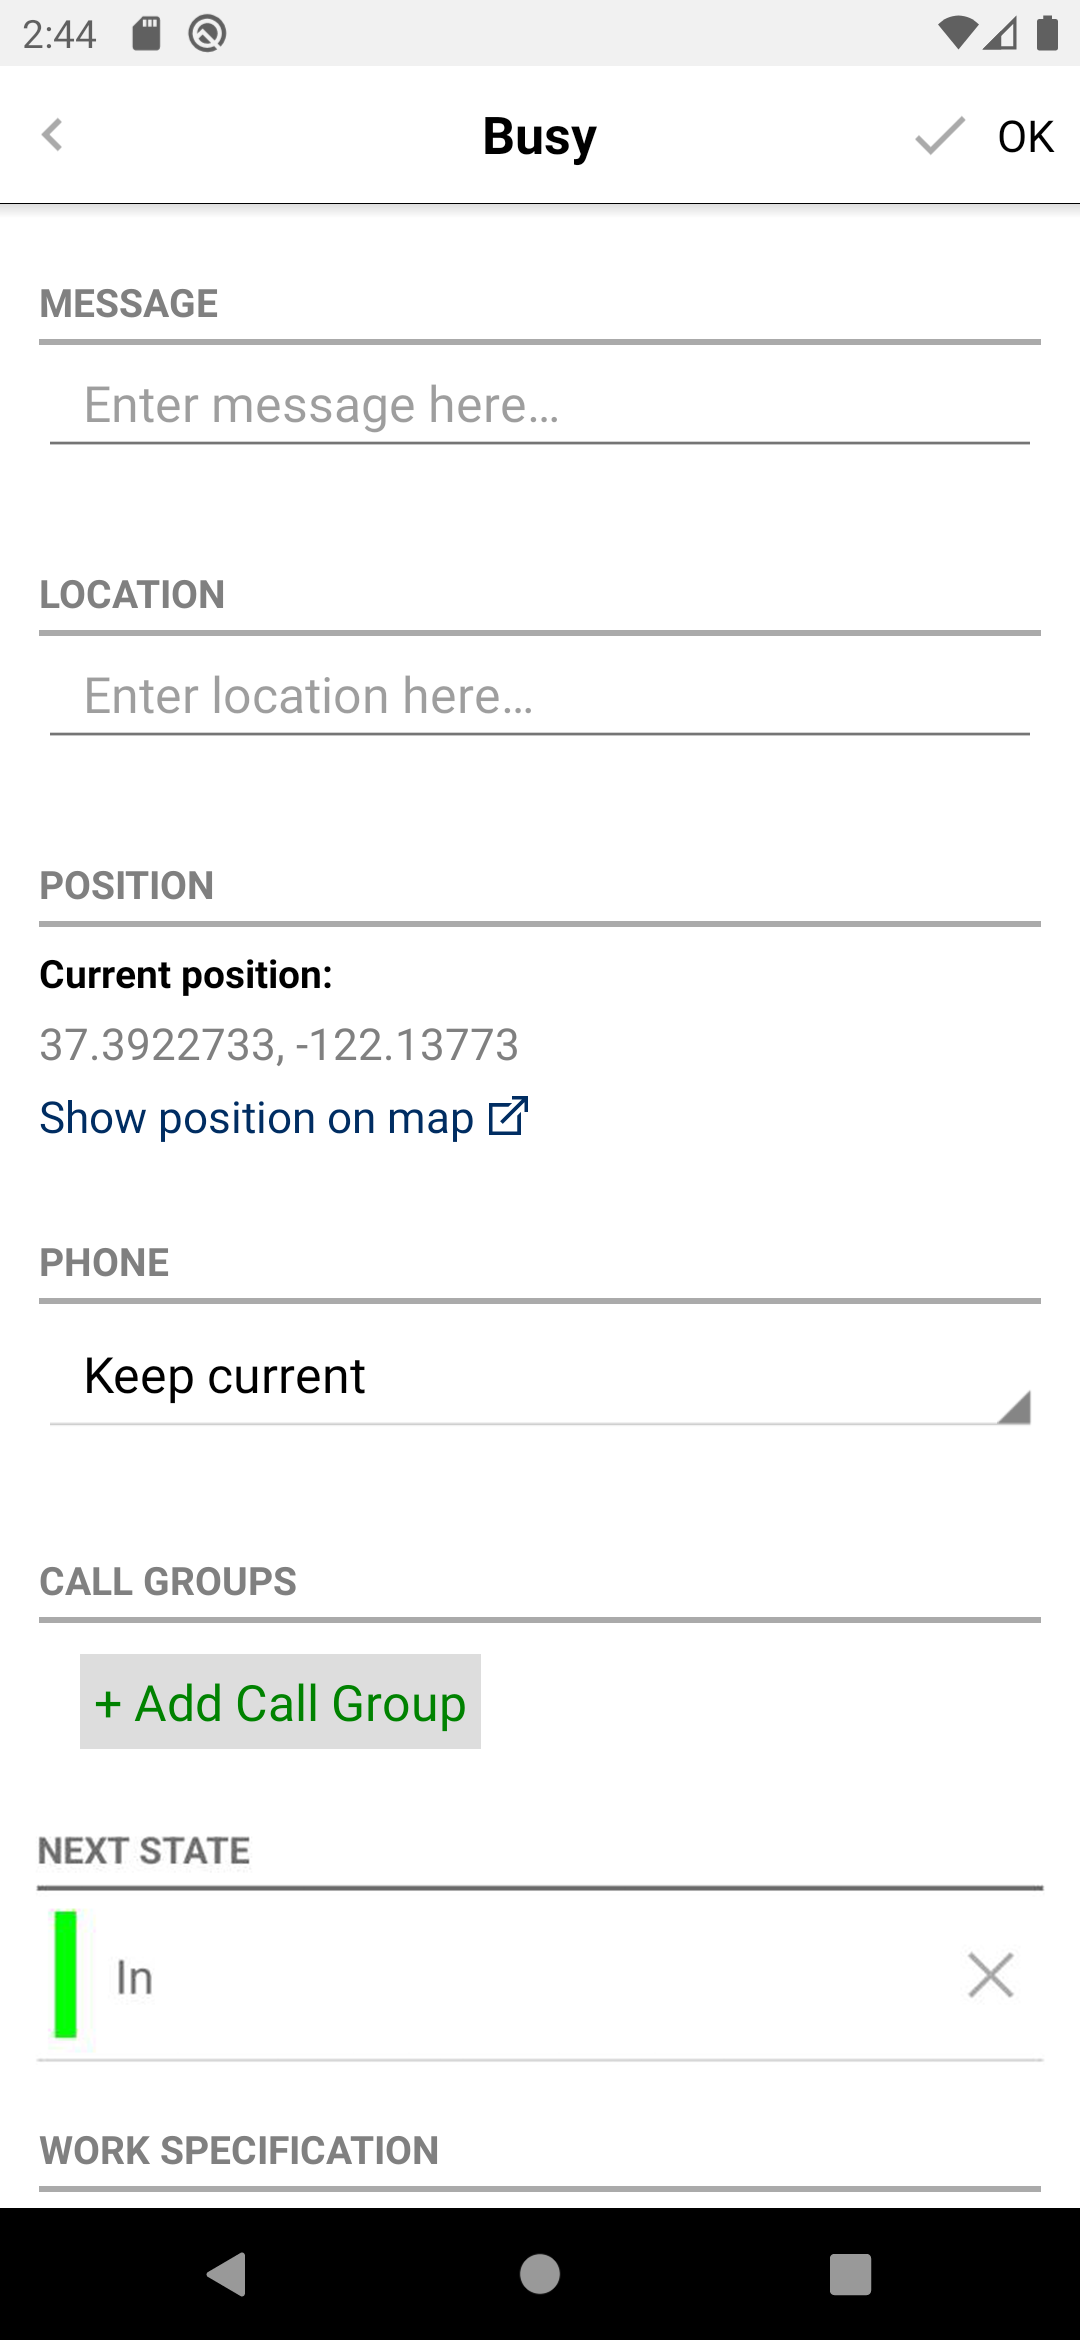
Phone Forwarding
When making a state change, you are able to define your forwarding settings during the time of the state for your local device. You can usually choose between:
Do not forward
Keep current
All calls to Mobile (i.e. your mobile number)
Additionally, administrators can set up additional forwarding options in the Totalview Admin (e.g. “External calls to Reception”, “All calls to Reception”, etc.). If none of the options suffice, you can click on “More Options” and then click on “To Phone” to enter your own custom number.
Do Not Disturb
The Do Not Disturb (DND) setting allows you to cut off any incoming calls that should reach your local device, playing a busy sound to any caller. In order to specifiy DND you have to click on the dropdown field under “Phone”, then click on “More Options”, click on “DND” and select either “Keep”, “On” or “Off”.
Outbound Caller ID (only for specific PBX types. See here)
Totalview allows you to change the caller ID (i.e. phone number) that is shown on a receiving device when you make a phone call via your local device. When specifying a state registration, you can find this setting by clicking on “Outbound Caller ID”. You will then be presented with a list of options. While these options depend on your particular setup and use of templates, the following are usually present:
Keep – No changes are done with regards to Outbound caller ID
Work – The Outbound Caller ID is set to the user’s default work number
Mobile – The Outbound Caller ID is set to the user’s default mobile number
Hidden – No ID is shown
Note that Outbound Caller ID is only available for specific PBX types. See here.
Call Groups (only for specific PBX types. See here)
If you are a member of a call group, you can have Totalview set your call group sign in/out state when changing the Totalview state.
You can use the predefined settings in the selected template, or you can add or remove call groups.
Note that to use call group functionality, it has to be enabled in the Totalview admin.
Call group functionality is only available for specific PBX types. See here.
Next State
You can select next state which will be started after ending time of registered state.
Work Specification
The Totalview client for Android provides you with the possibility to detail the project or job you are working on. You can find it in the section “Work Specification”. Simply select your work options from the top and down in order to specify your current work. If you are frequently working on the same projects, you can instead select your latest projects by clicking on the “Recents” view.
In order to use Work Specification, it has to be enabled in the Totalview Admin.