Contacts
The Phonebook has been changed to Contacts, and has been implemented in Web Admin
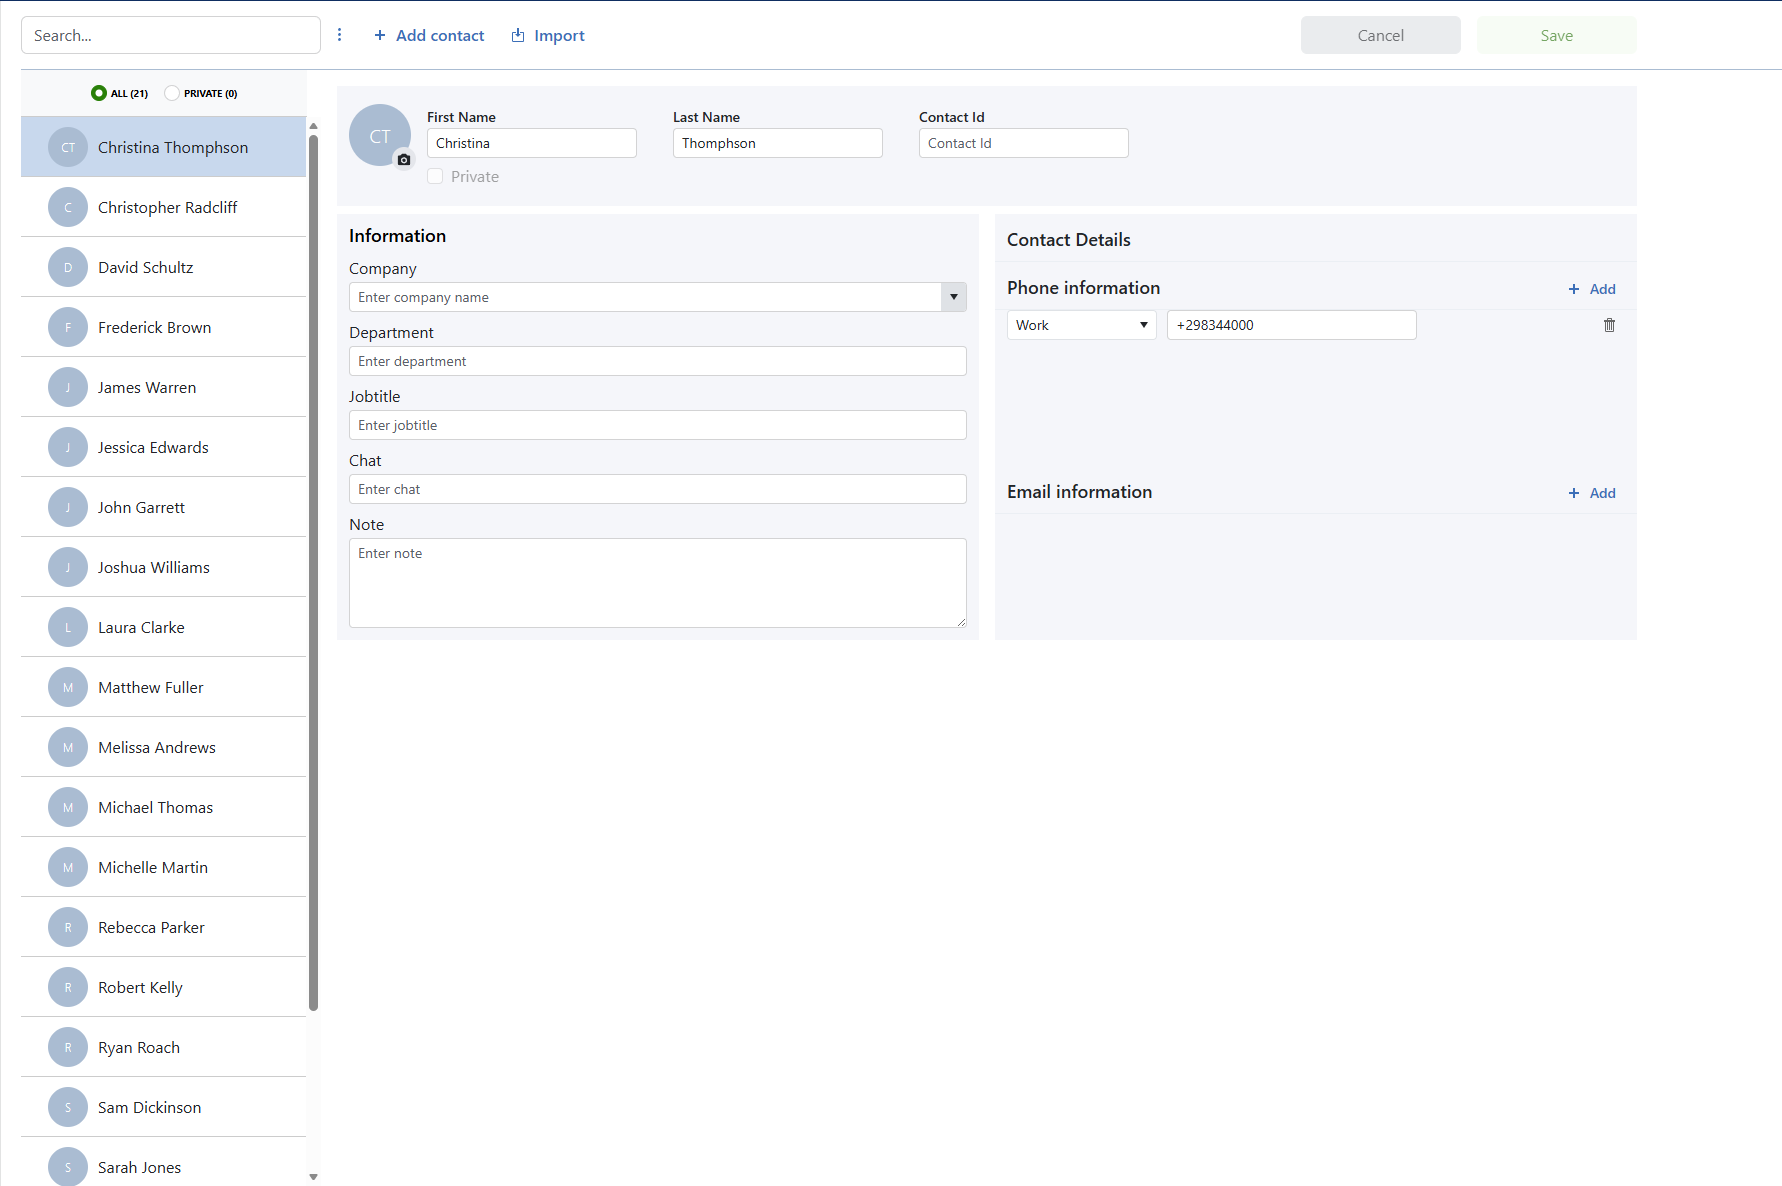
The numbers and names that are shown in the telephony control in the Totalview3Clients, come from the contact registered in the Totalview3Admin and now also Web Admin.
The Overview
Search
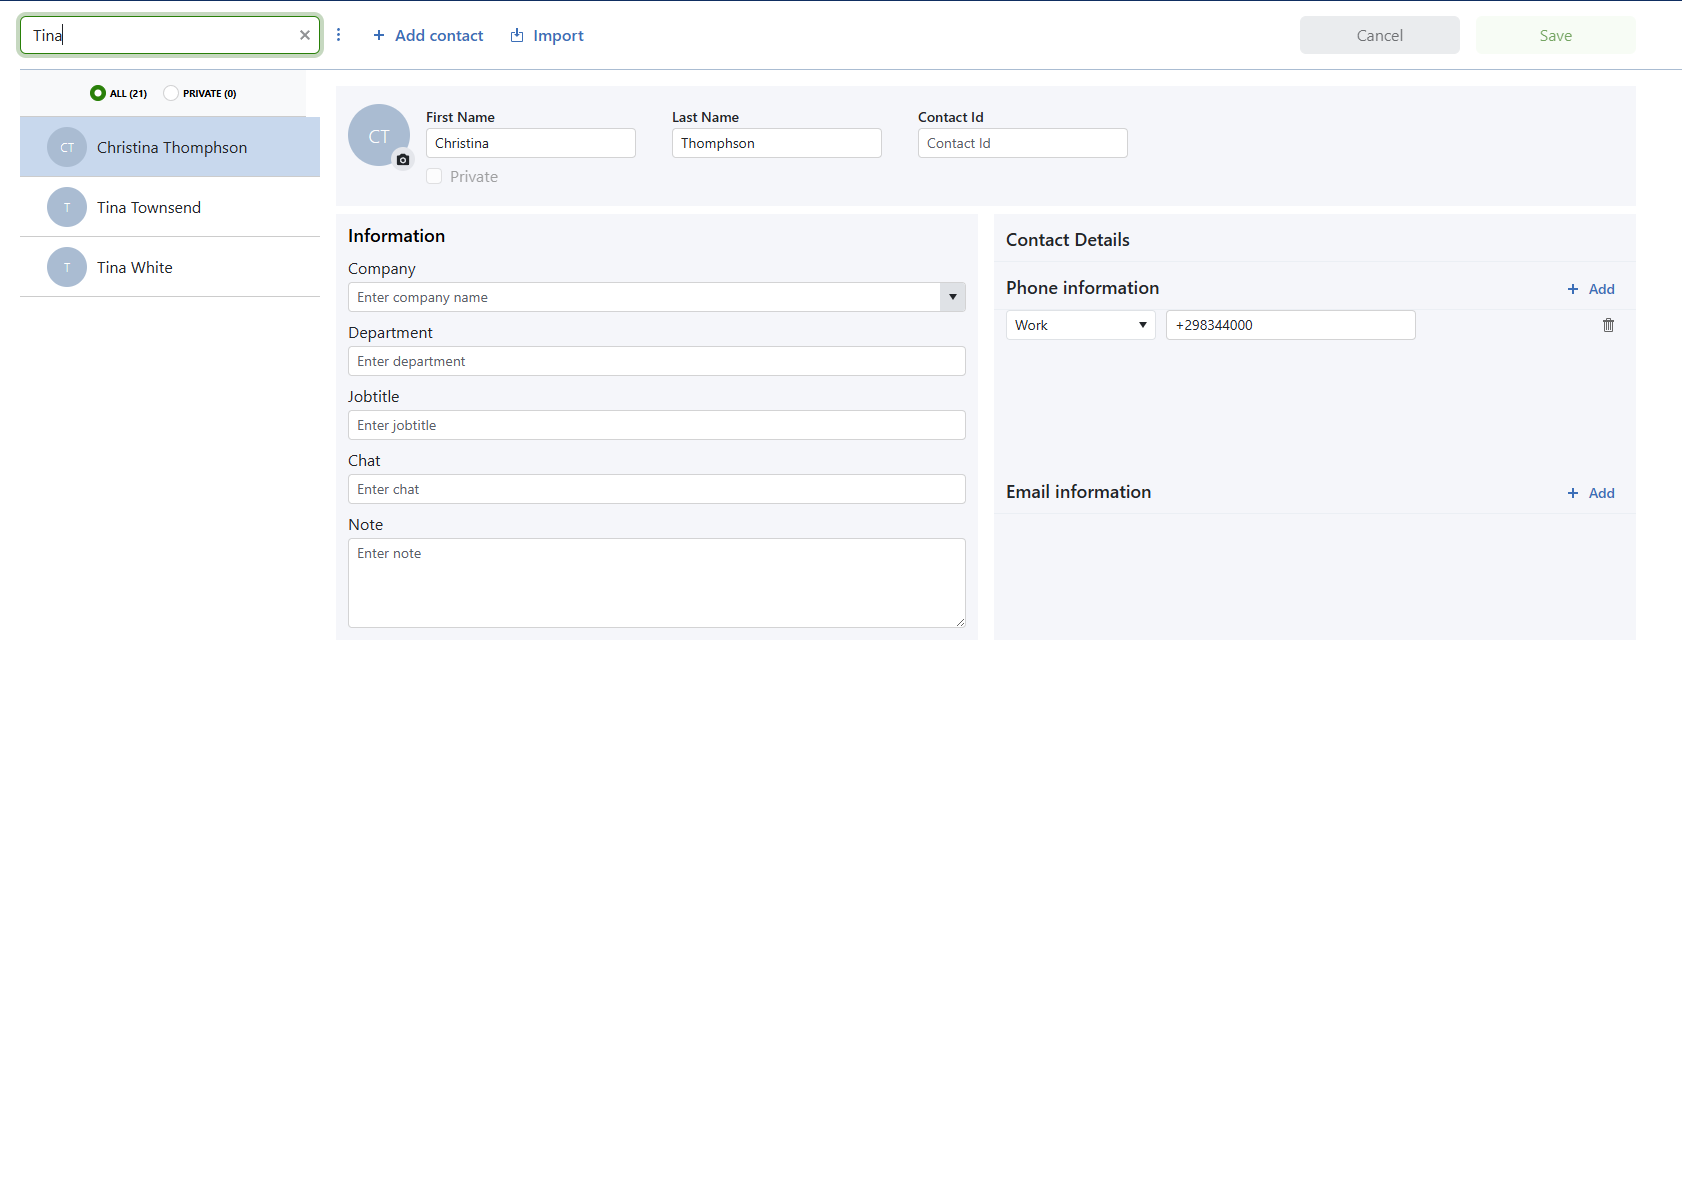
Using the search bar, your input will be matched against the following fields: Name, Contact Id, Company, Department, Jobtitle, Chat, Phonenumber and Email.
Add
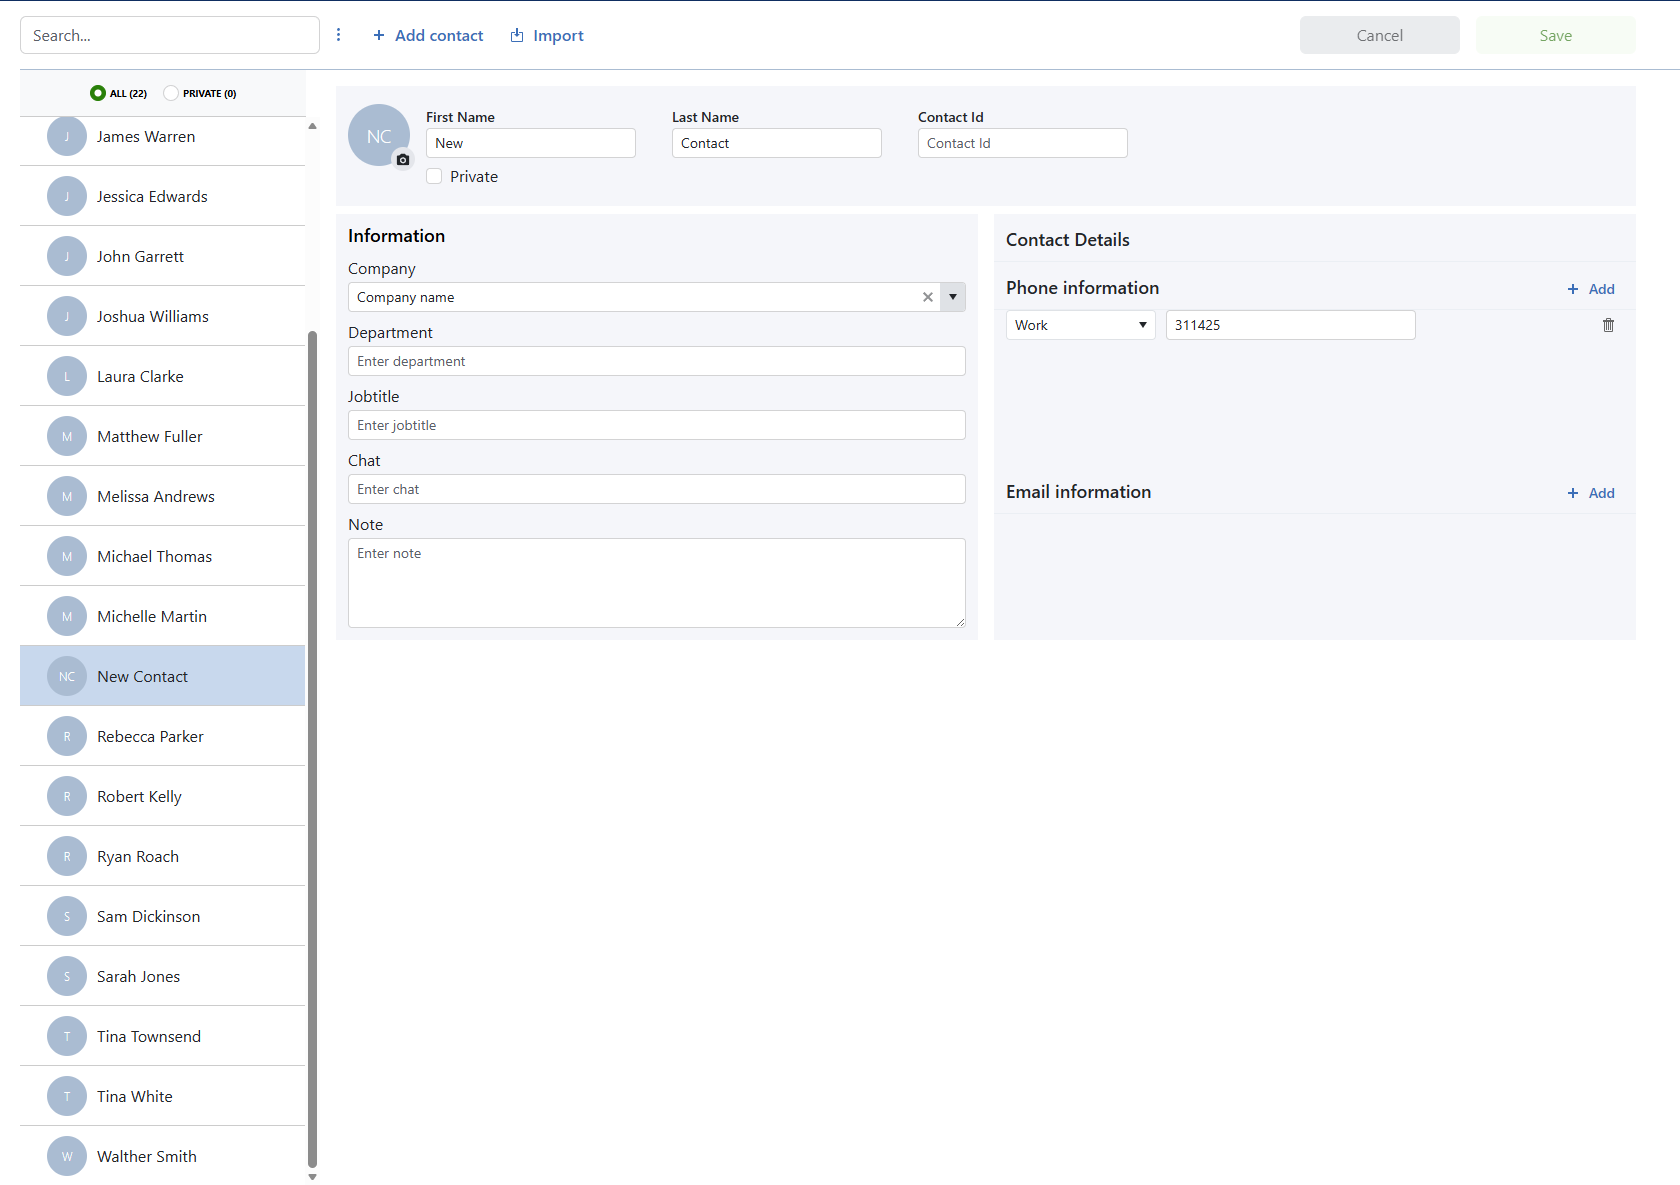
When clicking the Add contact button, a new contact will appear in the list.
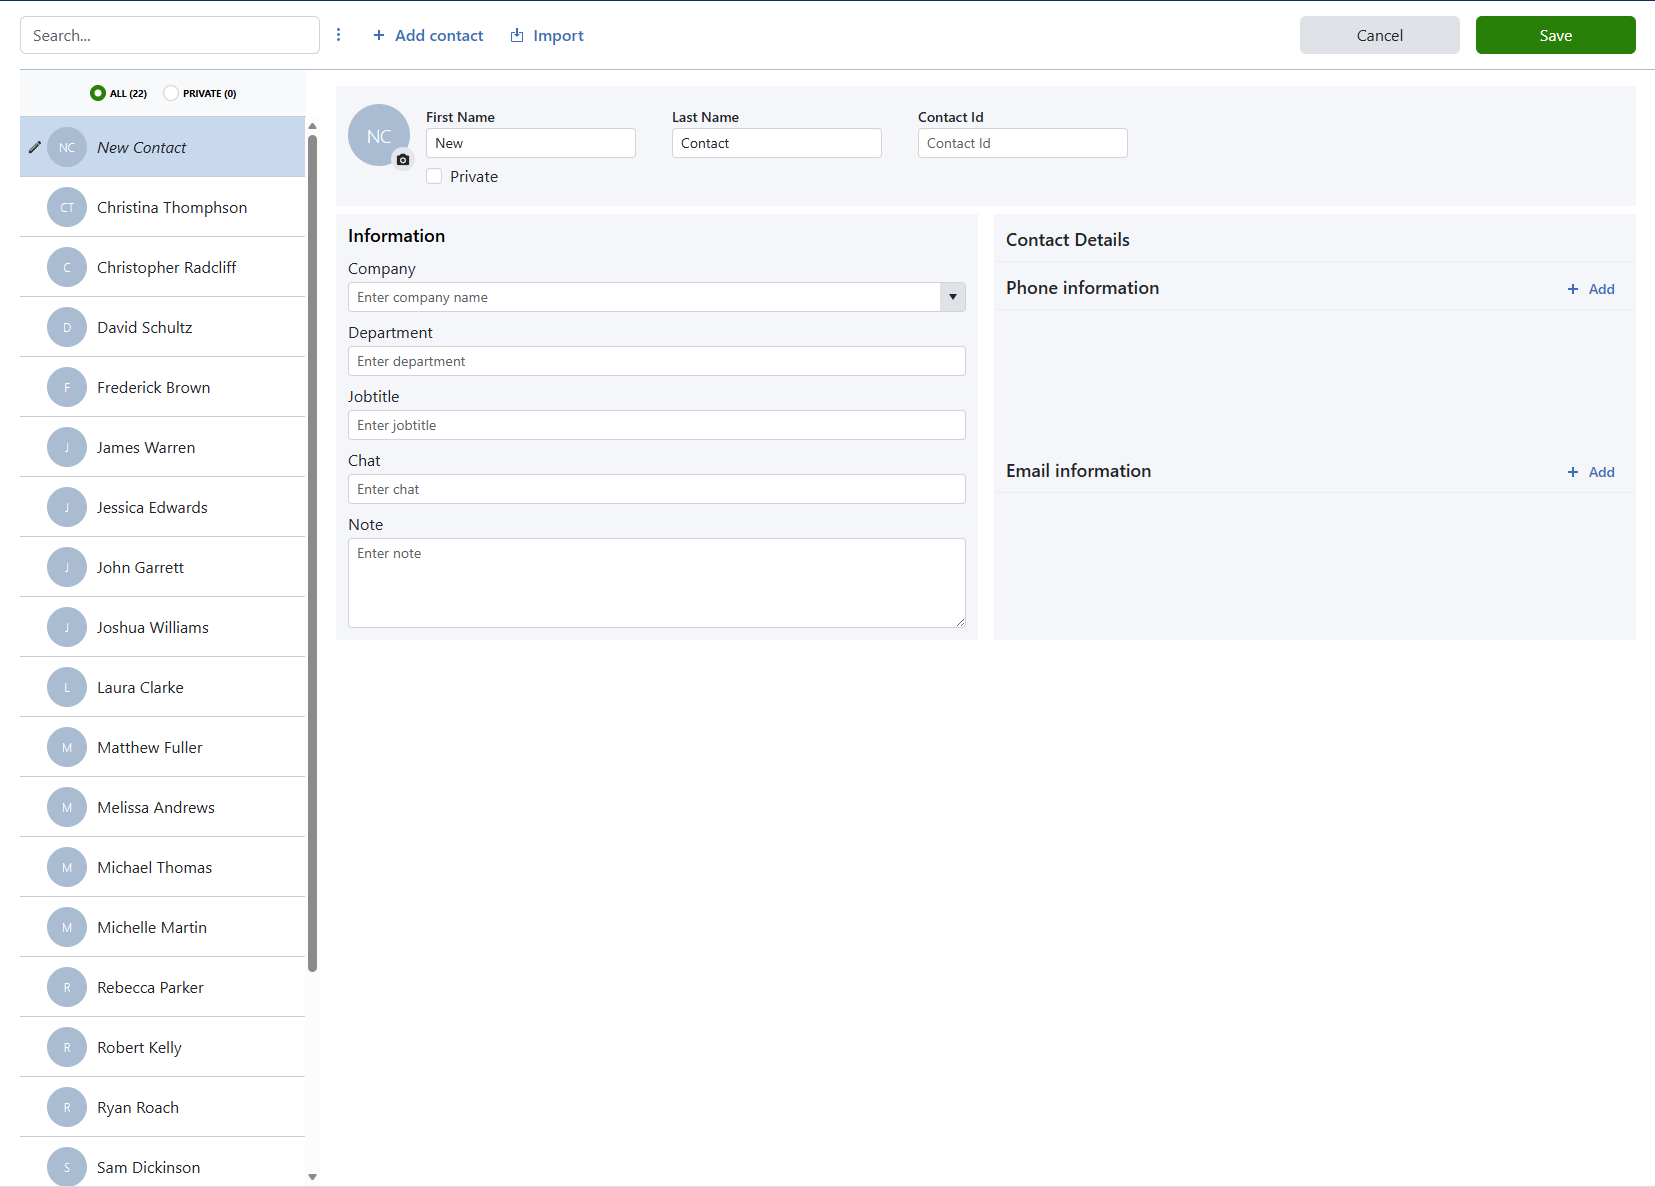
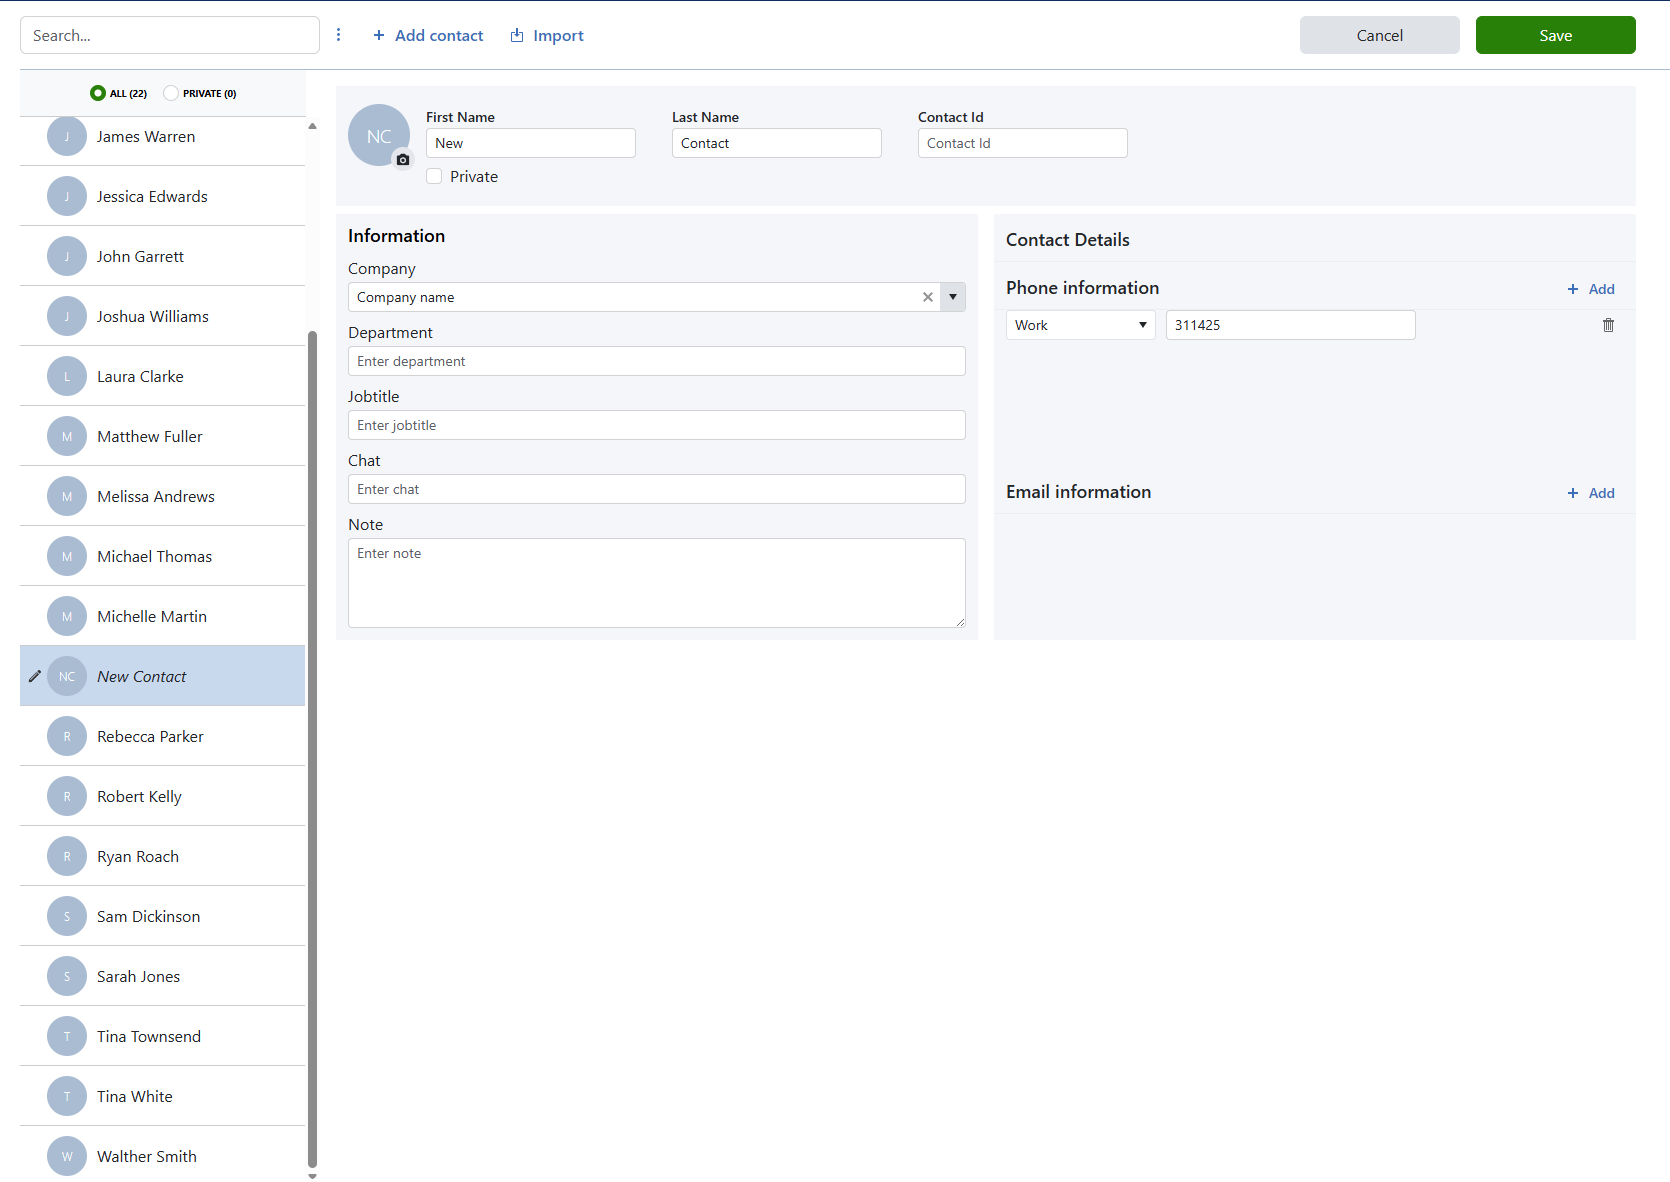
Once finished filling in the required data, press the Save button, the new entry will now be stored permamently in the list. You can use the searching functionality to verify

Update
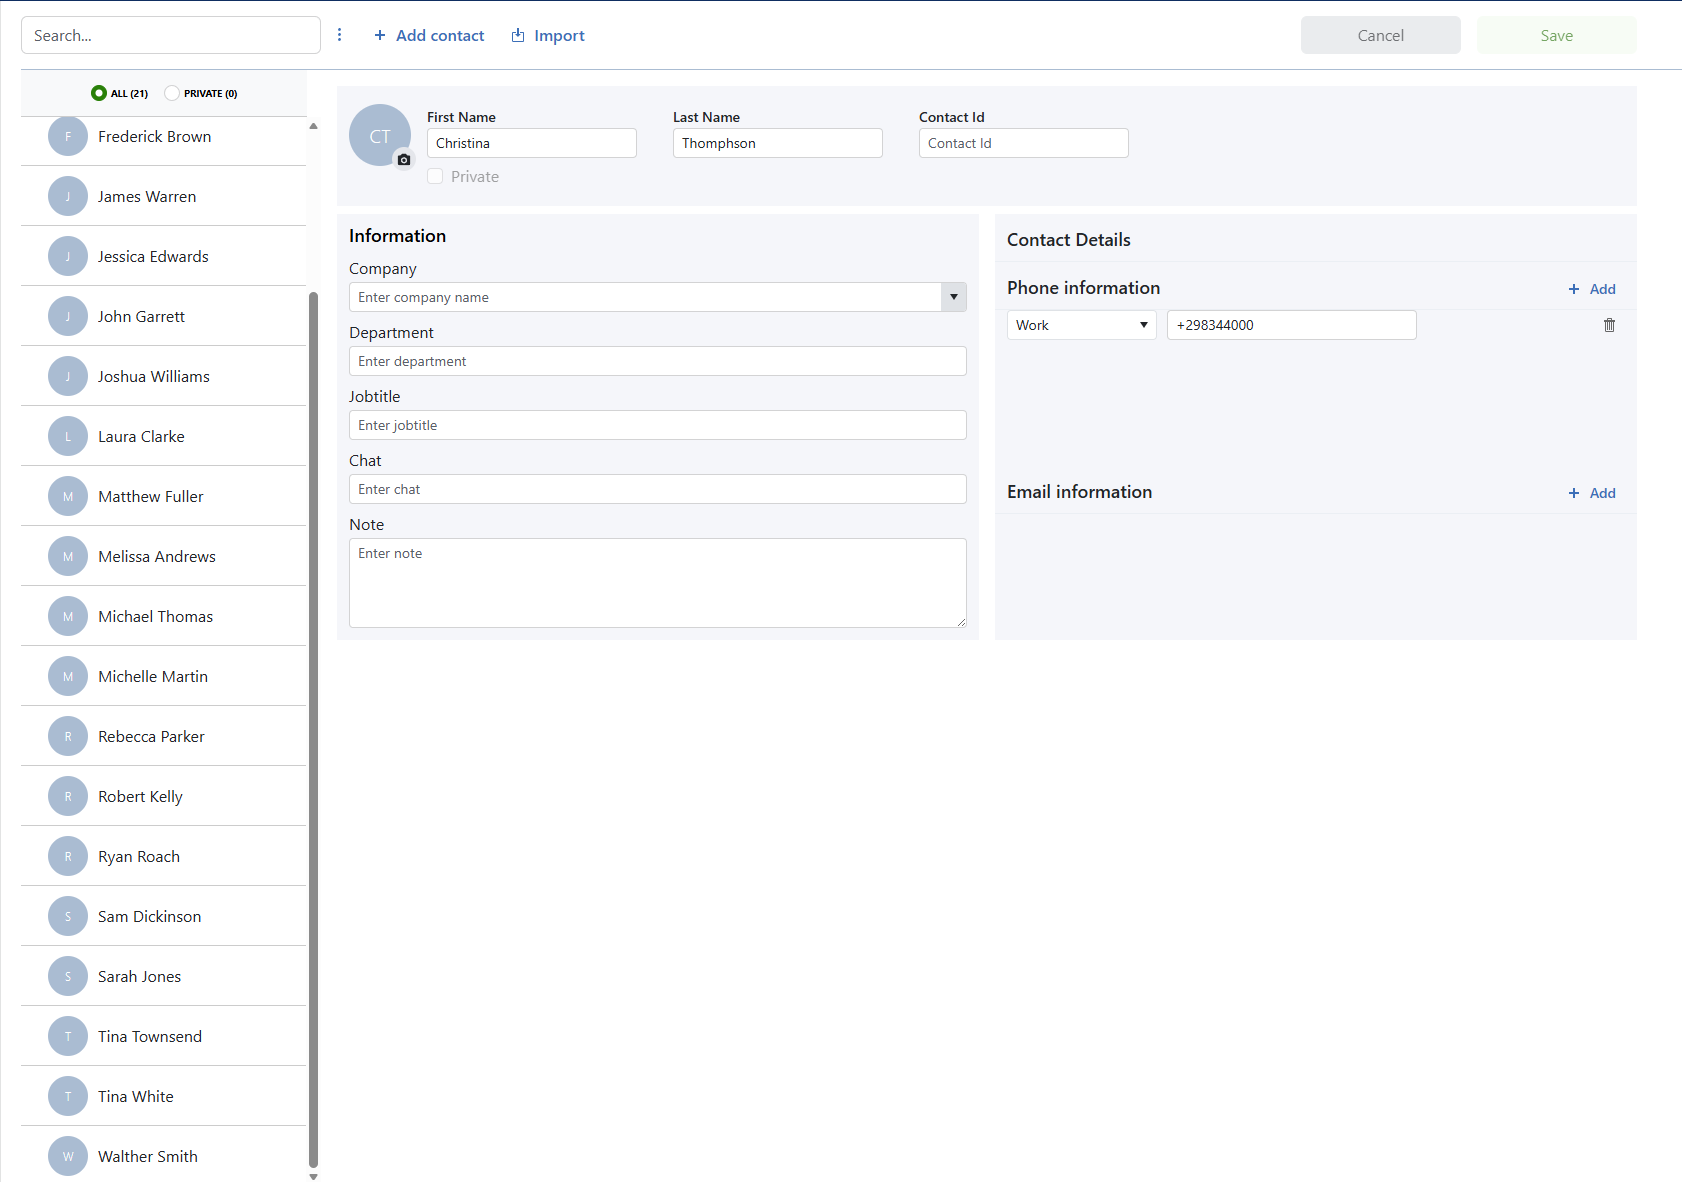
Select the contact you want to edit and it’s values will displayed
When you are done editing, press the Save button.
Delete
When right clicking the contact and click ‘Delete Selected’, the contact will be displayed as marked for deletion.
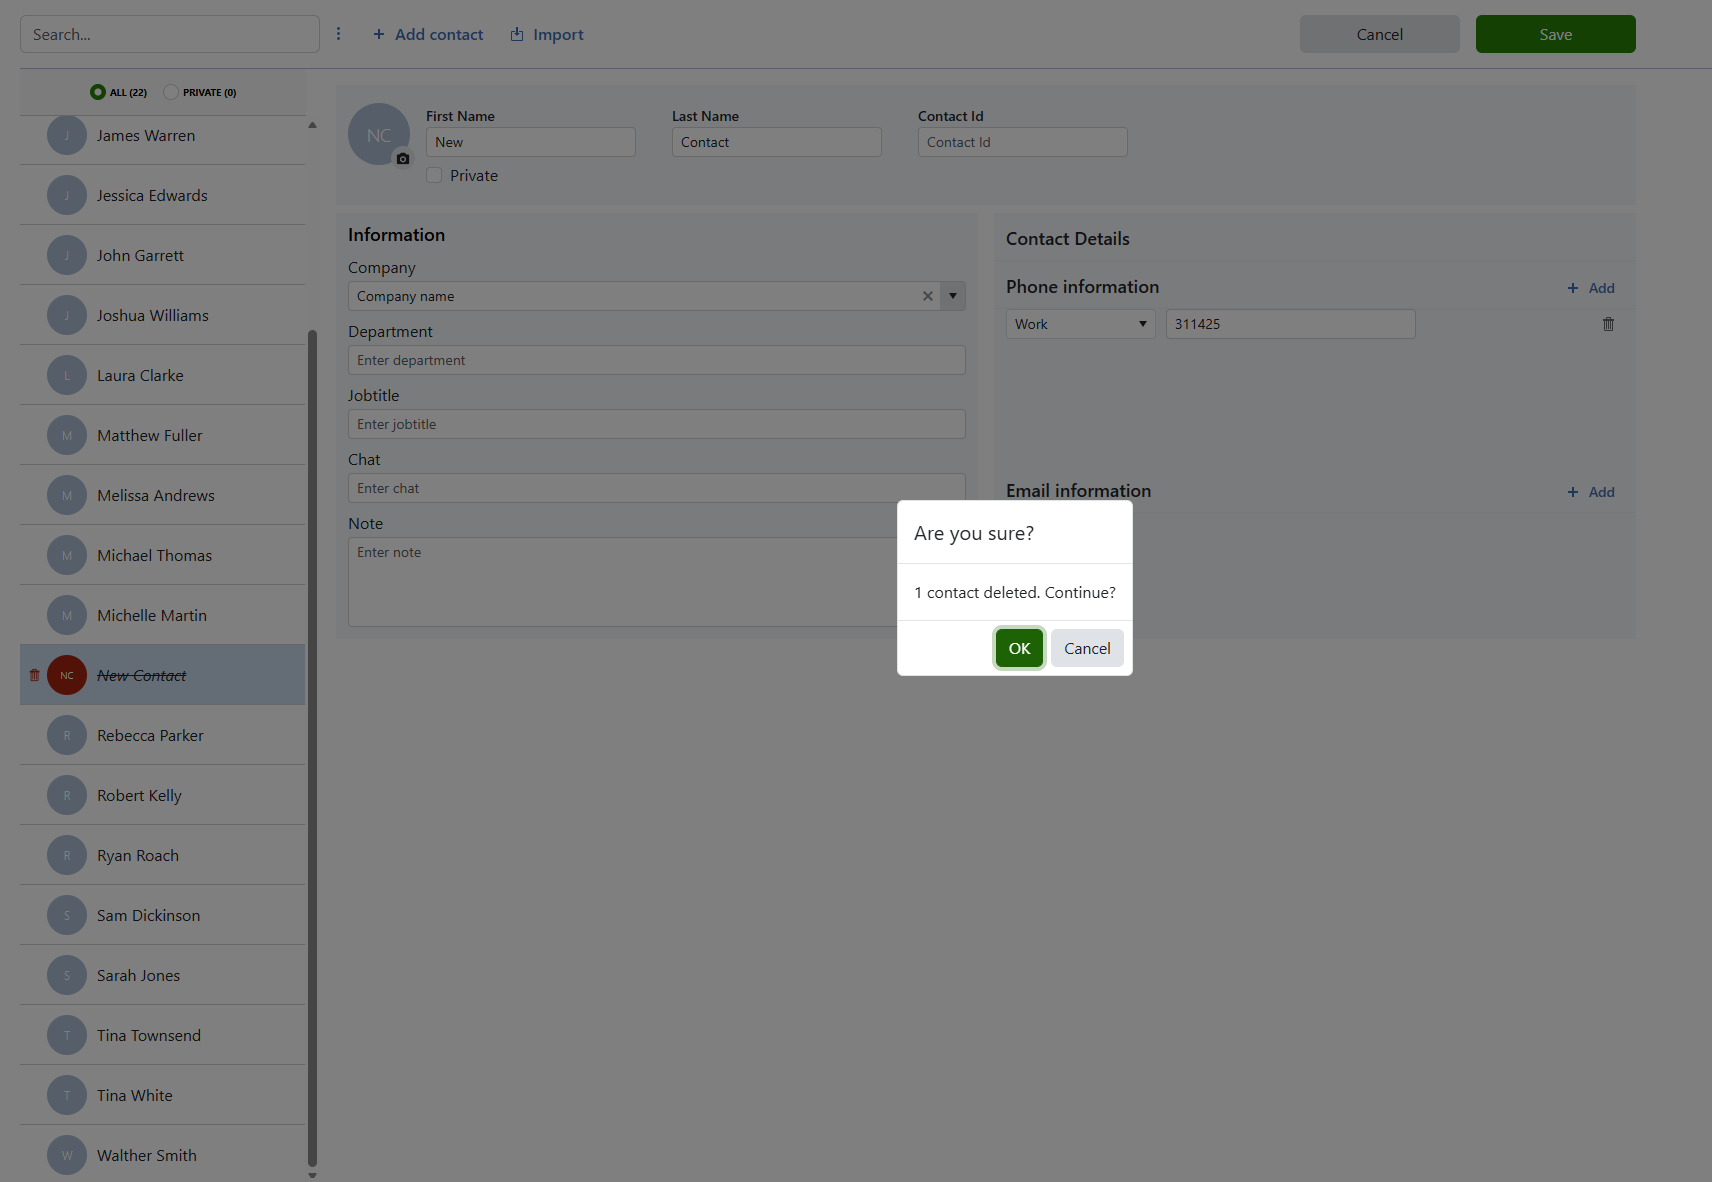
Click the ‘Save’ button to save the changes, confirm the action by clicking ‘OK’ and the contact will be deleted from the list.
Import
Note: Supported file types are: csv, txt, xml, and json
The Import functionality has had a major overhaul, and has now the ability to handle xml, and json files alongside csv.

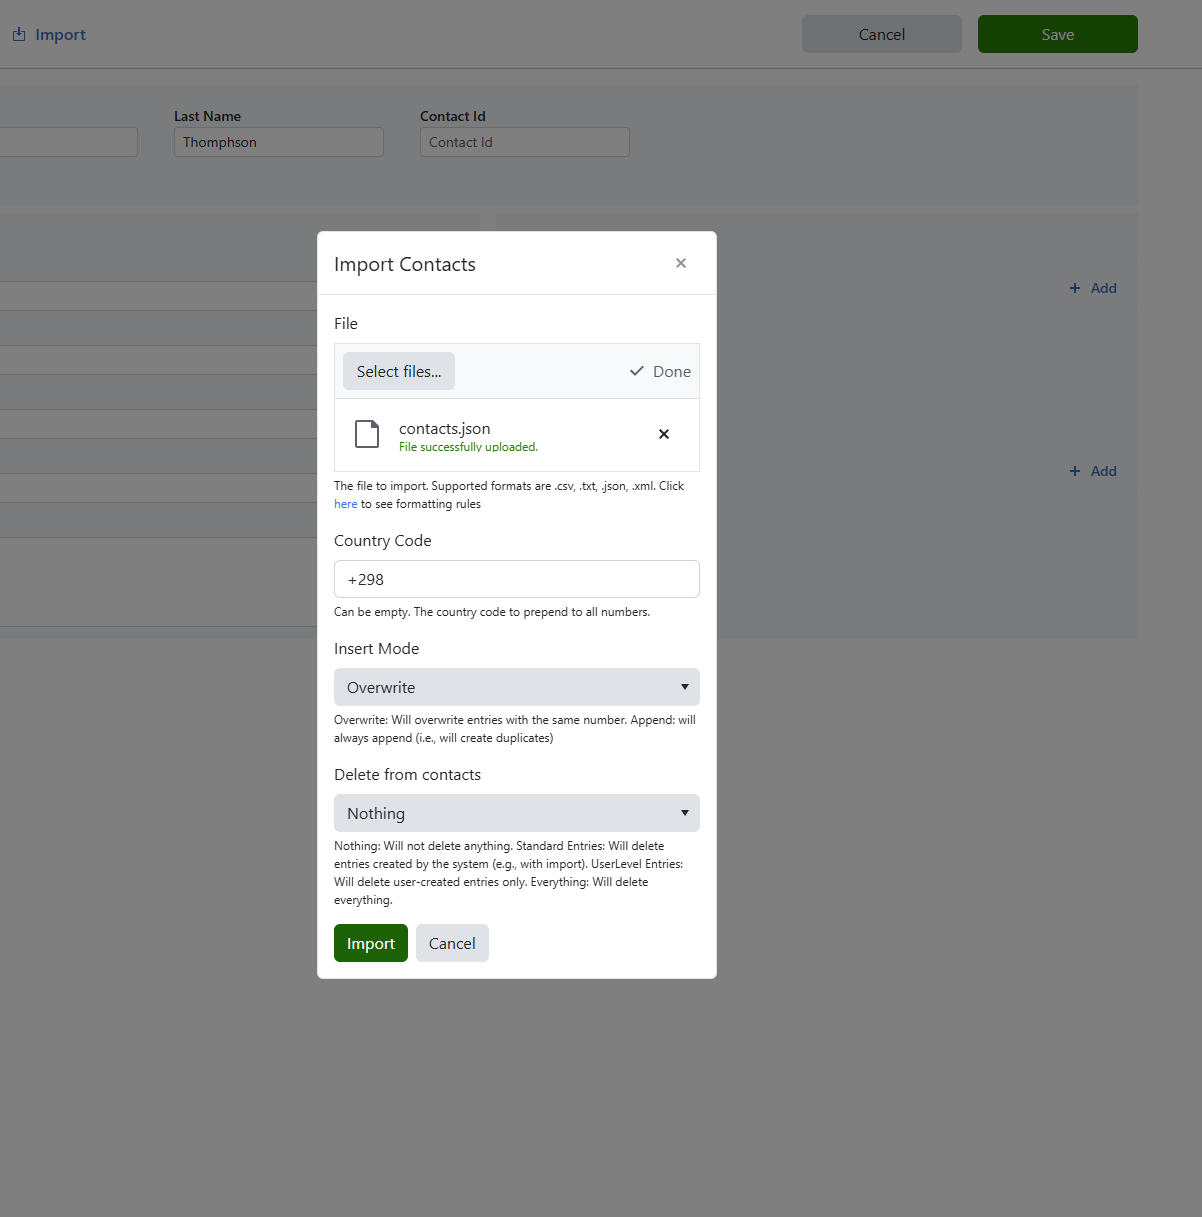
Default Import Parameters:
File to import
Supported formats are .csv, .txt, .json, .xml. Click here to see formatting rules
Country Code
The country code to prepend to all numbers (Can be empty)
Insert Mode
Overwrite: Will overwrite entries with the same number.
Append: Will always append (i.e., will create duplicates)
Delete from contacts
Nothing: Will not delete anything
Standard Entries: Will delete entries created by the system (e.g., with import)
UserLevel Entries: Will delete user-created entries only
Everything: Will delete everything
JSON file being imported
XML file being imported

Importing CSV files
When importing from CSV files, you have two extra parameters to specify:
Header
Does the first line of the file show the name of the columns (i.e., headers)
Delimiter
The delimiter is what separates the values in the file (default is ,)
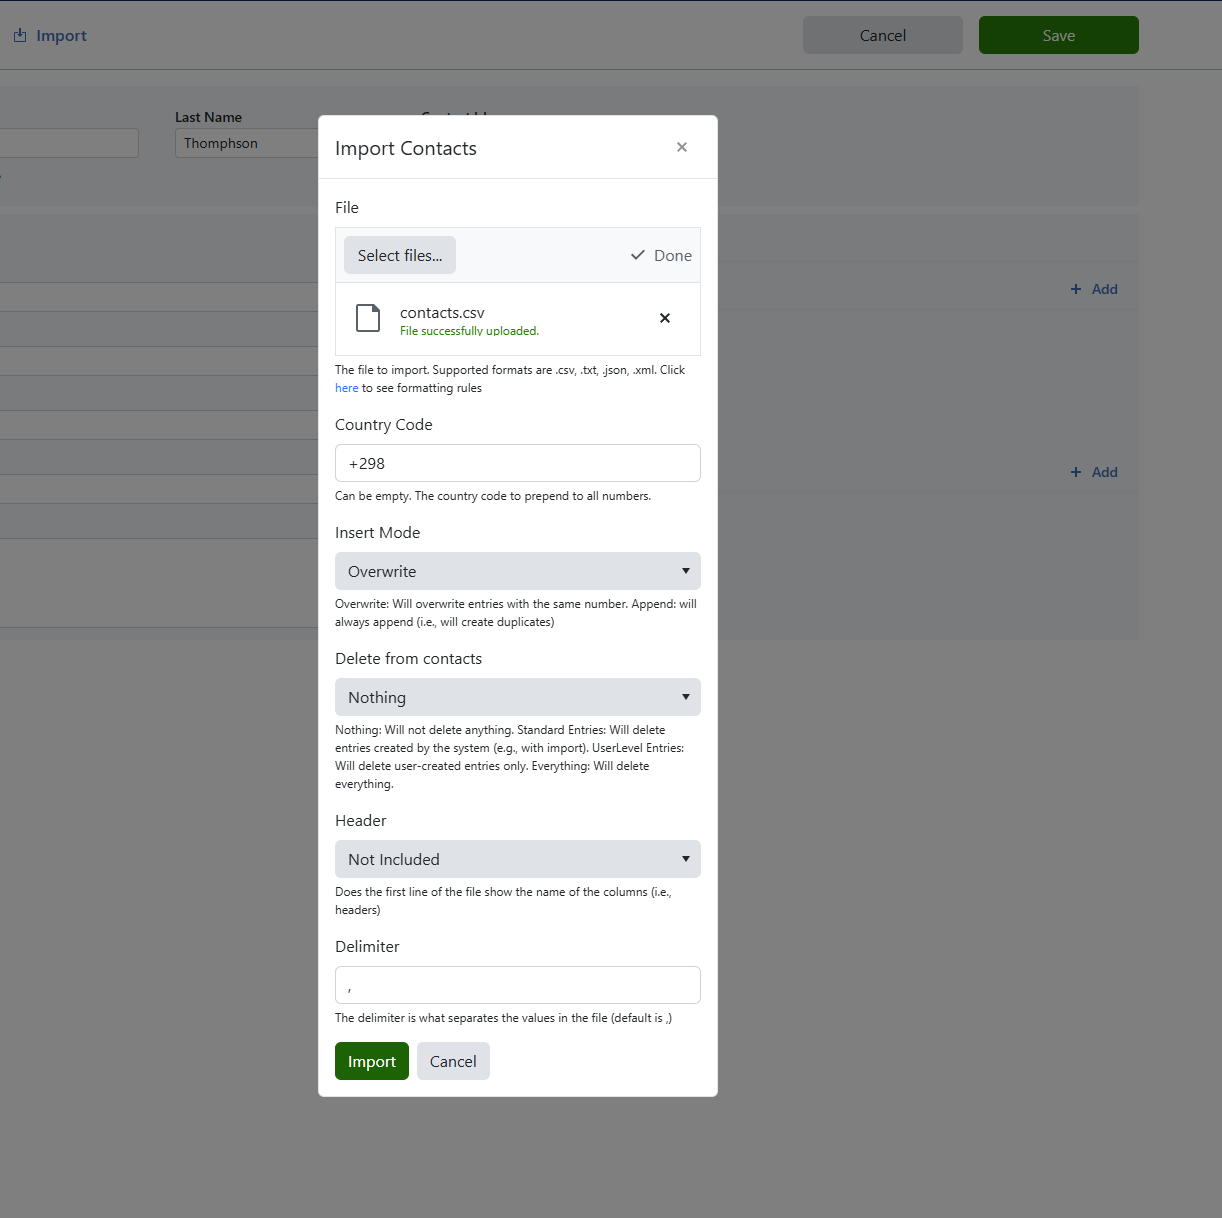
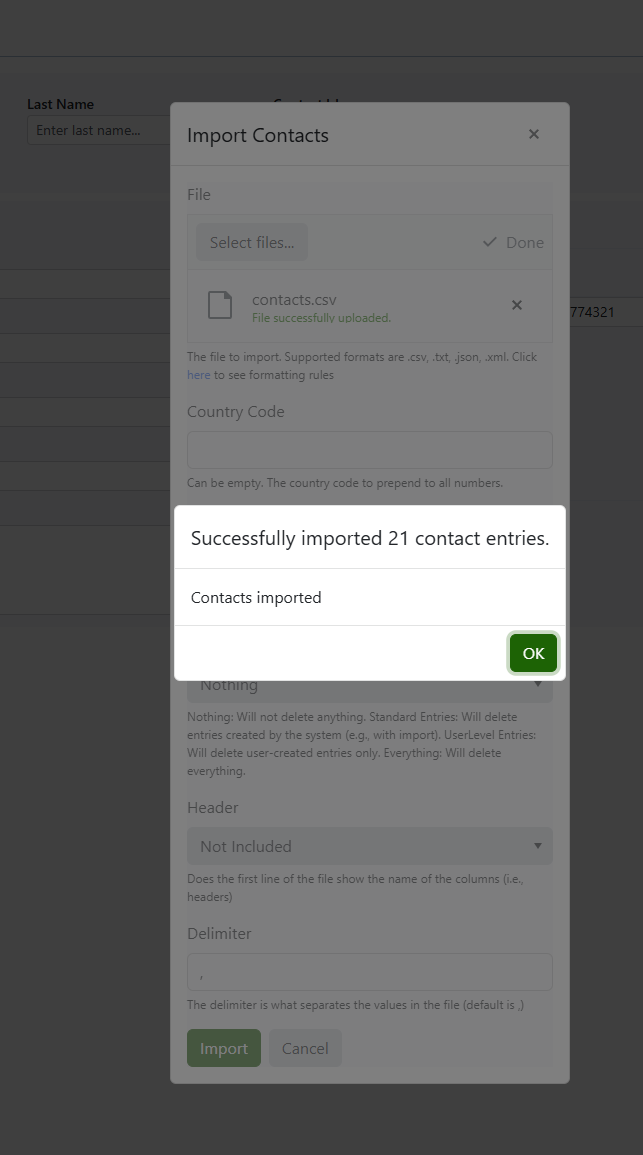
Once all parameters are set, you can press the import button, and the contacts should start importing.
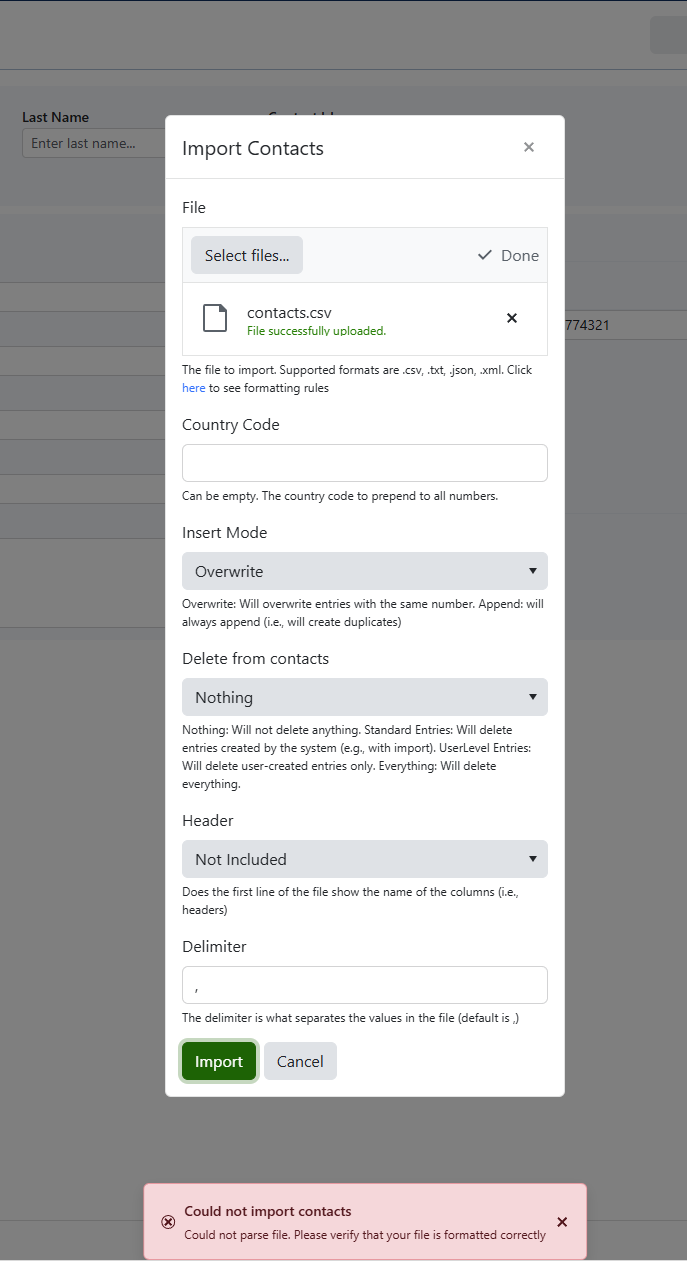
Import failure
If something went wrong while importing the contacts, a popup will appear indicating the error.
An example error:
If a contacts file were to be imported e.g.
344000;Tina Townsend;Óðinshædd 2
344000;Christina Thomphson;Óðinshædd 2
344000;Christopher Radcliff
In this example, the last entry is missing an address, making the csv incomplete, this will result in an error:
Formatting Rules
CSV (.csv, .txt)
You can import a CSV file with or without headers. It is also possible to set what delimiter is used.
Column order should be: Number, Name, Address
Number,Name,Address
535 984 7176,Lula MacSween,72 Dexter Road
796 431 6052,Karlene Rault,41162 Lighthouse Bay Crossing
JSON (.json)
[{
    "number": "516 806 2190",
    "name": "Felike Semeniuk",
    "address": "041 Grim Circle"
}, {
    "number": "888 691 5223",
    "name": "Zacharia Scourfield",
    "address": "042 Valley Edge Pass"
}]
XML (.xml)
XML data can be with attributes or elements
<PhonebookImportItems>
    <PhonebookImportItem Number="516 806 2190" Name="Felike Semeniuk" Address="041 Grim Circle" />
    <PhonebookImportItem Number="888 691 5223" Name="Zacharia Scourfield" Address="042 Valley Edge Pass" />
</PhonebookImportItems>
<PhonebookImportItems>
    <PhonebookImportItem>
        <Number>516 806 2190</Number>
        <Name>Felike Semeniuk</Name>
        <Address>041 Grim Circle</Address>
    </PhonebookImportItem>
    <PhonebookImportItem>
        <Number>888 691 5223</Number>
        <Name>Zacharia Scourfield</Name>
        <Address>042 Valley Edge Pass</Address>
    </PhonebookImportItem>
</PhonebookImportItems>