Groups
Groups have been implemented in Web Admin.
Groups are used to class employees together in Web Admin.
The Overview
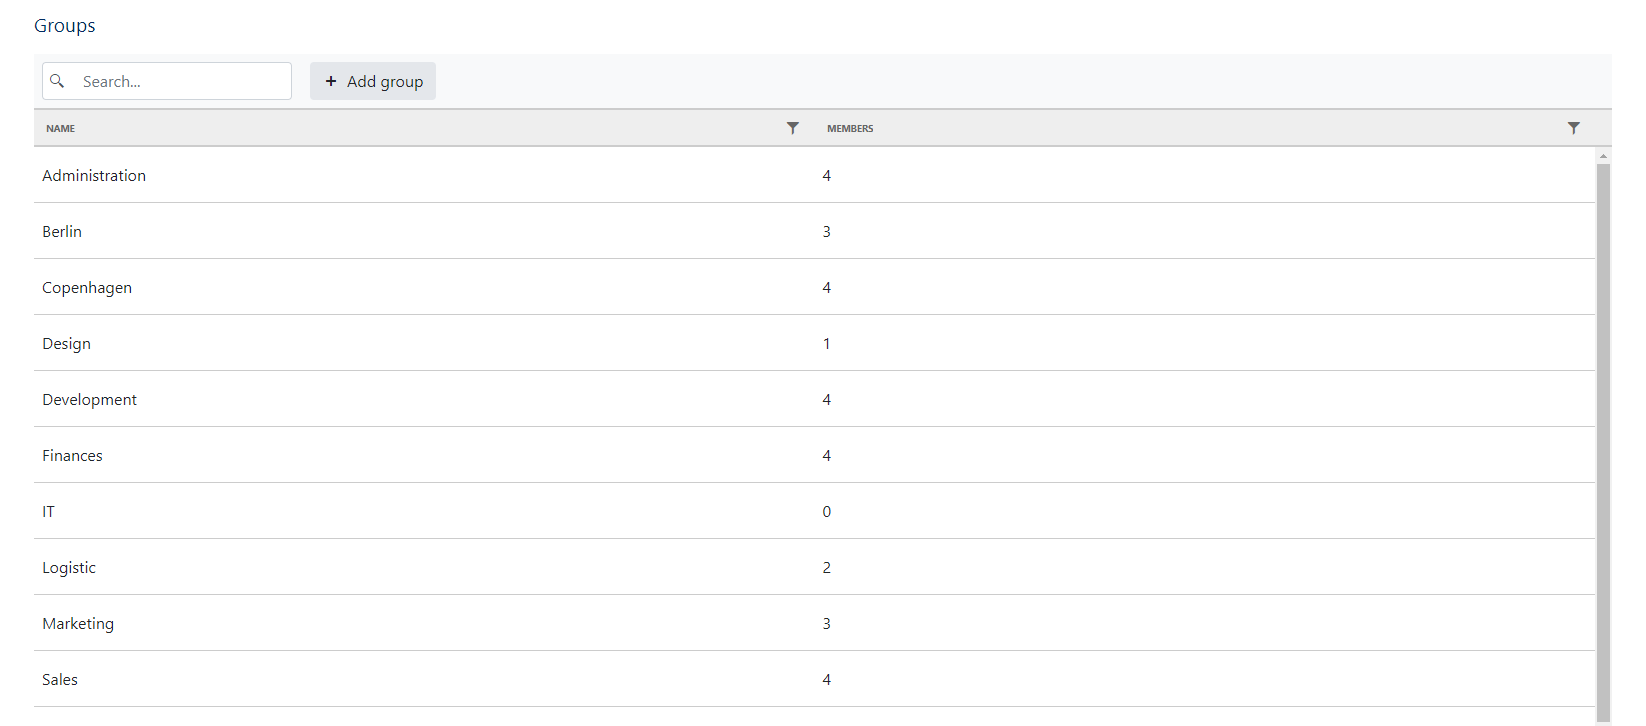
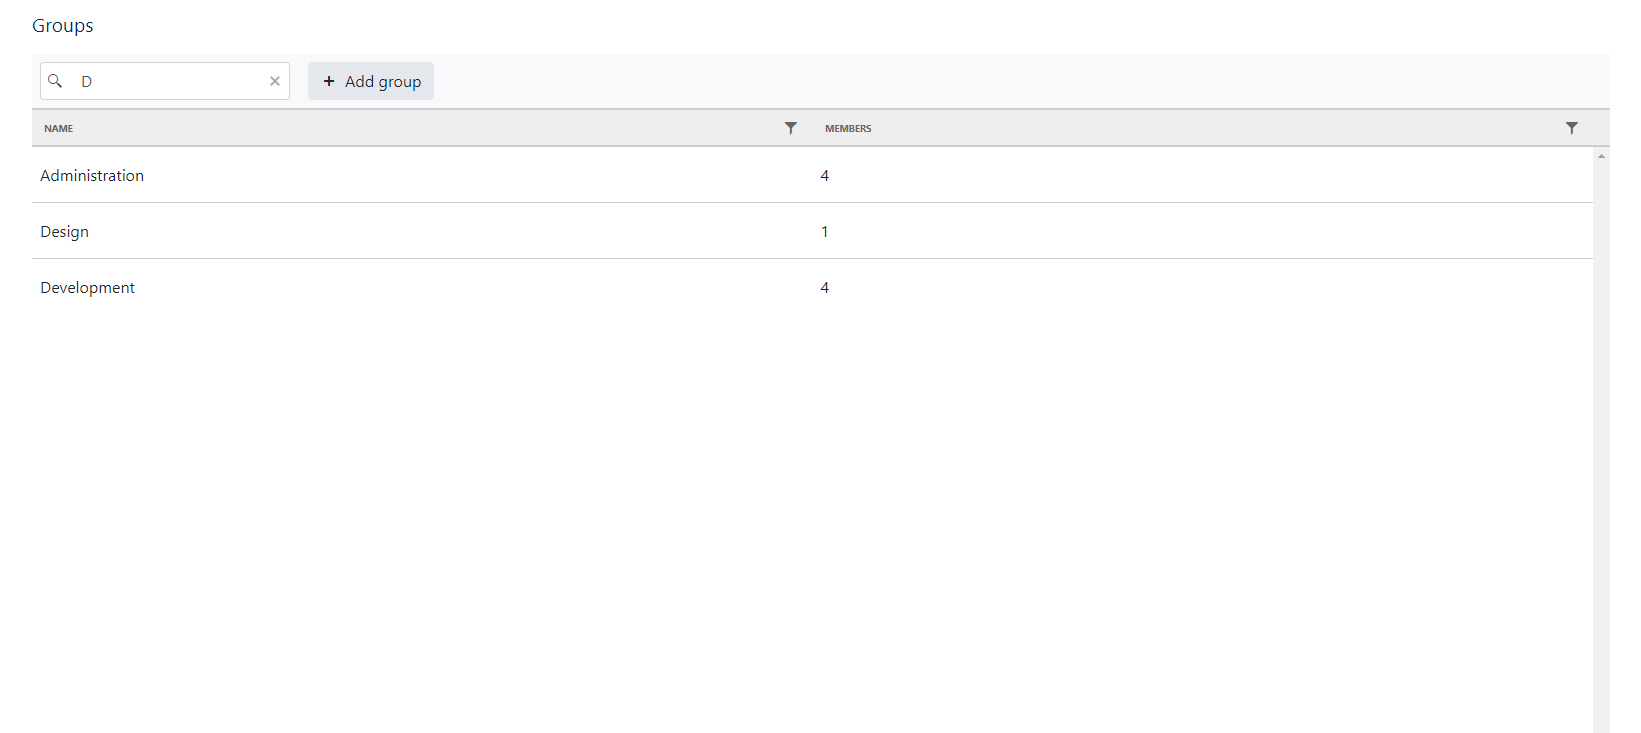
Search
Using the search bar, your input will be matched against the content in the table. This can be done on every page relating to groups.
Add Group
When clicking the Add group button, a pop-up will appear, where you are asked to specify a Name, Description, and Tag. You will also need to choose a Custom field value to base the group on.
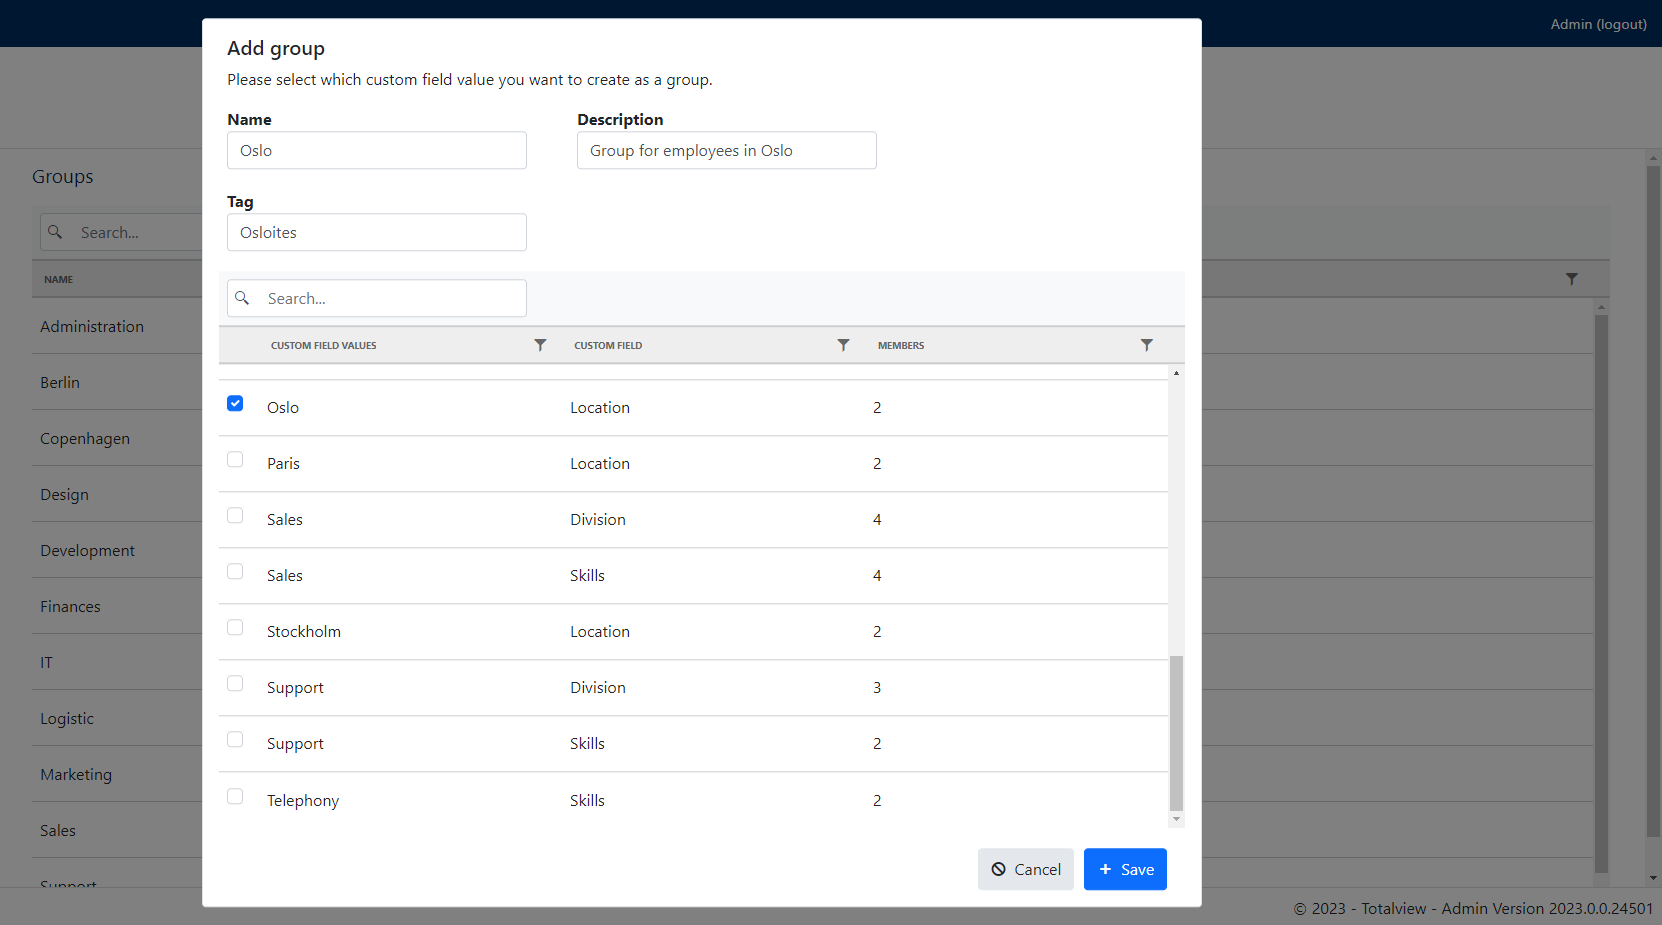
Once you are finished filling in the required data, press the Save button and, the new entry should now be in the list. You can use the searching functionality to verify.
Group Members
When double clicking on a row in the group table, you will be redirected to a new page. On this page you can see the employees in the group that you selected. You can remove an employee from the group by clicking the trashcan icon in the table. It is also possible to delete the group by clicking the Delete Group button.
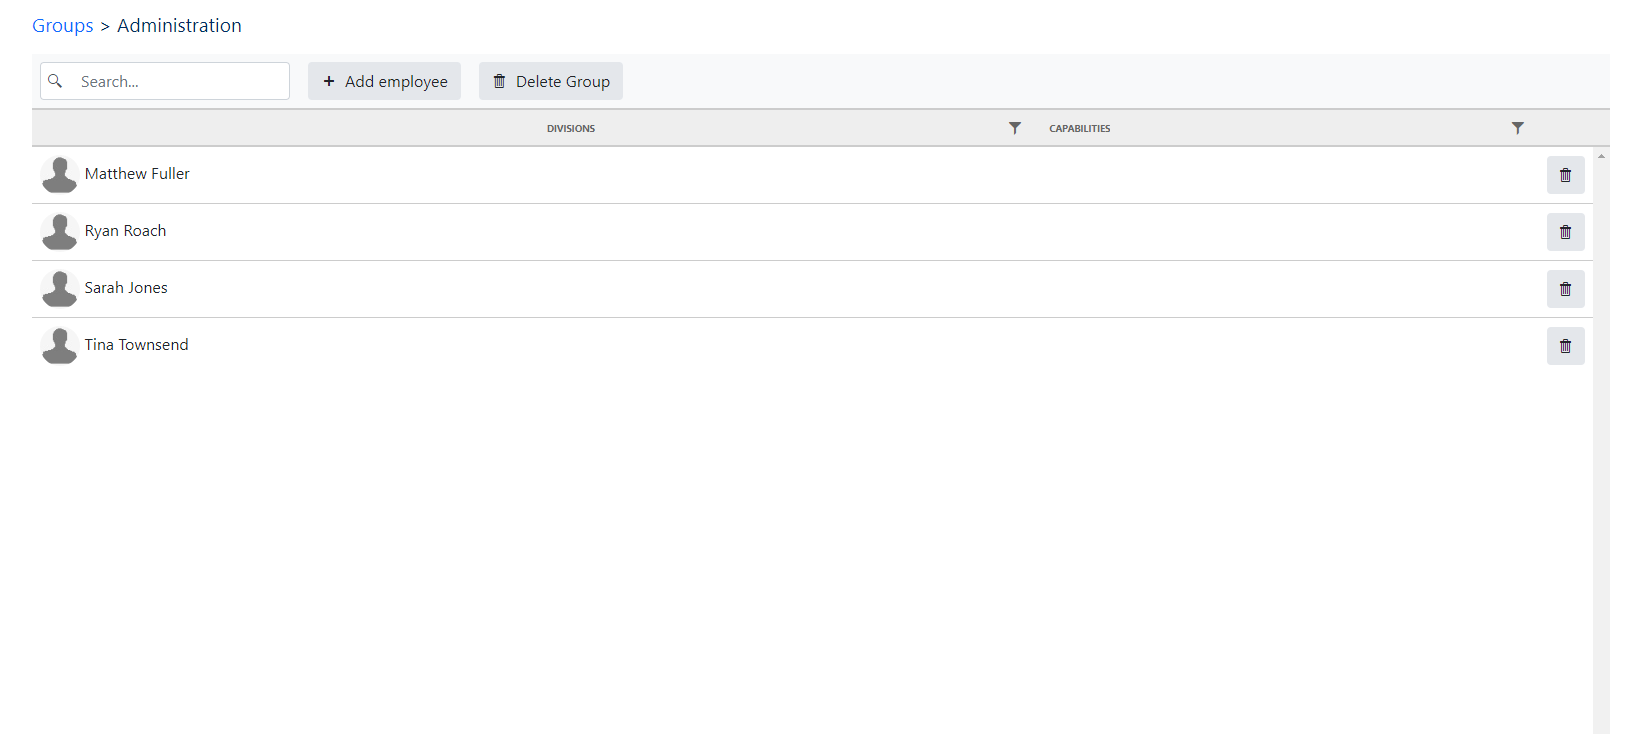
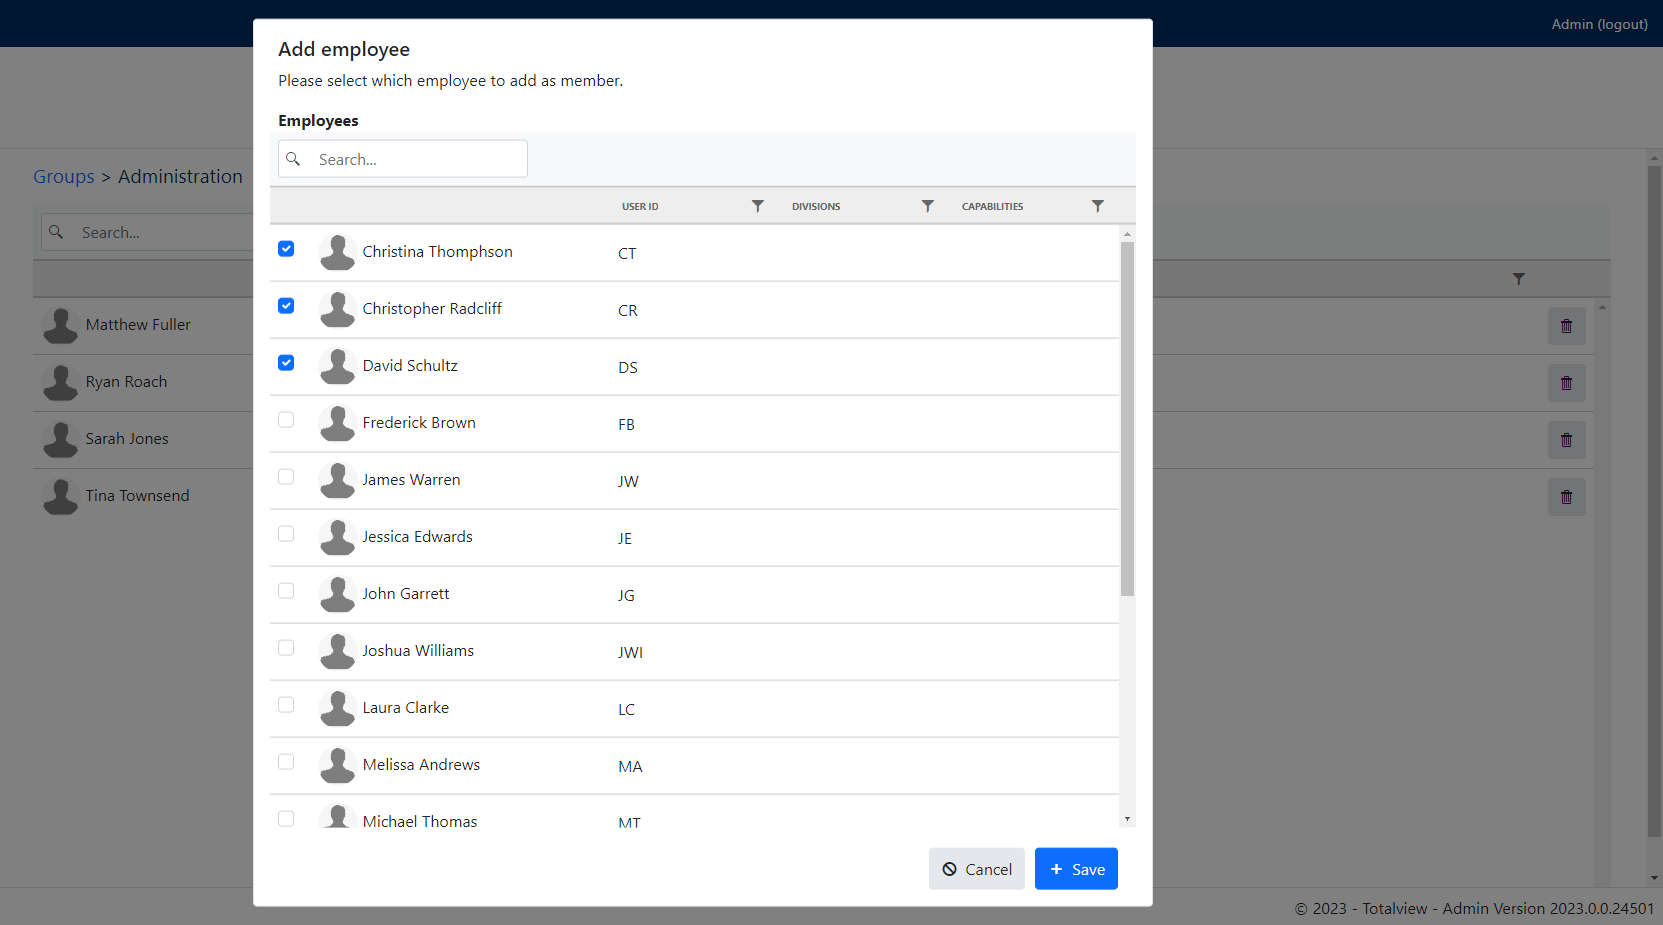
Add Employees
When clicking the Add employee button, a pop-up will appear, where you can select employees in the table. These selected employees will be added to the list of group members when clicking the save button.